After I built my frame jig I noticed flaws immediately! It was almost too adjustable and I didn’t make a good way to release the frame from the jig while keeping the dummy axle in place. Ya doof!
So, with a little advice from David Saul from Diesel Frameworks, Joe Roggenbuck of Cobra Frames and good ole Google Images, I came up with an improved design that worked in my head. You know, the cool thing about frame jigs is that as long as the components of the jig are nice and aligned up, there is almost (note the “almost”) no wrong way to make a frame jig. Sure there are BETTER jigs out there but they all hold tubes at angles to one another.
David Saul makes jigs for other people and his jig was similar to what I had in mind so I asked him some questions. Getting advice from an expert is so paramount when investing some time and money into a project like this and I think it paid off.
Joe Roggenbuck made sure I wasn’t a complete moron when designing the rear dummy axle fixture. Thanks buddy!
Here is my first rev. You can see the rear dummy axle is just a piece of threaded rod and the HT and ST angles are not all that easily adjustable.

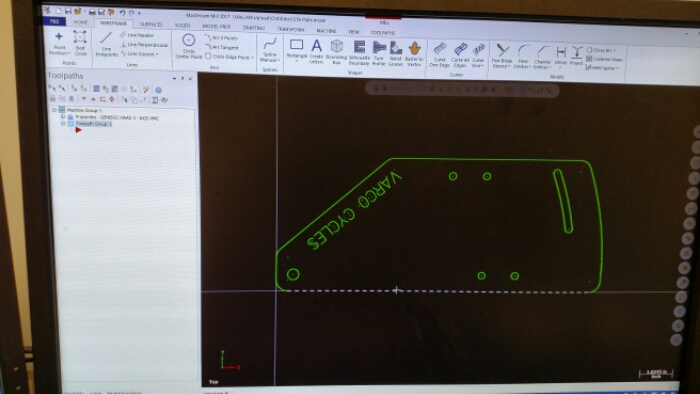
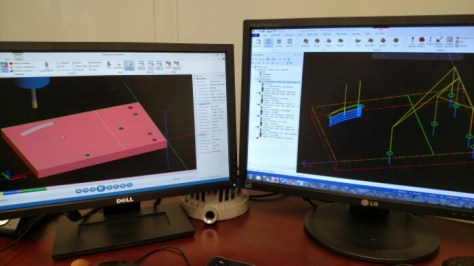
First to address was the ST angle and BB attachment. I ordered a piece of Aluminum and got designing on Mastercam.


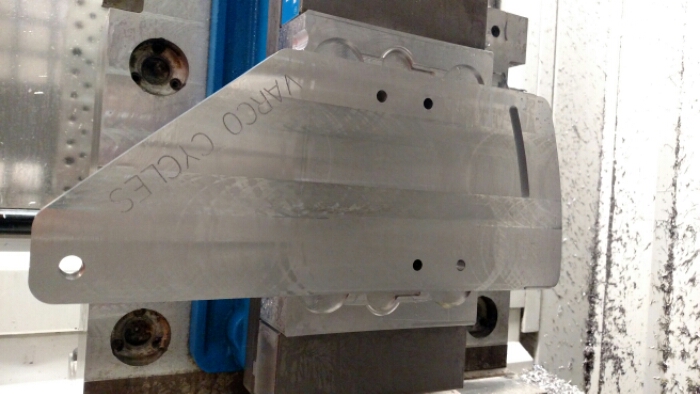
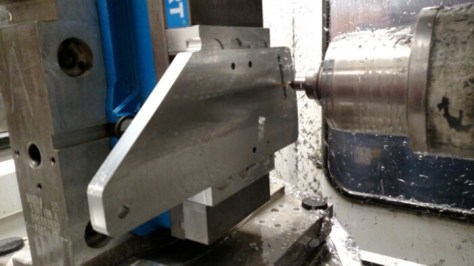
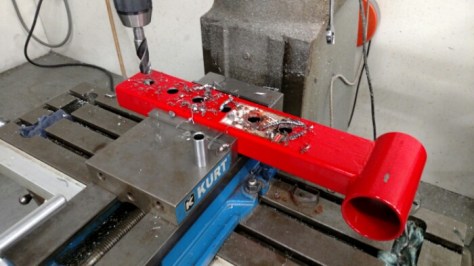
Then onto the Horizontal CNC. Unfortunately we didn’t have the right inserts for our face mill so the surface came out a little shitty.
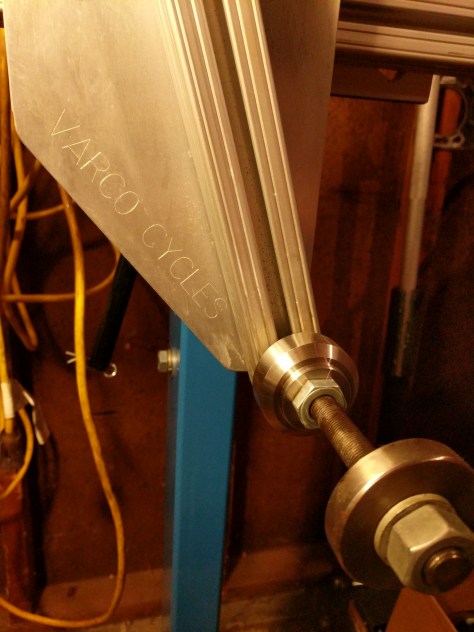
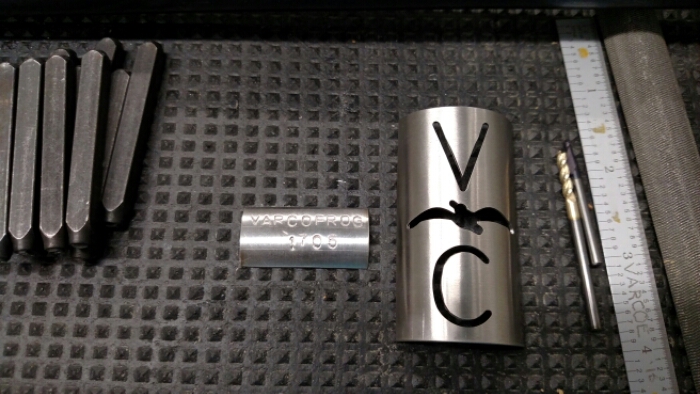
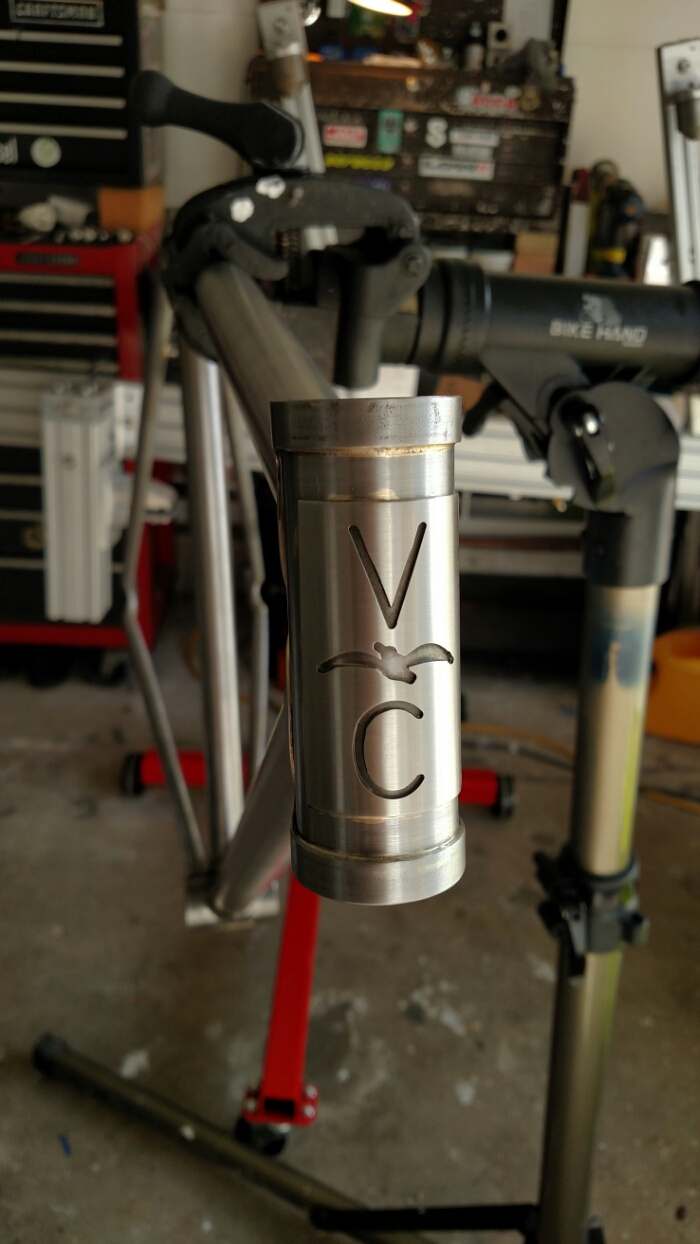
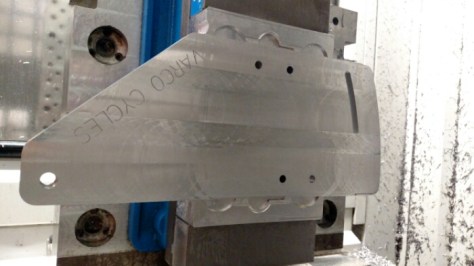
…and because I can, I did a little engraving.

I also added the upright extrusion on the right for the HT fixture but based on Davids experience I later changed that to slide along the main extrusion. You’ll see later. So, here’s the HT plate all Mastercamed up.
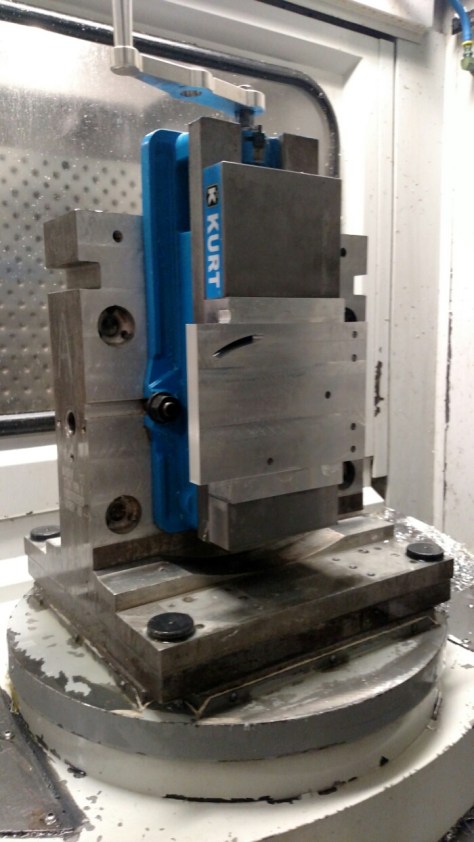

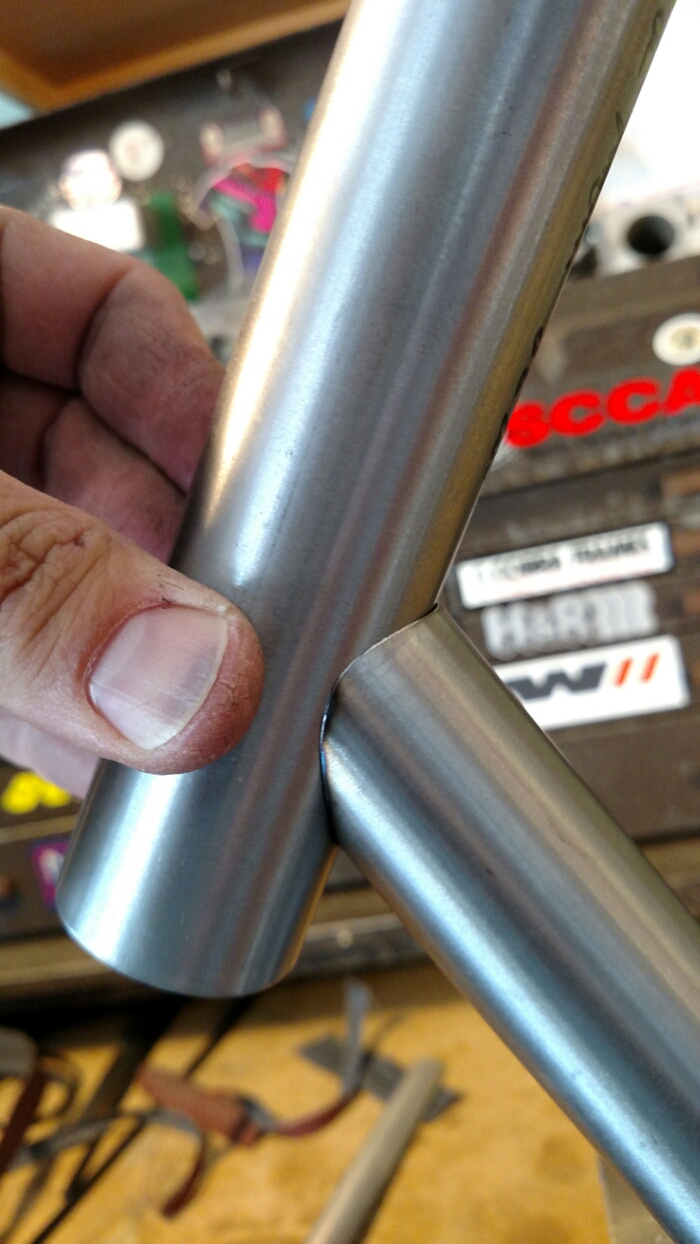
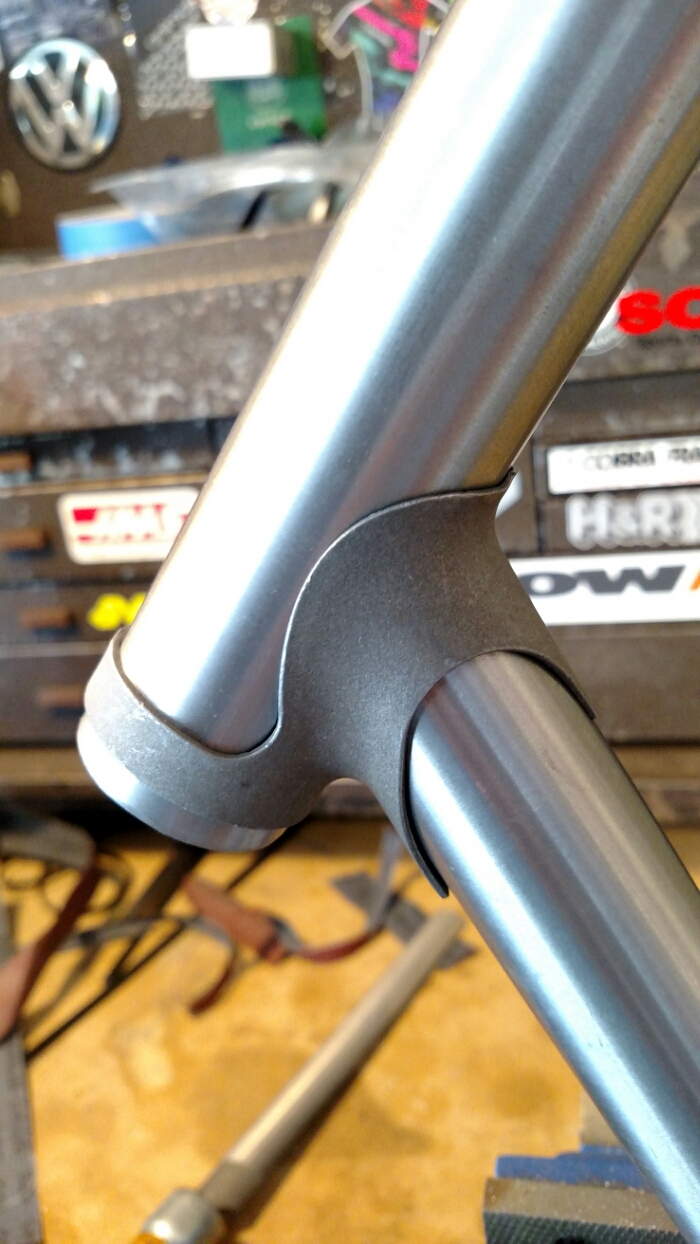
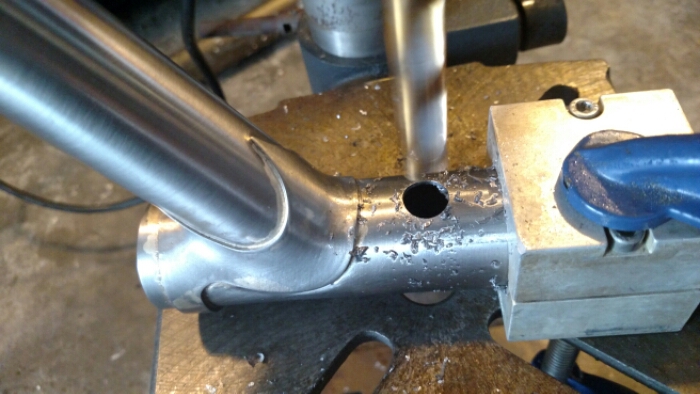
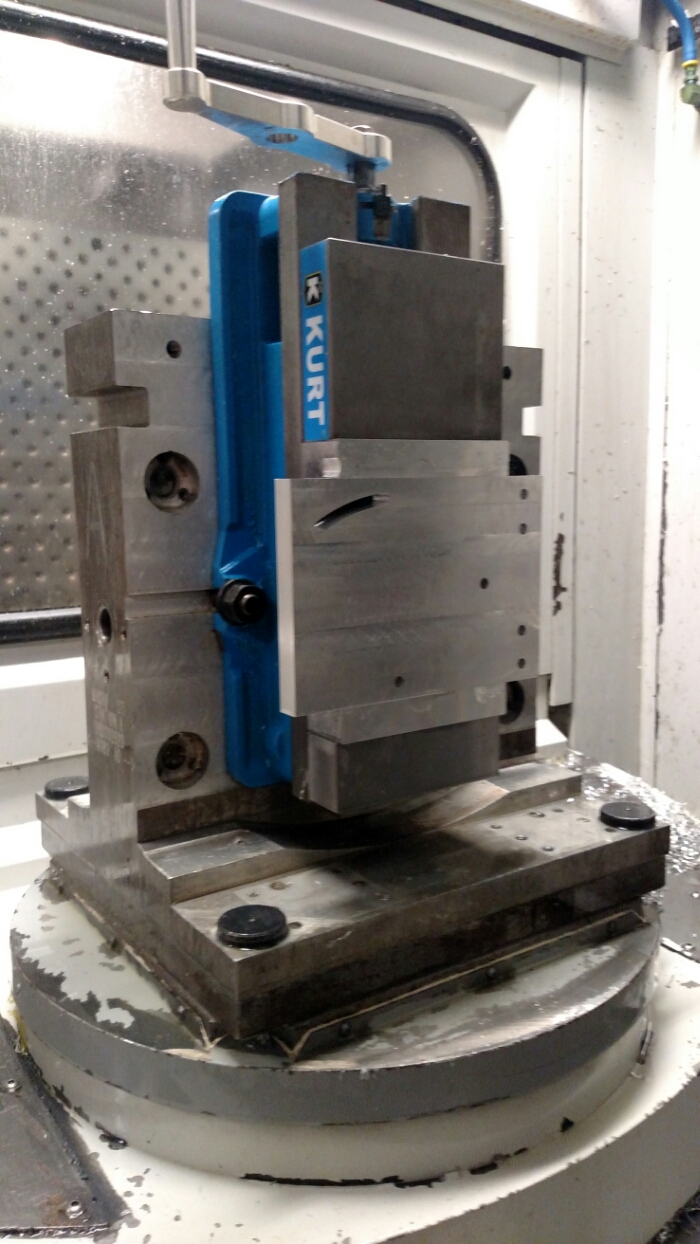
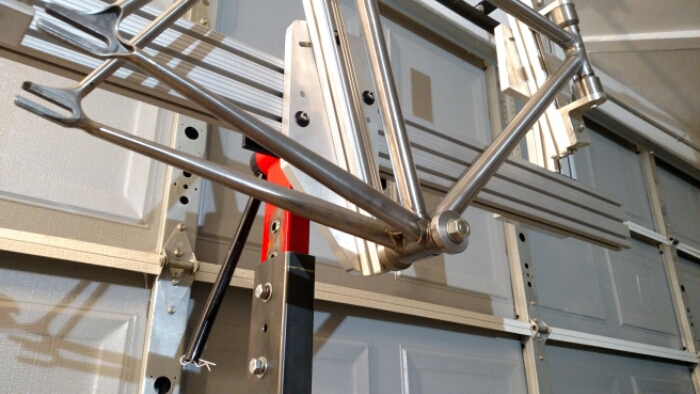
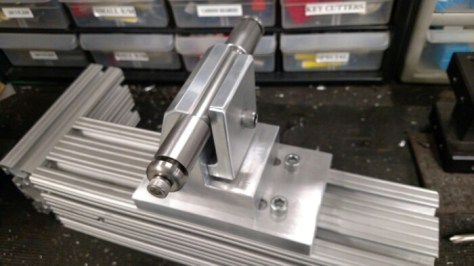
Now, I had to mount a frame in there to calculate the the bottom bracket centerline and adjust the cone accordingly on it’s 1/2-20 threaded center stud. In this pic you can see how the HT and ST cones are higher than the tubes.

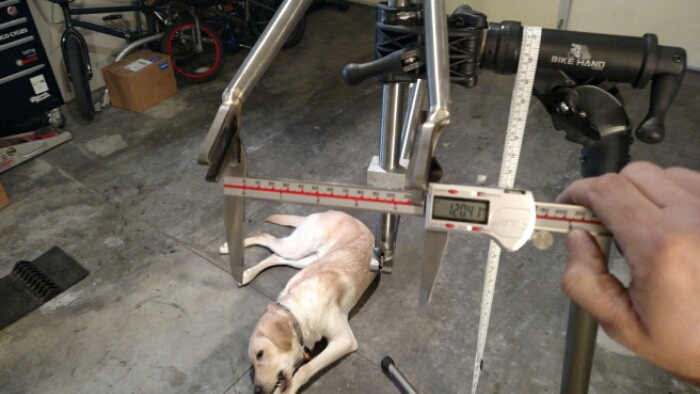
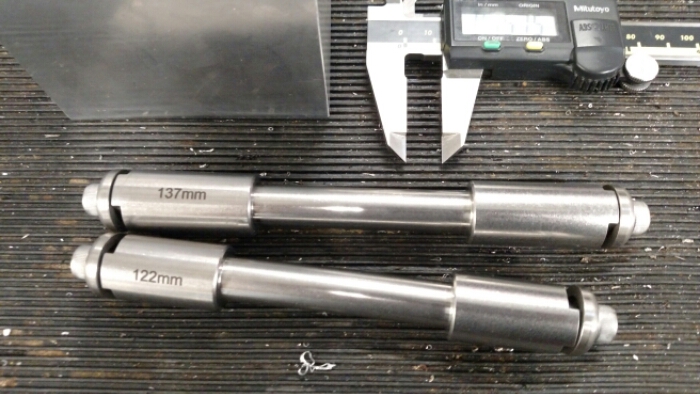
Taking Joe’s word on using Anvil dummy axles, I got 137mm and 122mm. 137mm is for 135mm frames like QR mtb’s and 10-11 speed road bikes. The 122mm is for track frames as they are 120mm wide.

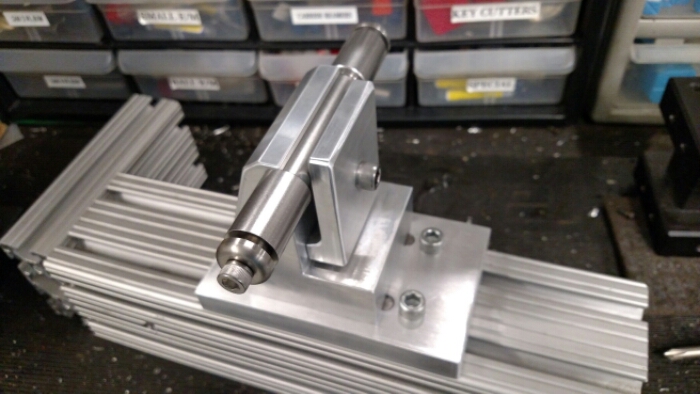
Designing a way to hold the dummy axles was the next task. The reduced center diameter is 2.500″ long so I machined the holder 2.495″ thick to allow the axle to come in and out easily. As you can see below there is a clamp that allows the dummy axle to be removed from the bottom by loosening one bolt.
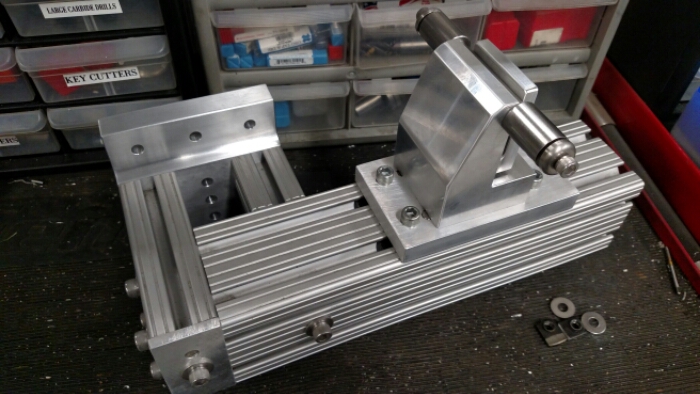
Next I designed and machined a plate to mount the whole rear dummy axle fixture onto and it’s pinned into the slots in the main extrusion to allow it to slide back and forth easily.

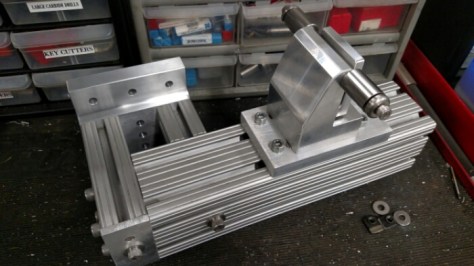
Now, I mentioned being able to slide the HT fixture along the main extrusion. Well, it’s a simple plate with holes for guide pins and bolts. I made it L shaped so the weight of the HT fixture would be somewhat centered over the guide pins. The plate has a bunch of extra holes in it because it was once a machining fixture. Sometimes you just can’t turn down free material!

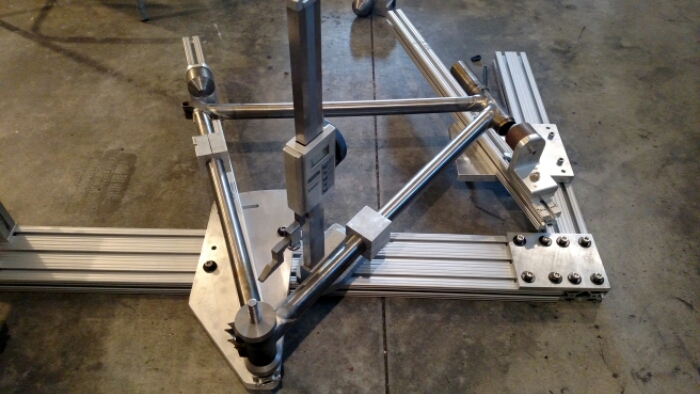
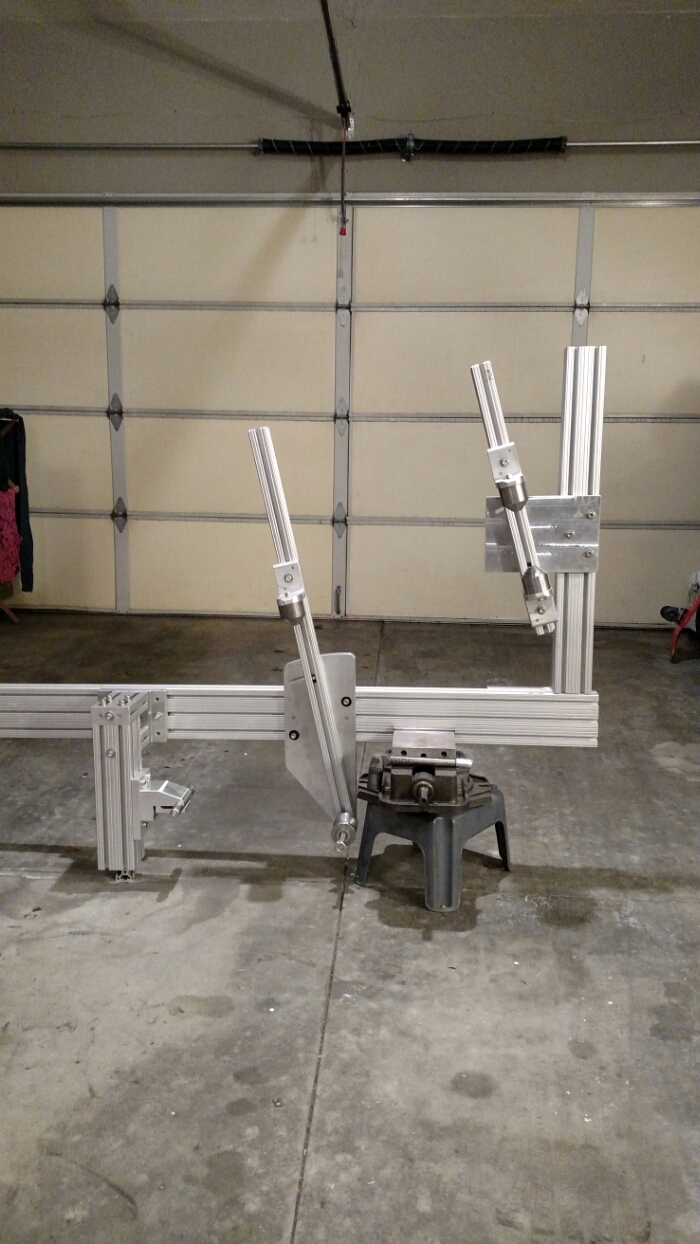
At this point it is a usable frame jig BUT I still need to mount it to some sort of stand. A mill vice on a plastic stool just won’t do. Haha!

Giving this a try. For $40 it’s a decent platform to start from. Harbor Fright! (Not Freight)
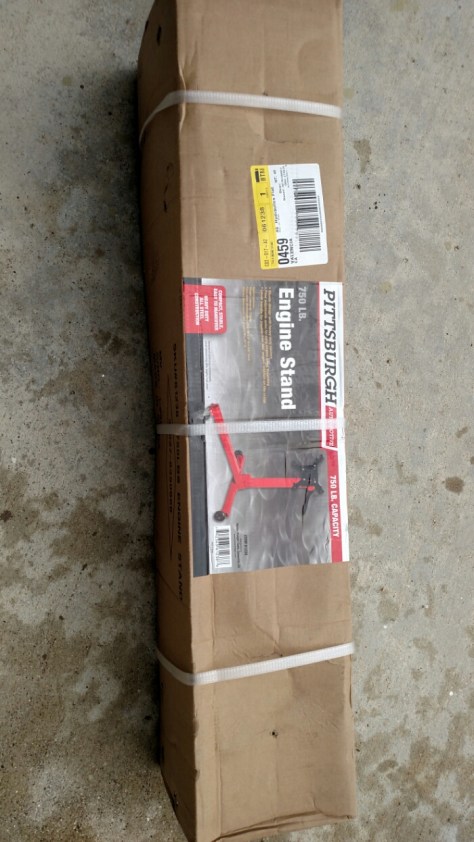

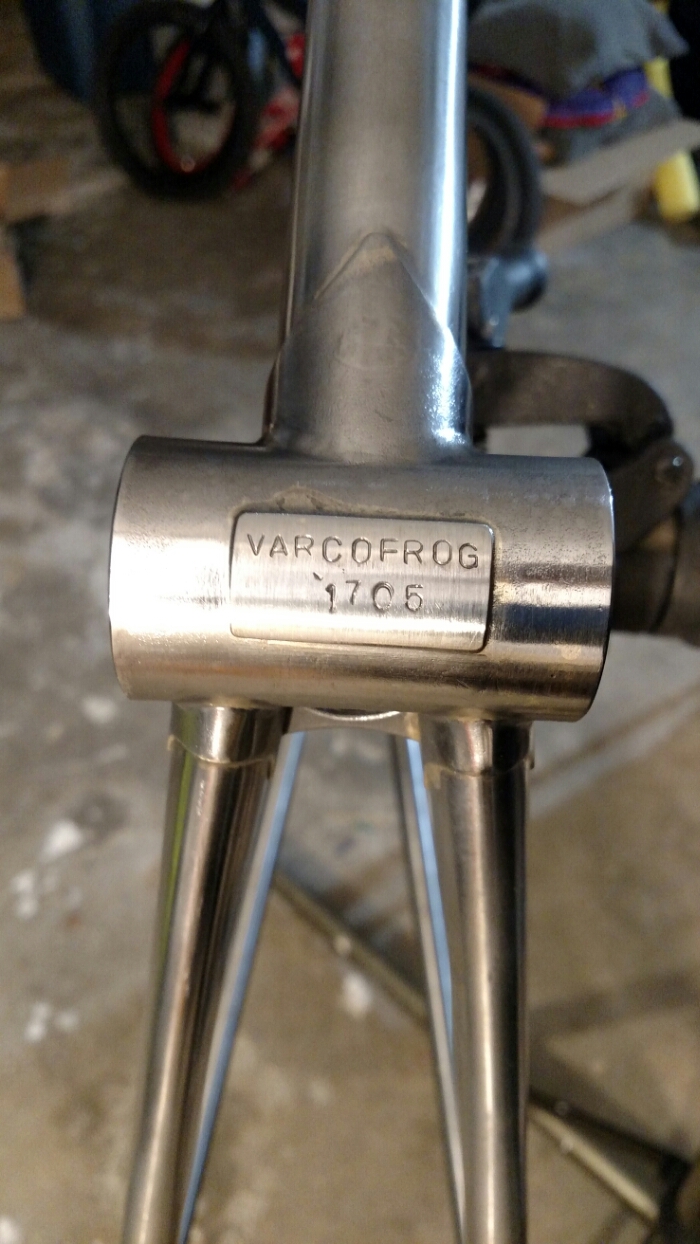
It needs to be about 20-25″ taller. I’m 6’3″ so this would work great if I had no femurs. I’m thinking of a height adjustable multi hole system. I’ll update this post as I progress on that. For now, I have to finish the “VarcoFrog”! A small street crit frame for a small, strong track racer named Frogi! Look for a post on that soon!
Eventually I will buy nice handles to make the jig easier to use but for now I am really happy with how Rev2 came out! Can’t wait to use it!
For now, keep it rubber side up! Have fun and ride safe! Turn your lights on and watch yo asses out there!
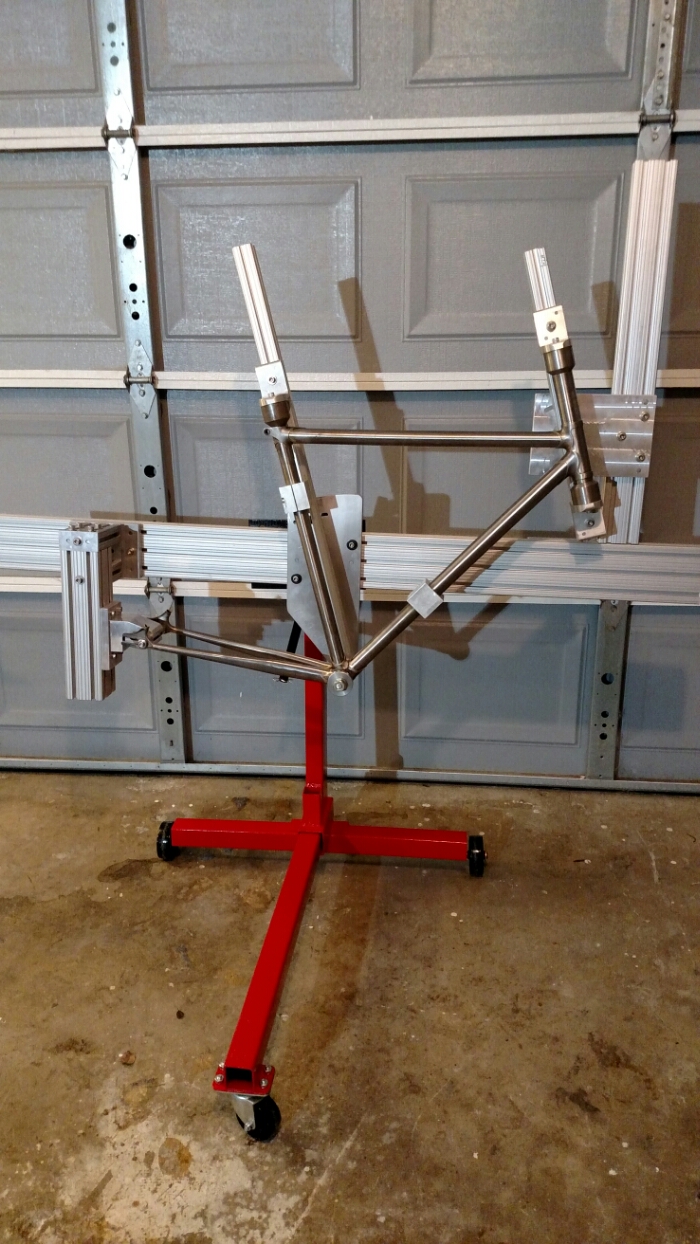
Edit: Raising the Jig! 3/1/17
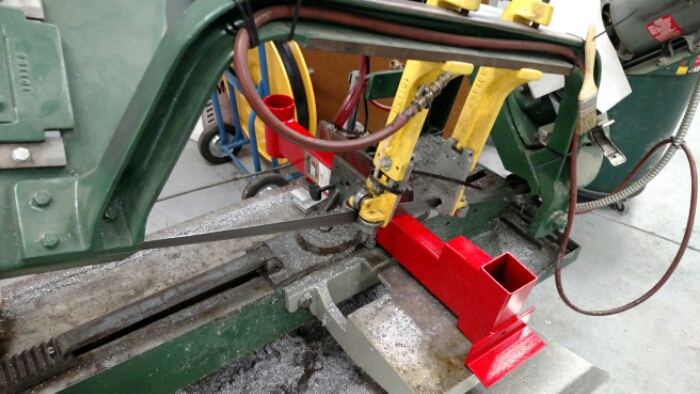
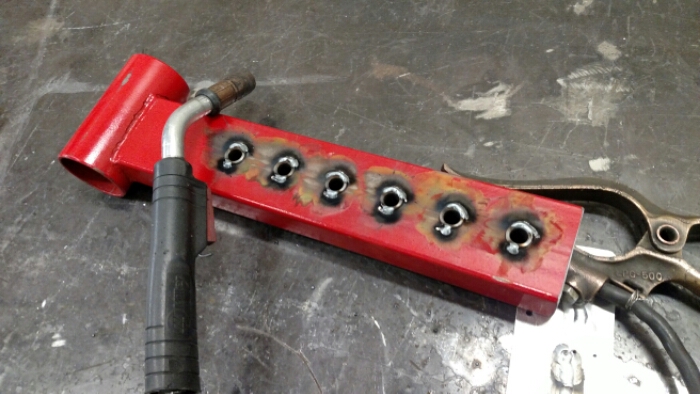
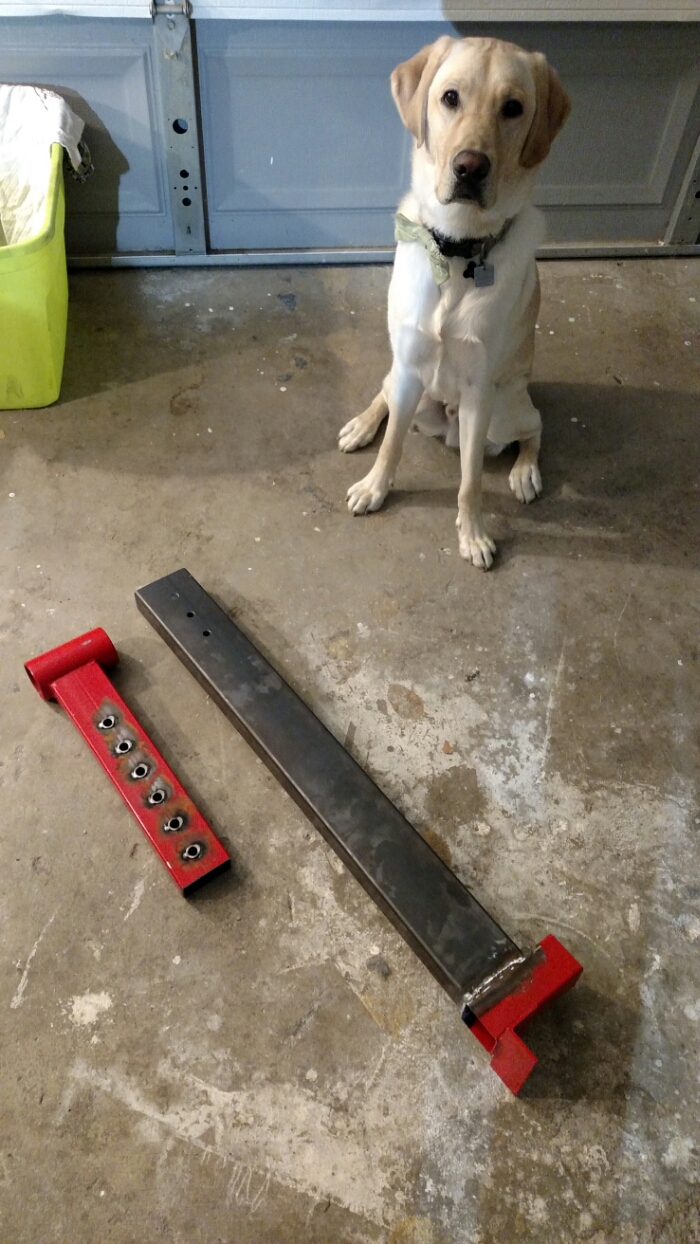
I’ve never MIG welded before and this was a perfect spot to try it out. So, I hacked up the engine stand, drilled some holes, made bushings and went to the MIG welder.
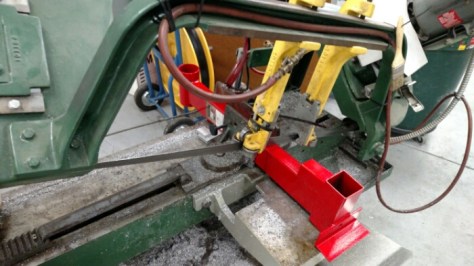


This mod raised the jig up 16″as it’s currently set up. It can still go up another 6″ and down 6″!


I have another build about to be finalized so I’ll be throwing some Spirit tubing in the jig and making a light weight gravel bike!
Allan
As per request from romeo via the comments: a photo of the BB fixture.