
Wow, I am totally unprepared to build a mountain bike! …..or at least the one I want to build.
I don’t really know too much about mountain bikes because before I got this fat bike I hadn’t owned or really ridden one for…IDK, 25 years. Between BMX and cyclocross/gravel I just never got the urge.
Well, the MTB bug bit me so logically, I want to build a MTB! One problem. I’m geared to build lugged “road” bikes, not aggressive hardtails. At least I have one fillet brazed frame under my belt!
New challenges for his build will be:
1. I have NO idea what MTB geometry I want to use. Ok, not totally true. I’m tall, so I want a long reach. I want to be able to take his bike to he skatepark so gimme a low top tube. I like short, twitchy rear ends so I’m going to use sliders to “slam” the rear end. That’s all I know!
2. Fully fillet brazed bottom bracket! I’ve only used lugged shells so far. My stay mitering fixture should help this out some what.
3. Bent Seat tube. Wanting that short rear end I would like to try a bent seat tube! That in itself leads to a fixturing issue that is the whole reason for this post.
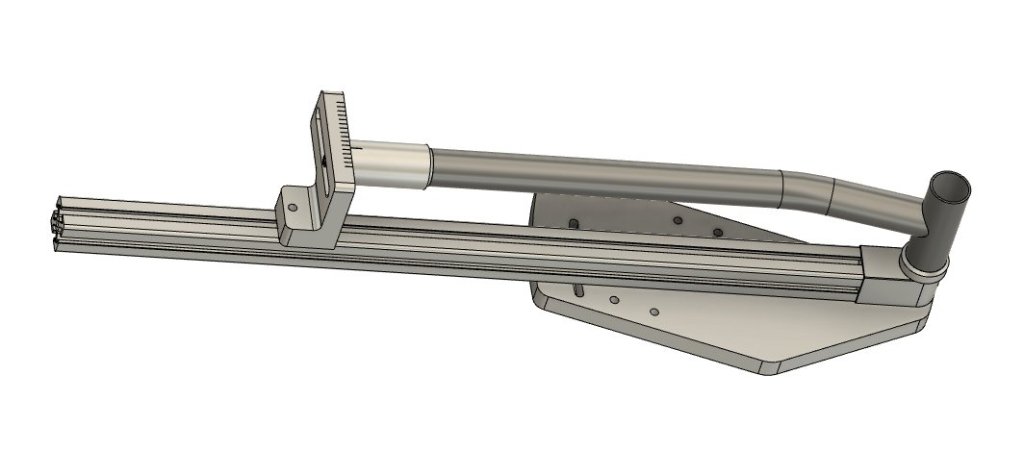
You see, all of the road frames I’ve made up to this have had seat tubes that are directly inline with the center of the BB shell. Peter Verdone came up with offsetting the straight portion of the tube so that the frame fixture can be setup based on numbers from your BikeCAD design. Perfect! I have wanted a reason to model my frame fixture so here goes.
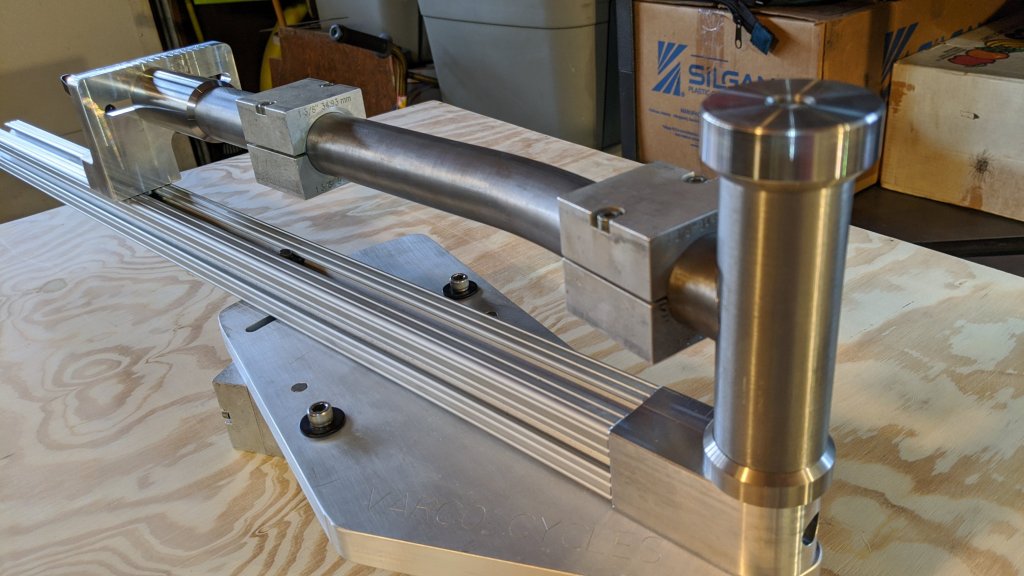
I now also needed a way to use wider BB shells. My current fixture was setup to build 68mm shells only. A standard MTB is BB shell is 73mm wide.

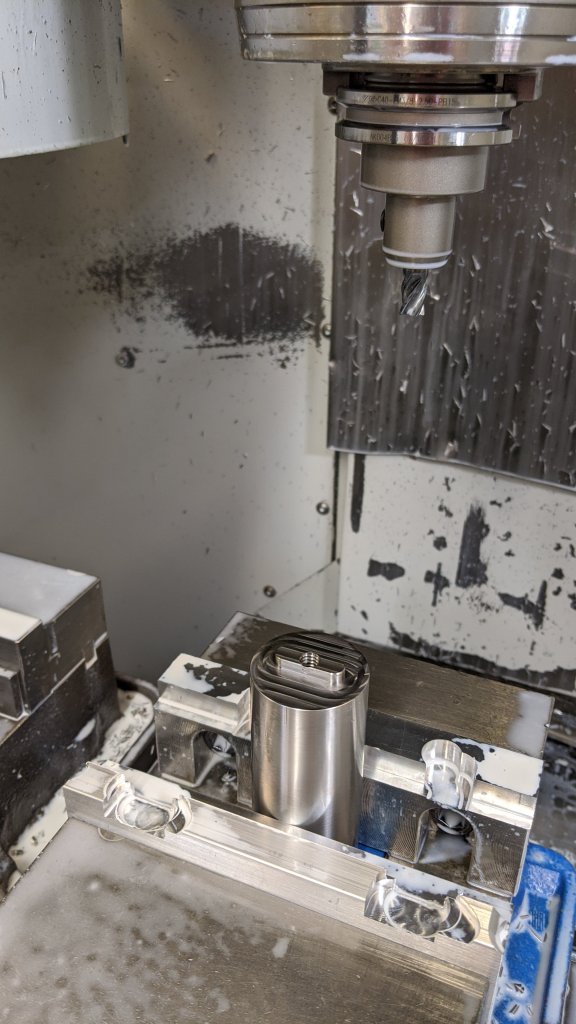
These spacers just slide on a 1/2-20 heat treaded threaded rod and against this guy. The 5 axis at my work was open so I made this part in there.
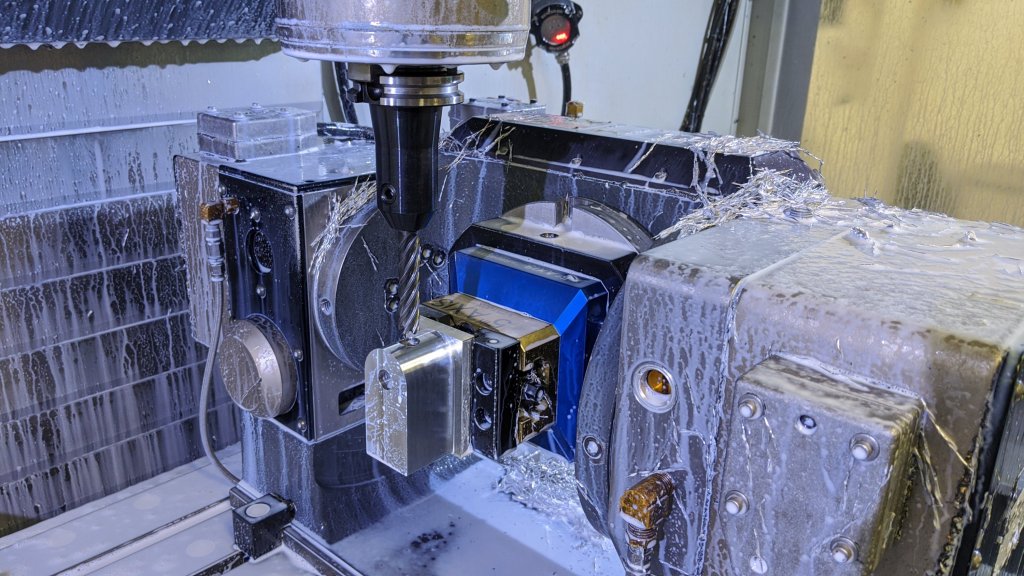
Time to machine the offset cone holder.

I forgot to rough one face of this part out and when I dropped a 1/2″ ball end mill into a spot where I think there’s .010″ and there’s a fucking 1/4″, it came flying out of the vise! Oops!
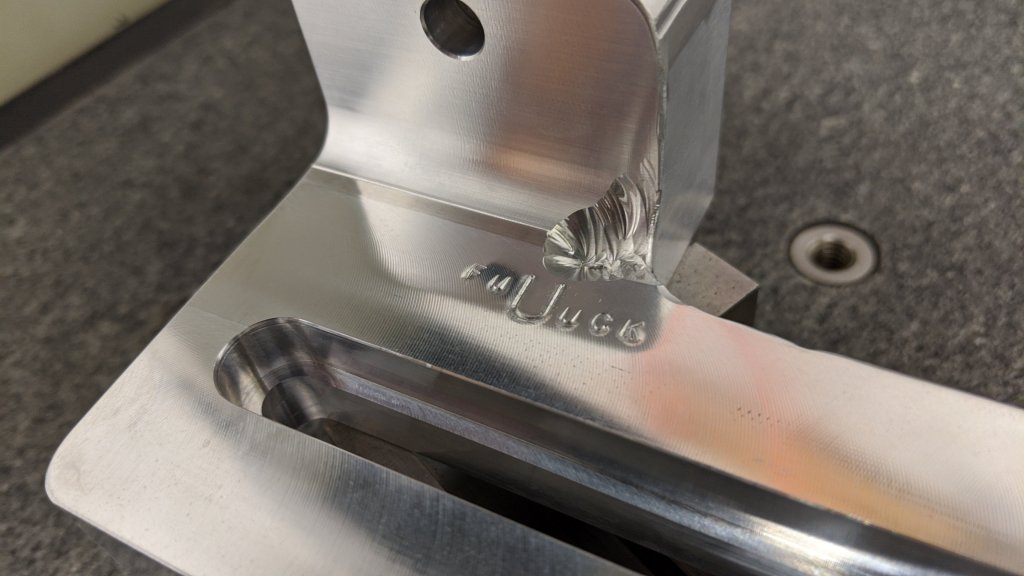
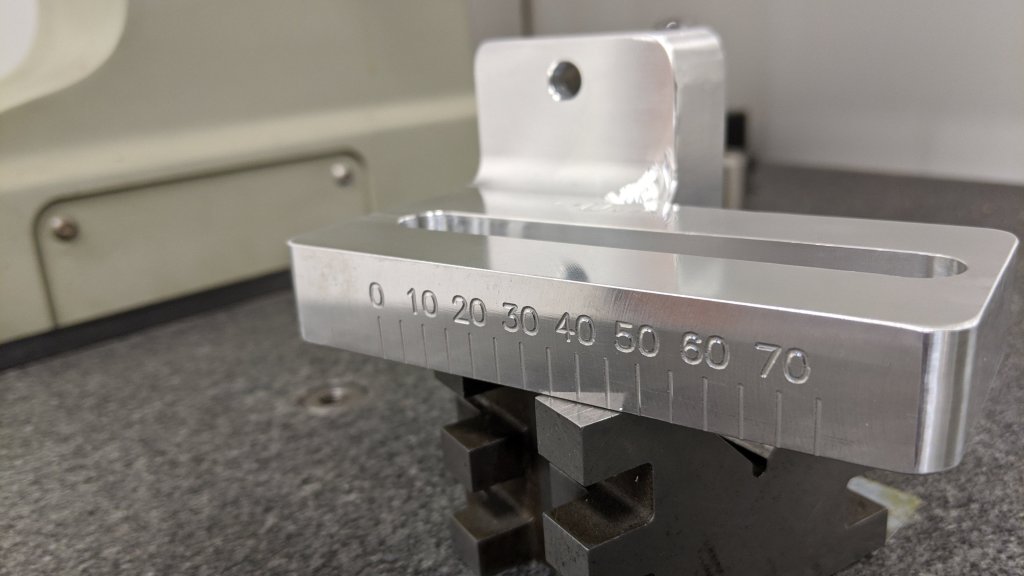
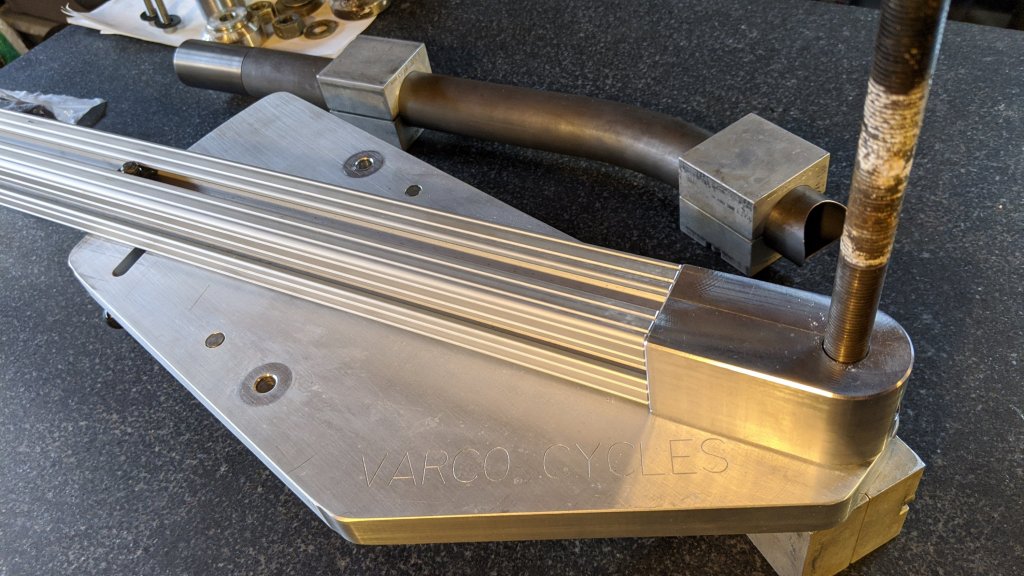
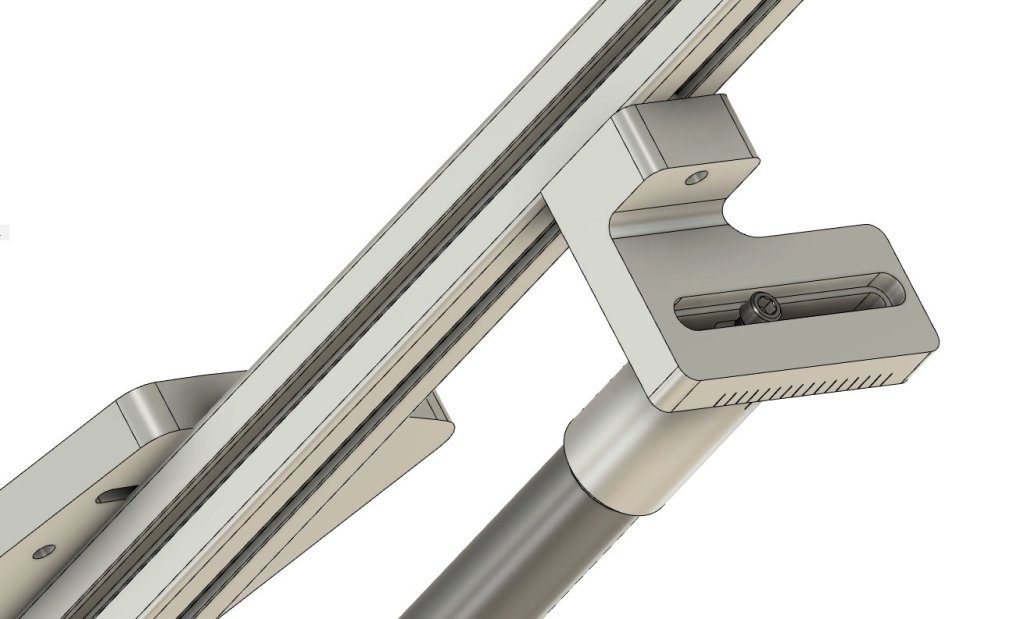
For the ST cone I wanted 2 things. To be longer for torch access and to be keyed so it would have an indicator line to be able to tell how far offset I was.


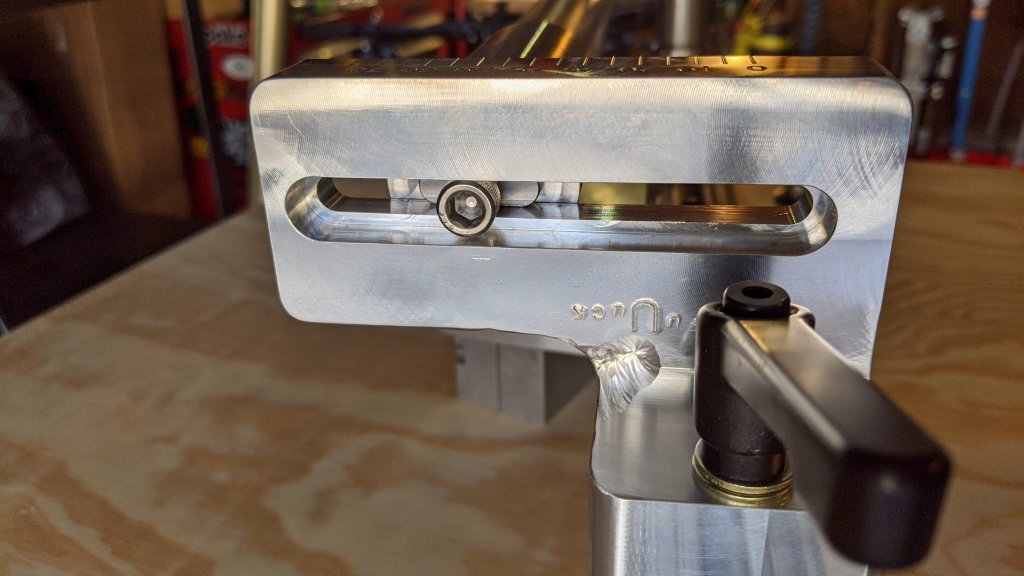
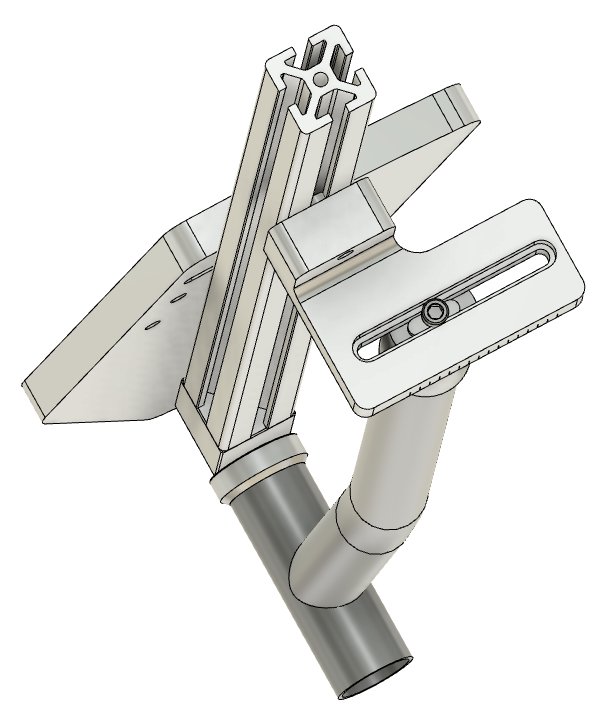

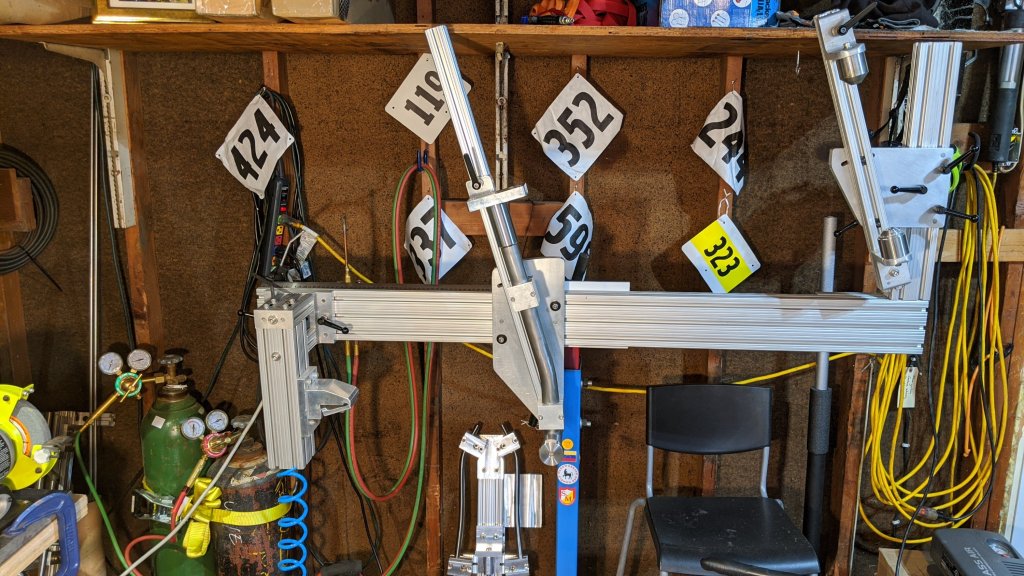
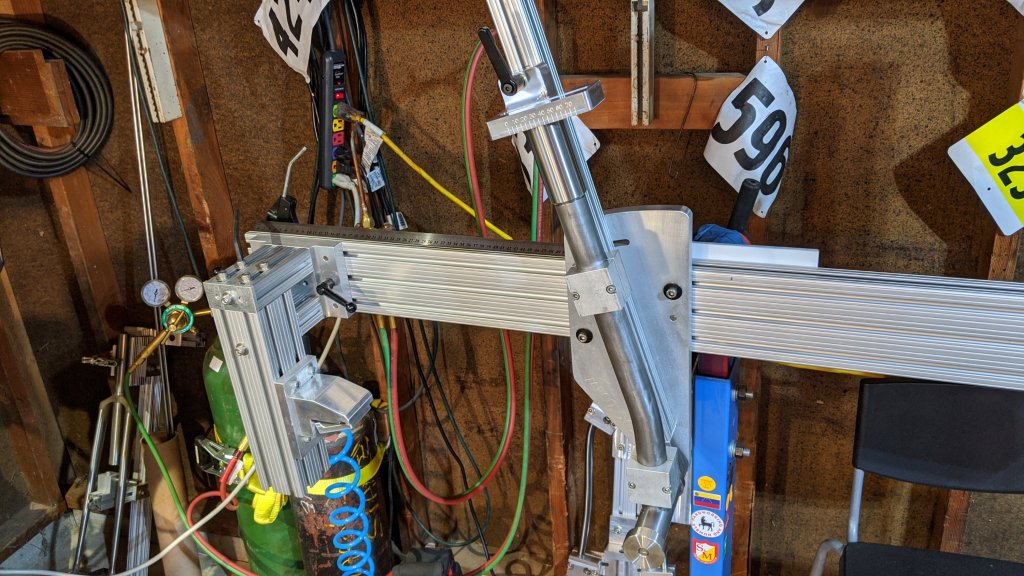
So here is my frame fixture as it stands now!

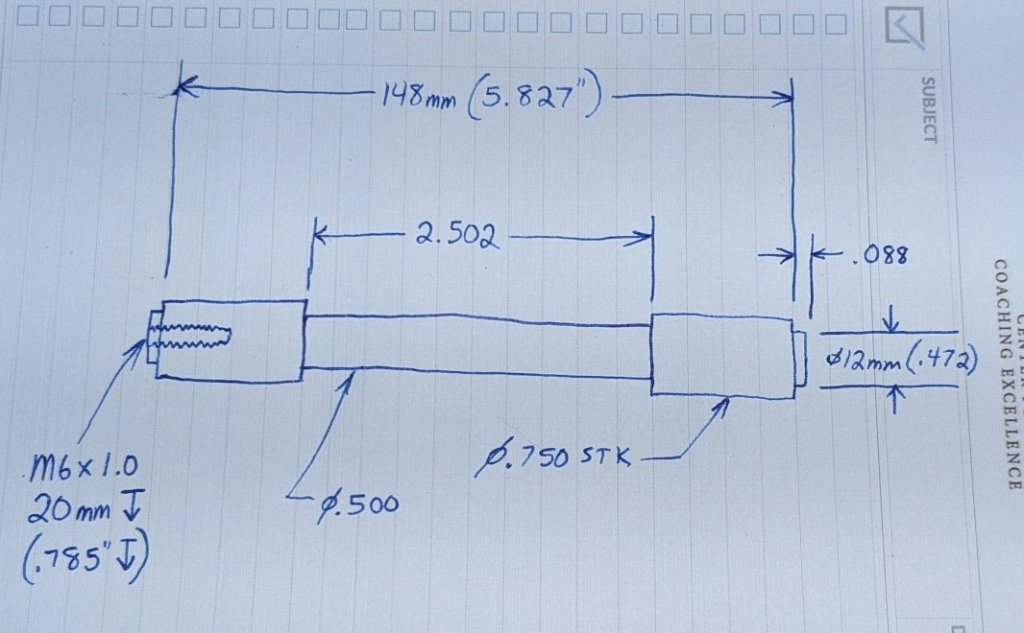
I am now ready for my next excuse to not actually BUILD the frame! Dummy axle! With COVID19 shutting things down I can’t just order a Boost spaced dummy axle from Paragon… Luckily I know somebody who can machine stuff.
I should probably fire up the BikeCAD and design the frame now! 😂
Until then, spring is springing and the trails are drying up! As fun as winter fat biking was I’m looking forward to getting the fat bike out on the dirt before we move back to San Diego in August!

Alright, have fun! Ride safe! Be nice! Make shit!
Allan
