Tag Archives: Fillet Braze

Fillet Brazed Hardtail MTB!

Growing up on BMX bikes, I always loved a bike that was responsive, accurate, quick and maybe even a little twitchy. Somehow I went from BMX bikes straight into road bikes, completely skipping mountain bikes, the next logical step. But in the past few years I’d kinda been missing the more “sendy” ride of a BMX bike.

But before this, MTB’s just didn’t seem that interesting to me. I tooled around on a couple at bike shops and demos years ago but they never really sparked my interest. They were heavy and the suspension just seemed to suck the energy out of every move you made.

I had written MTB’s off. Well, fast forward, like forever, I own a fat bike. Not only do I own one but I really like it!

Then my eye catches a few hardtail’s on Instagram, YouTube and Facebook! Myth, Meriweather, Cobra, Cromag, BTR, Orange, Fuck Yeah Hardtail on IG, Hardtail Party on Youtube and others… Simple and nimble looking. The 27.5’ers in particular.

Fast forward to August 2020, I already have the frame planned out, we live back in San Diego and I’m riding beautiful trails on the fat bike. Time to get going on this hardtail!

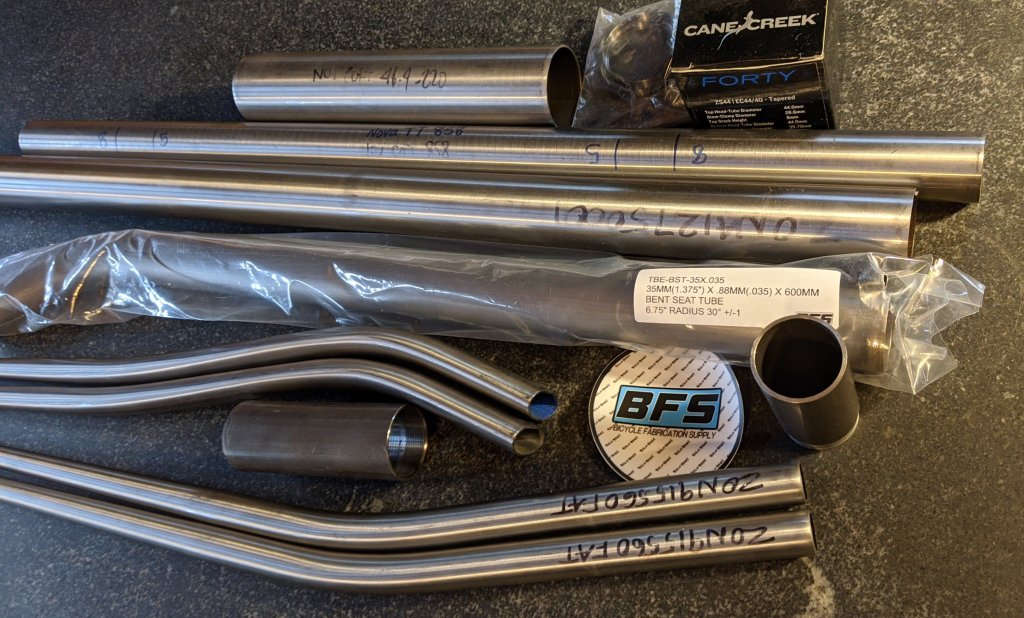
I began to use a new tube supplier! Bike Fab Supply! Andrew has been so great with communication and quick shipping.

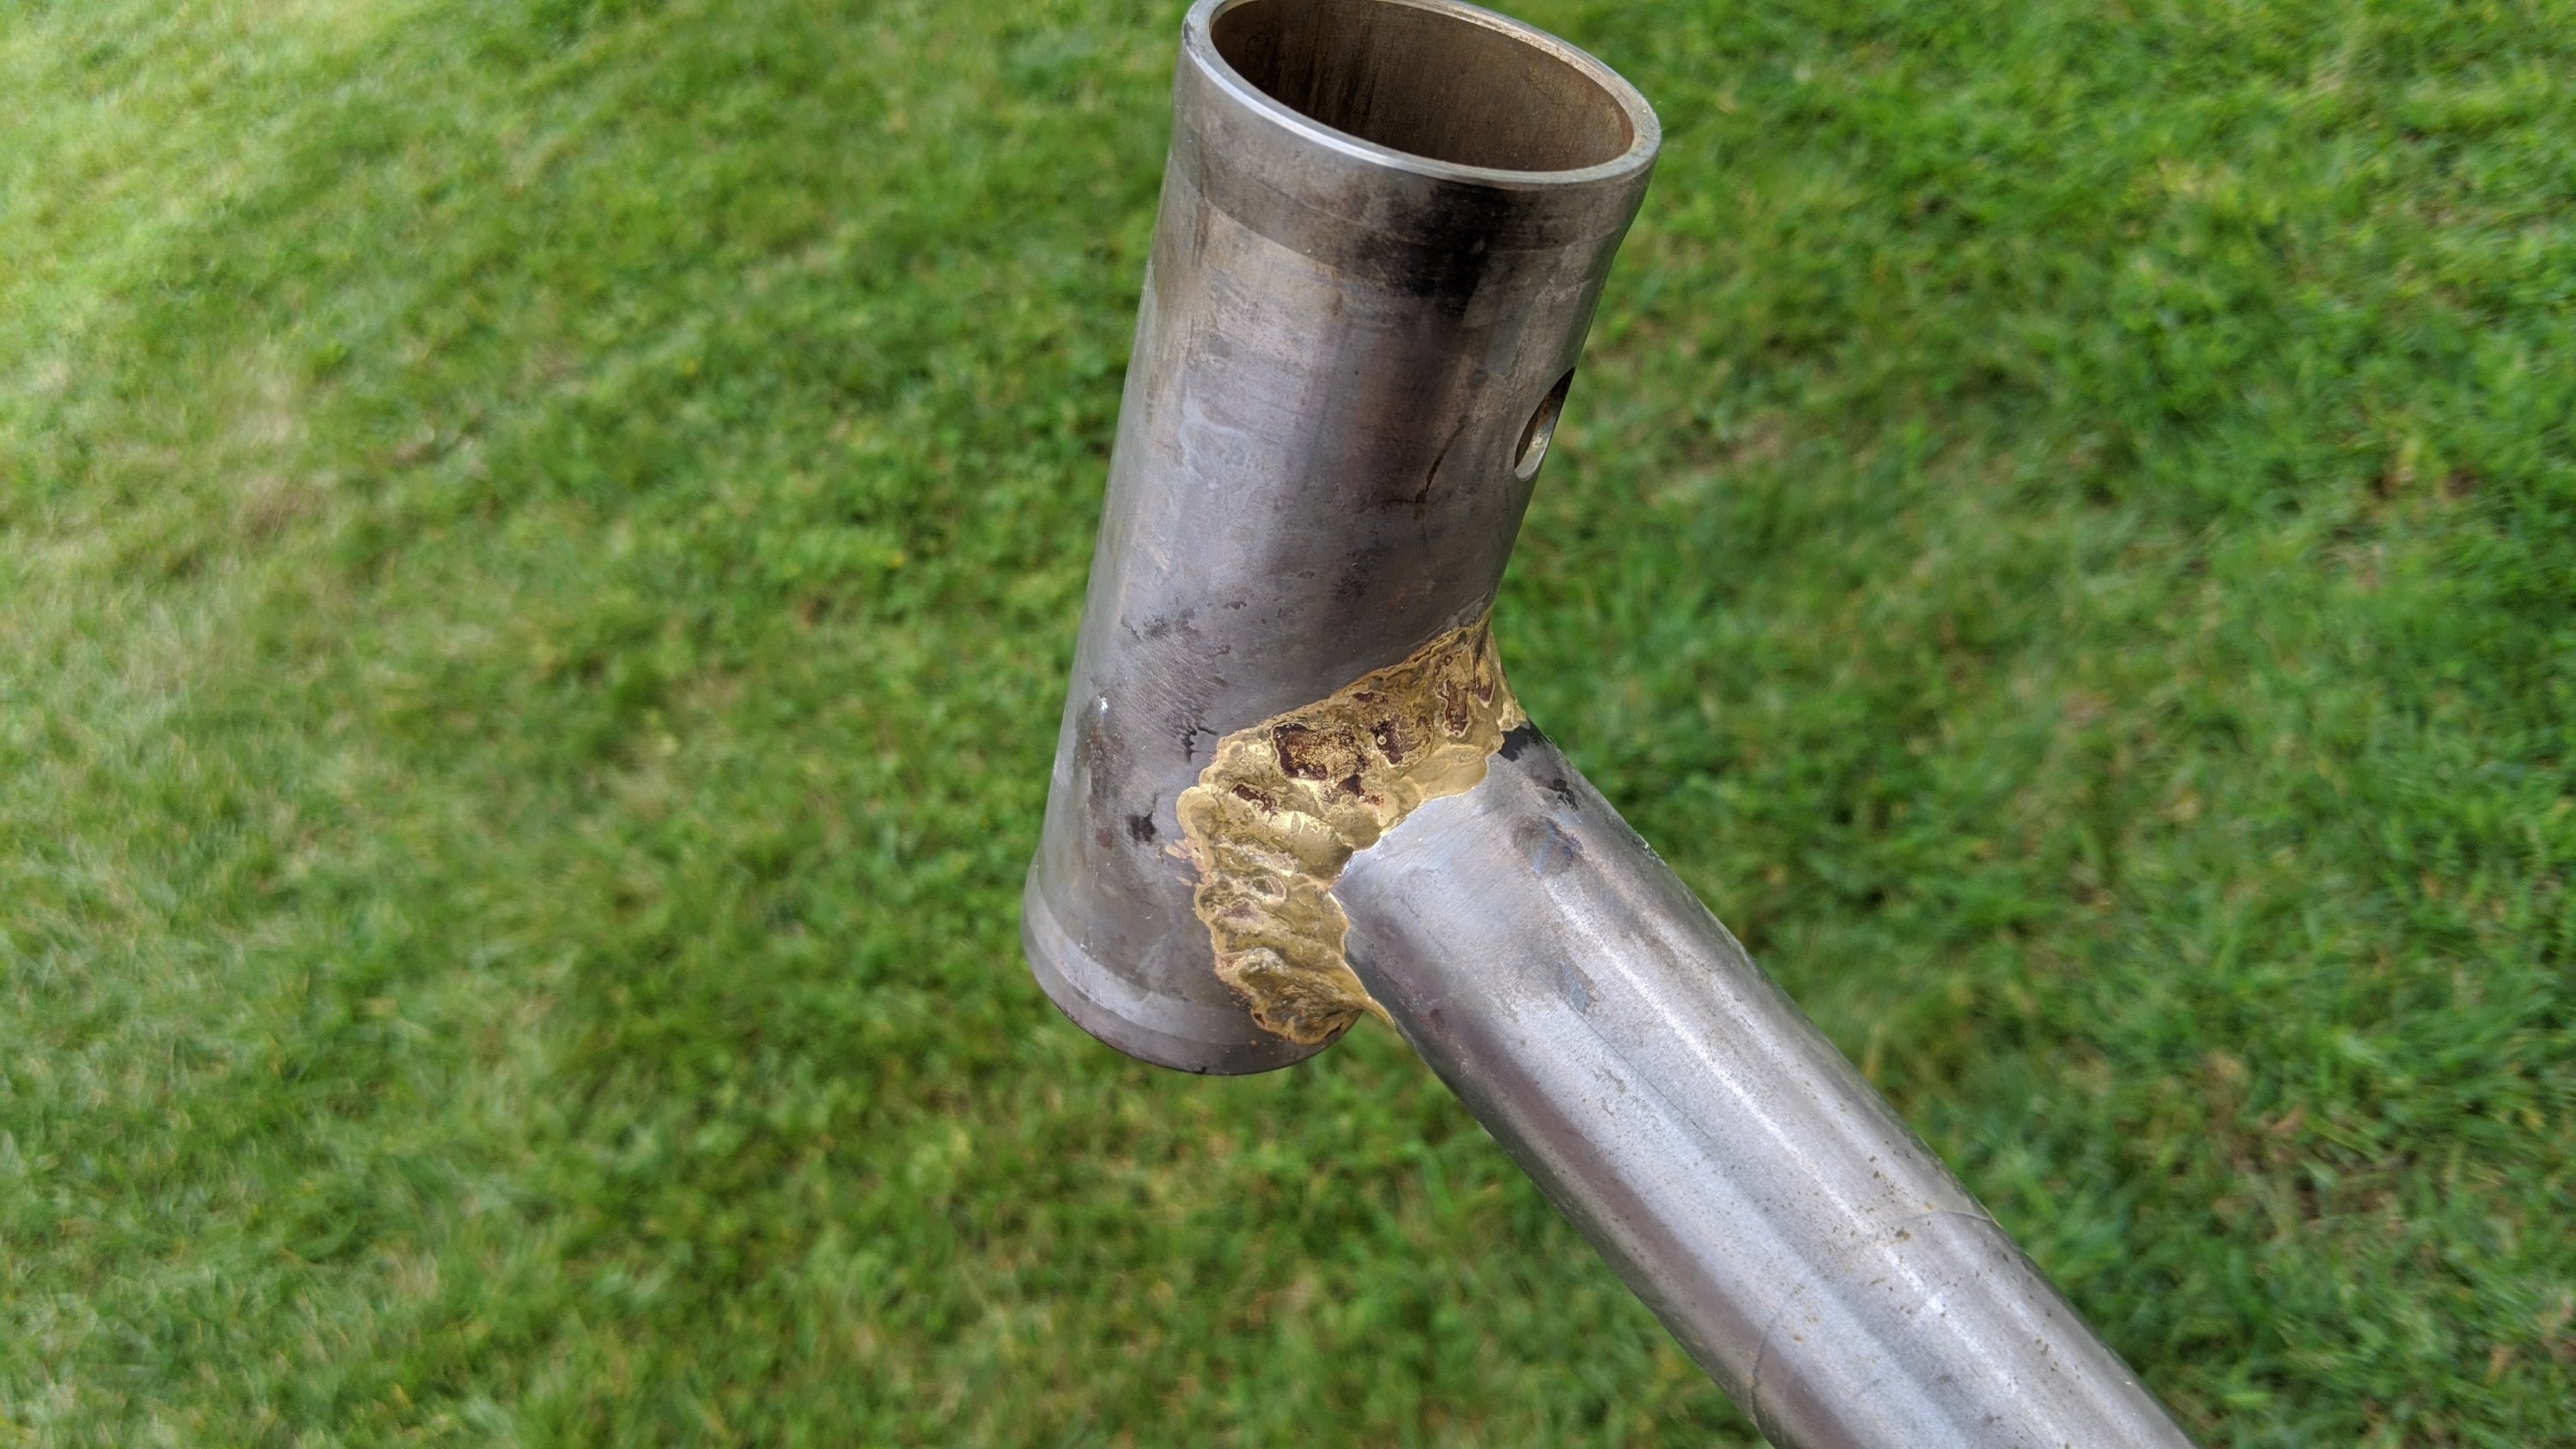
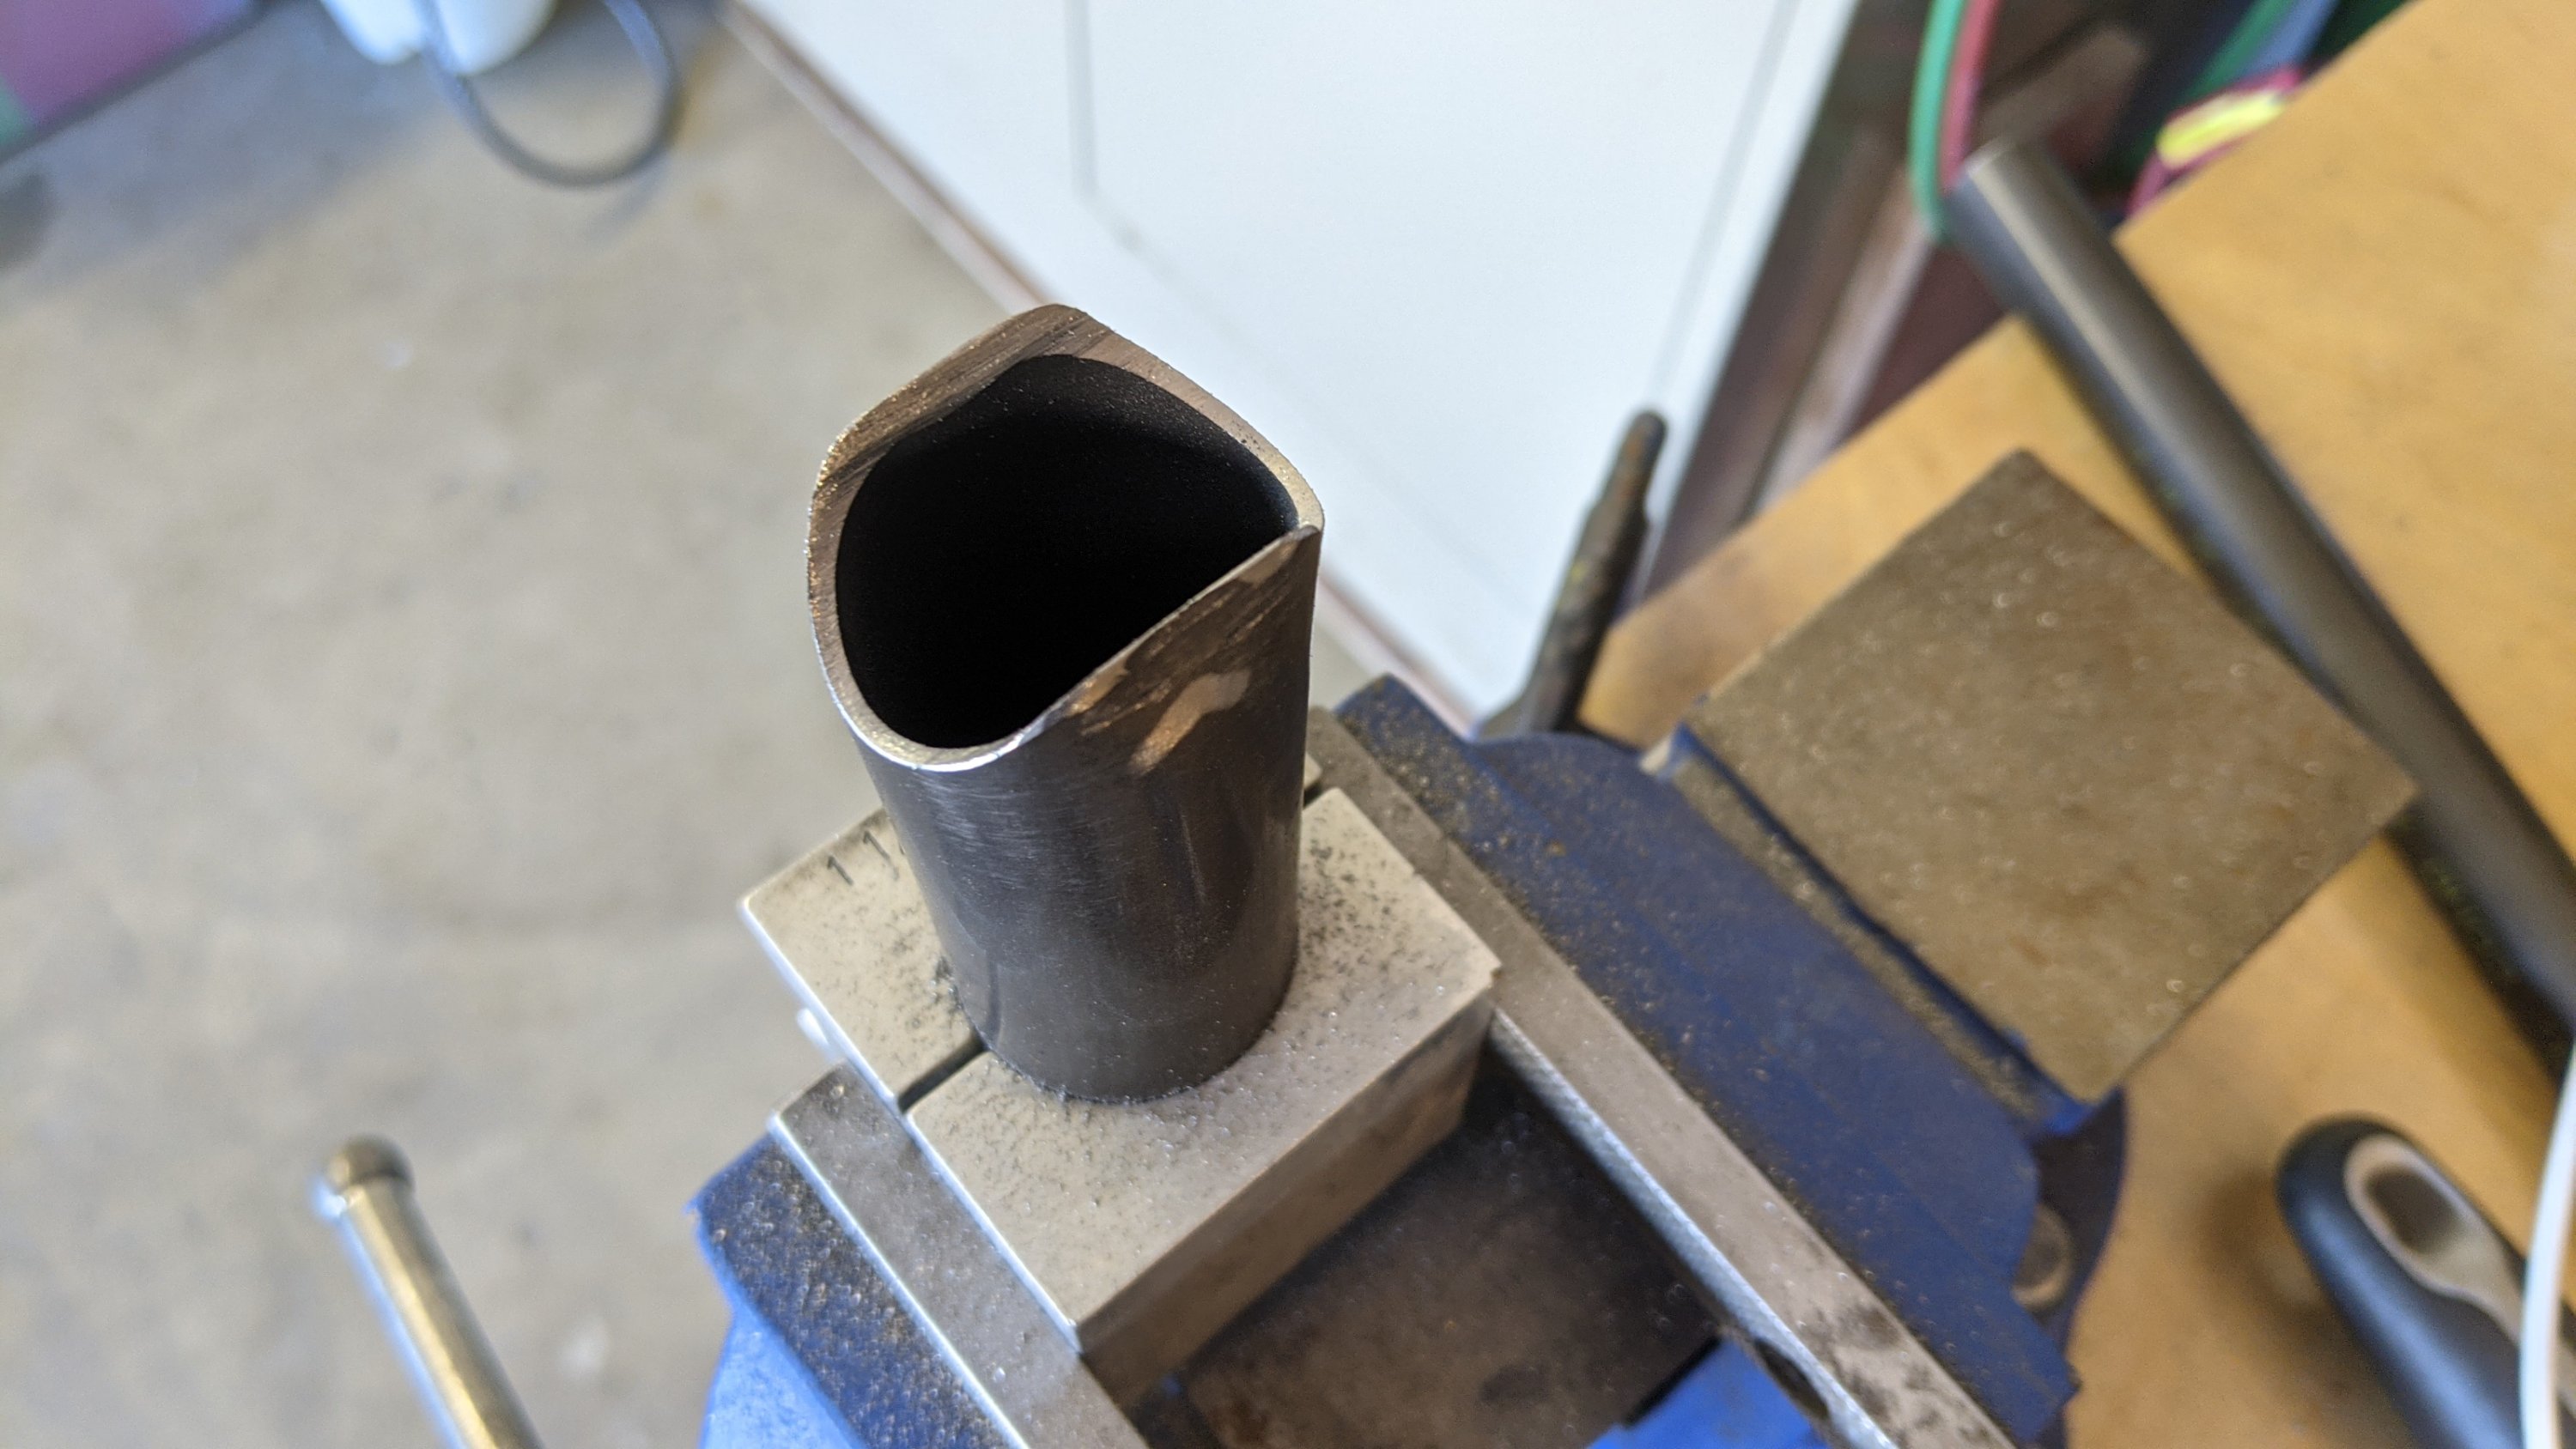
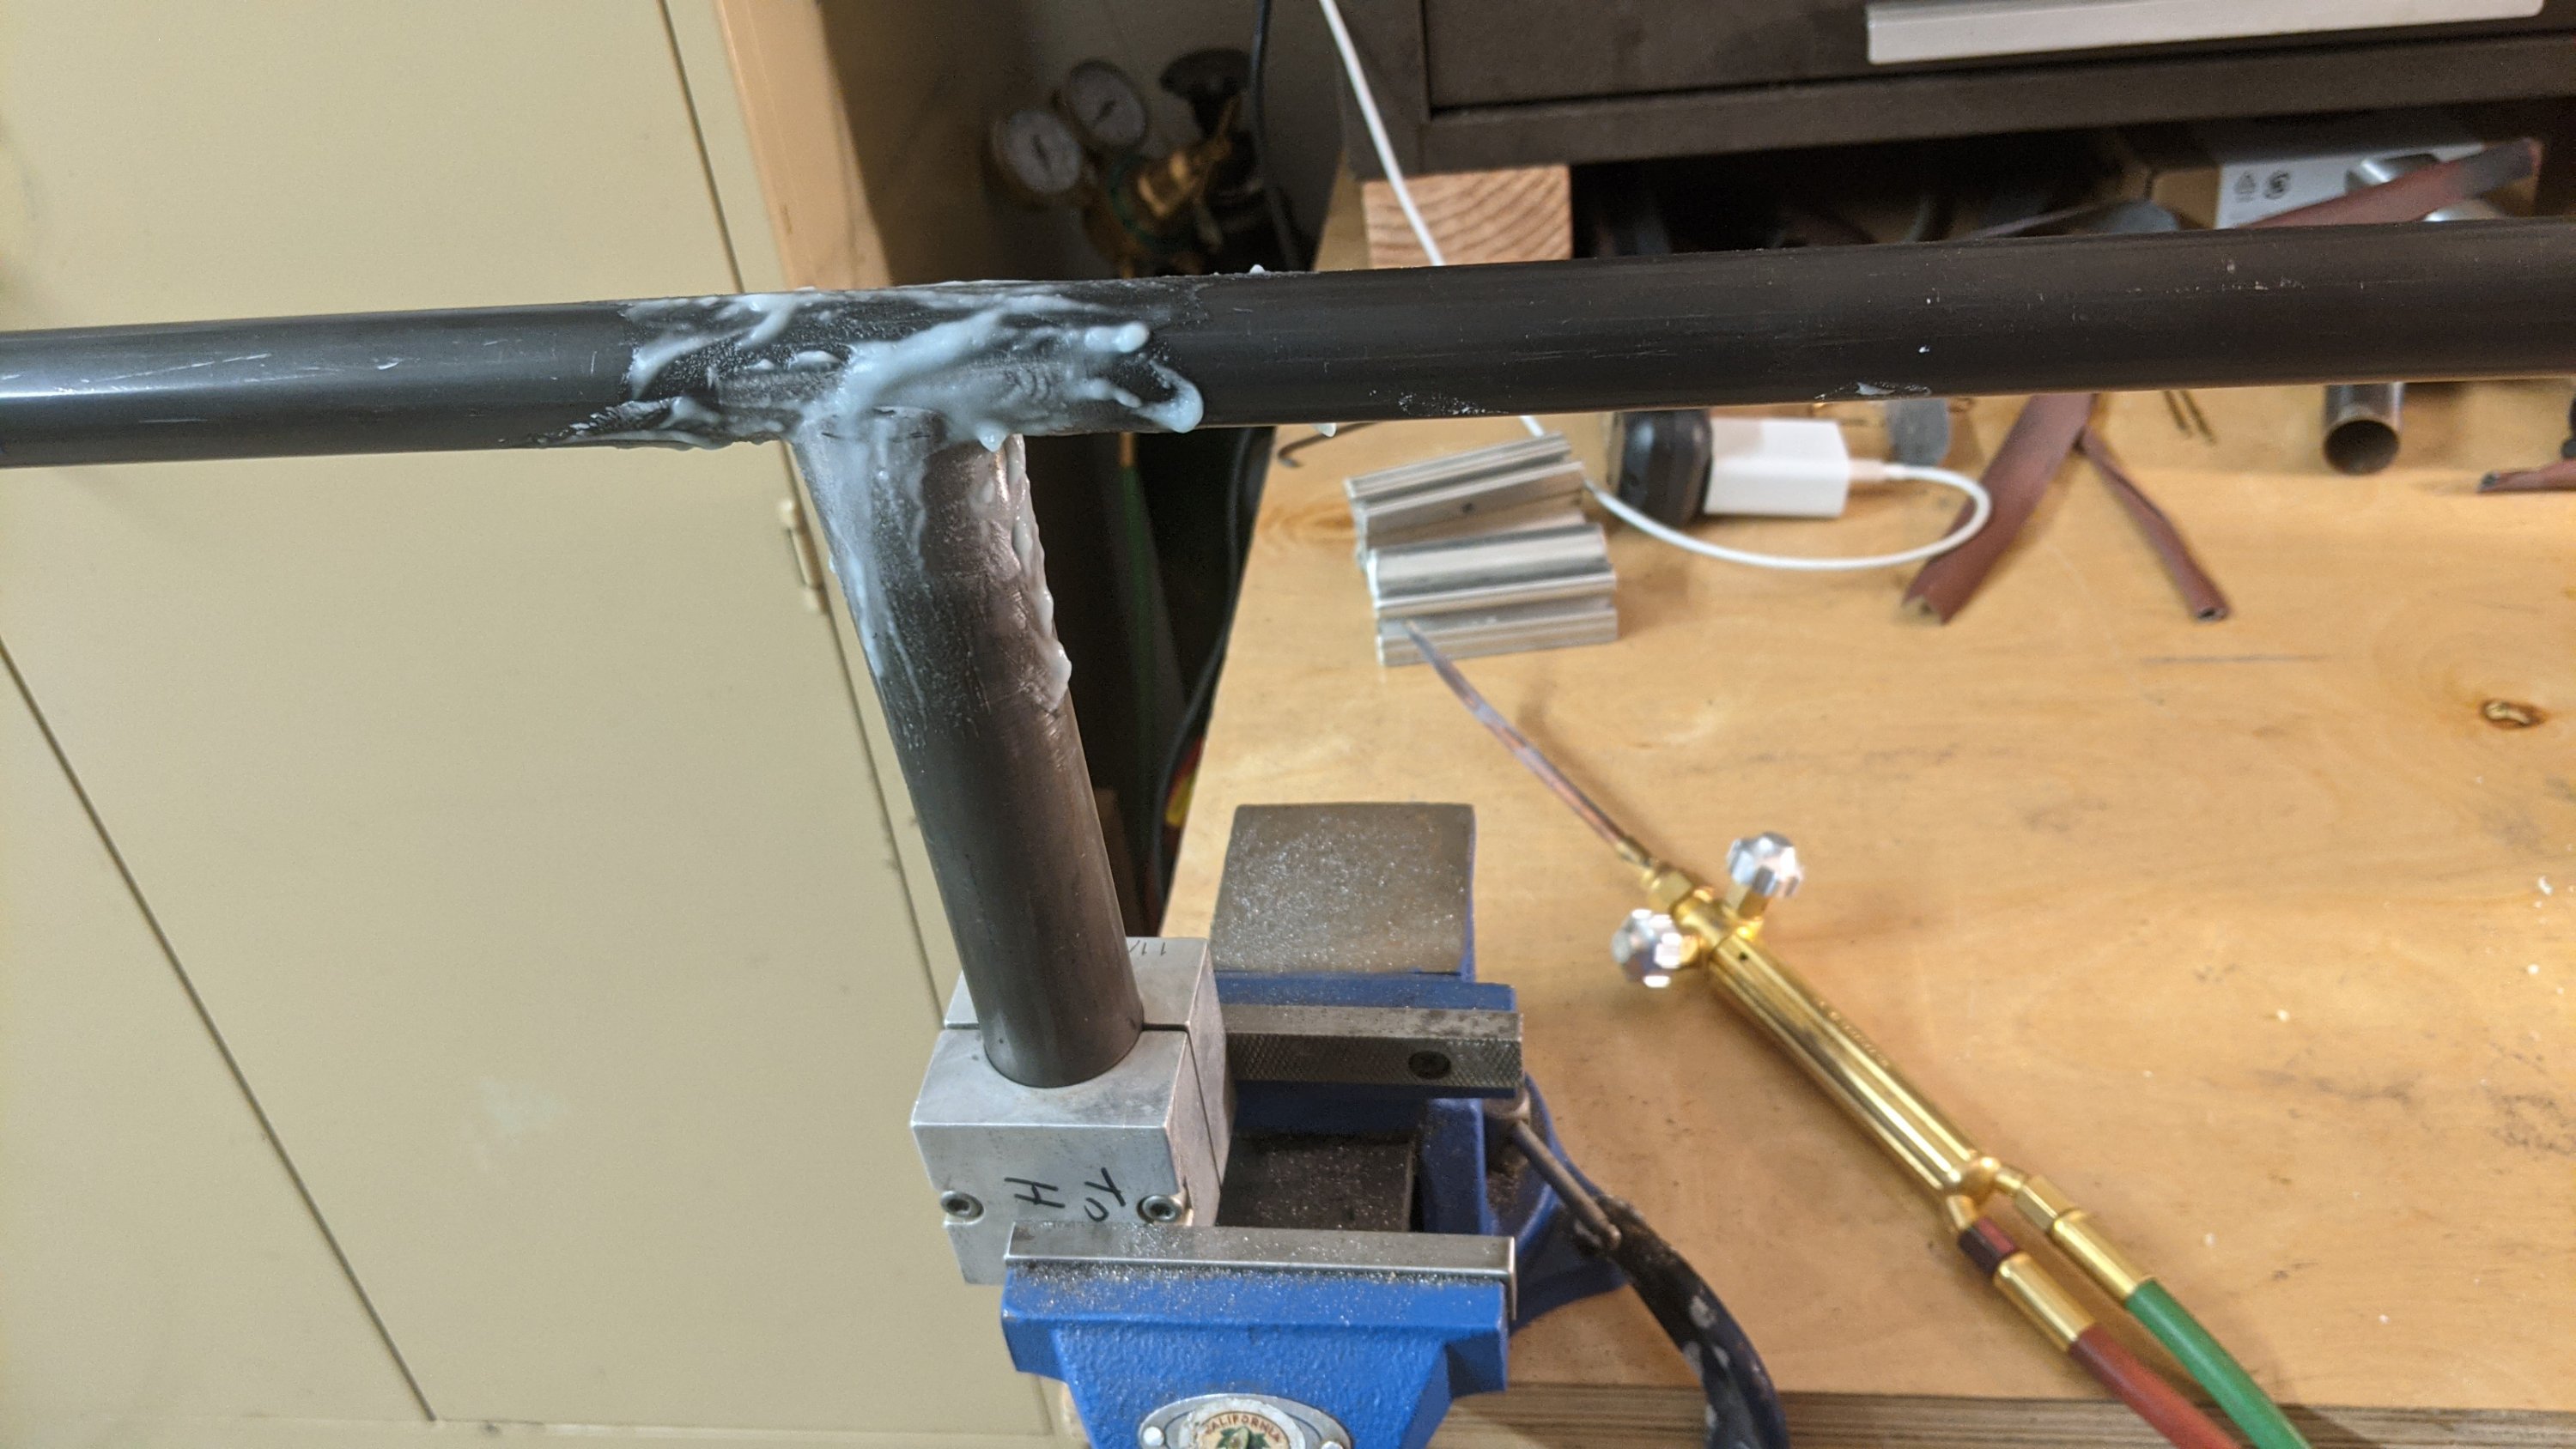
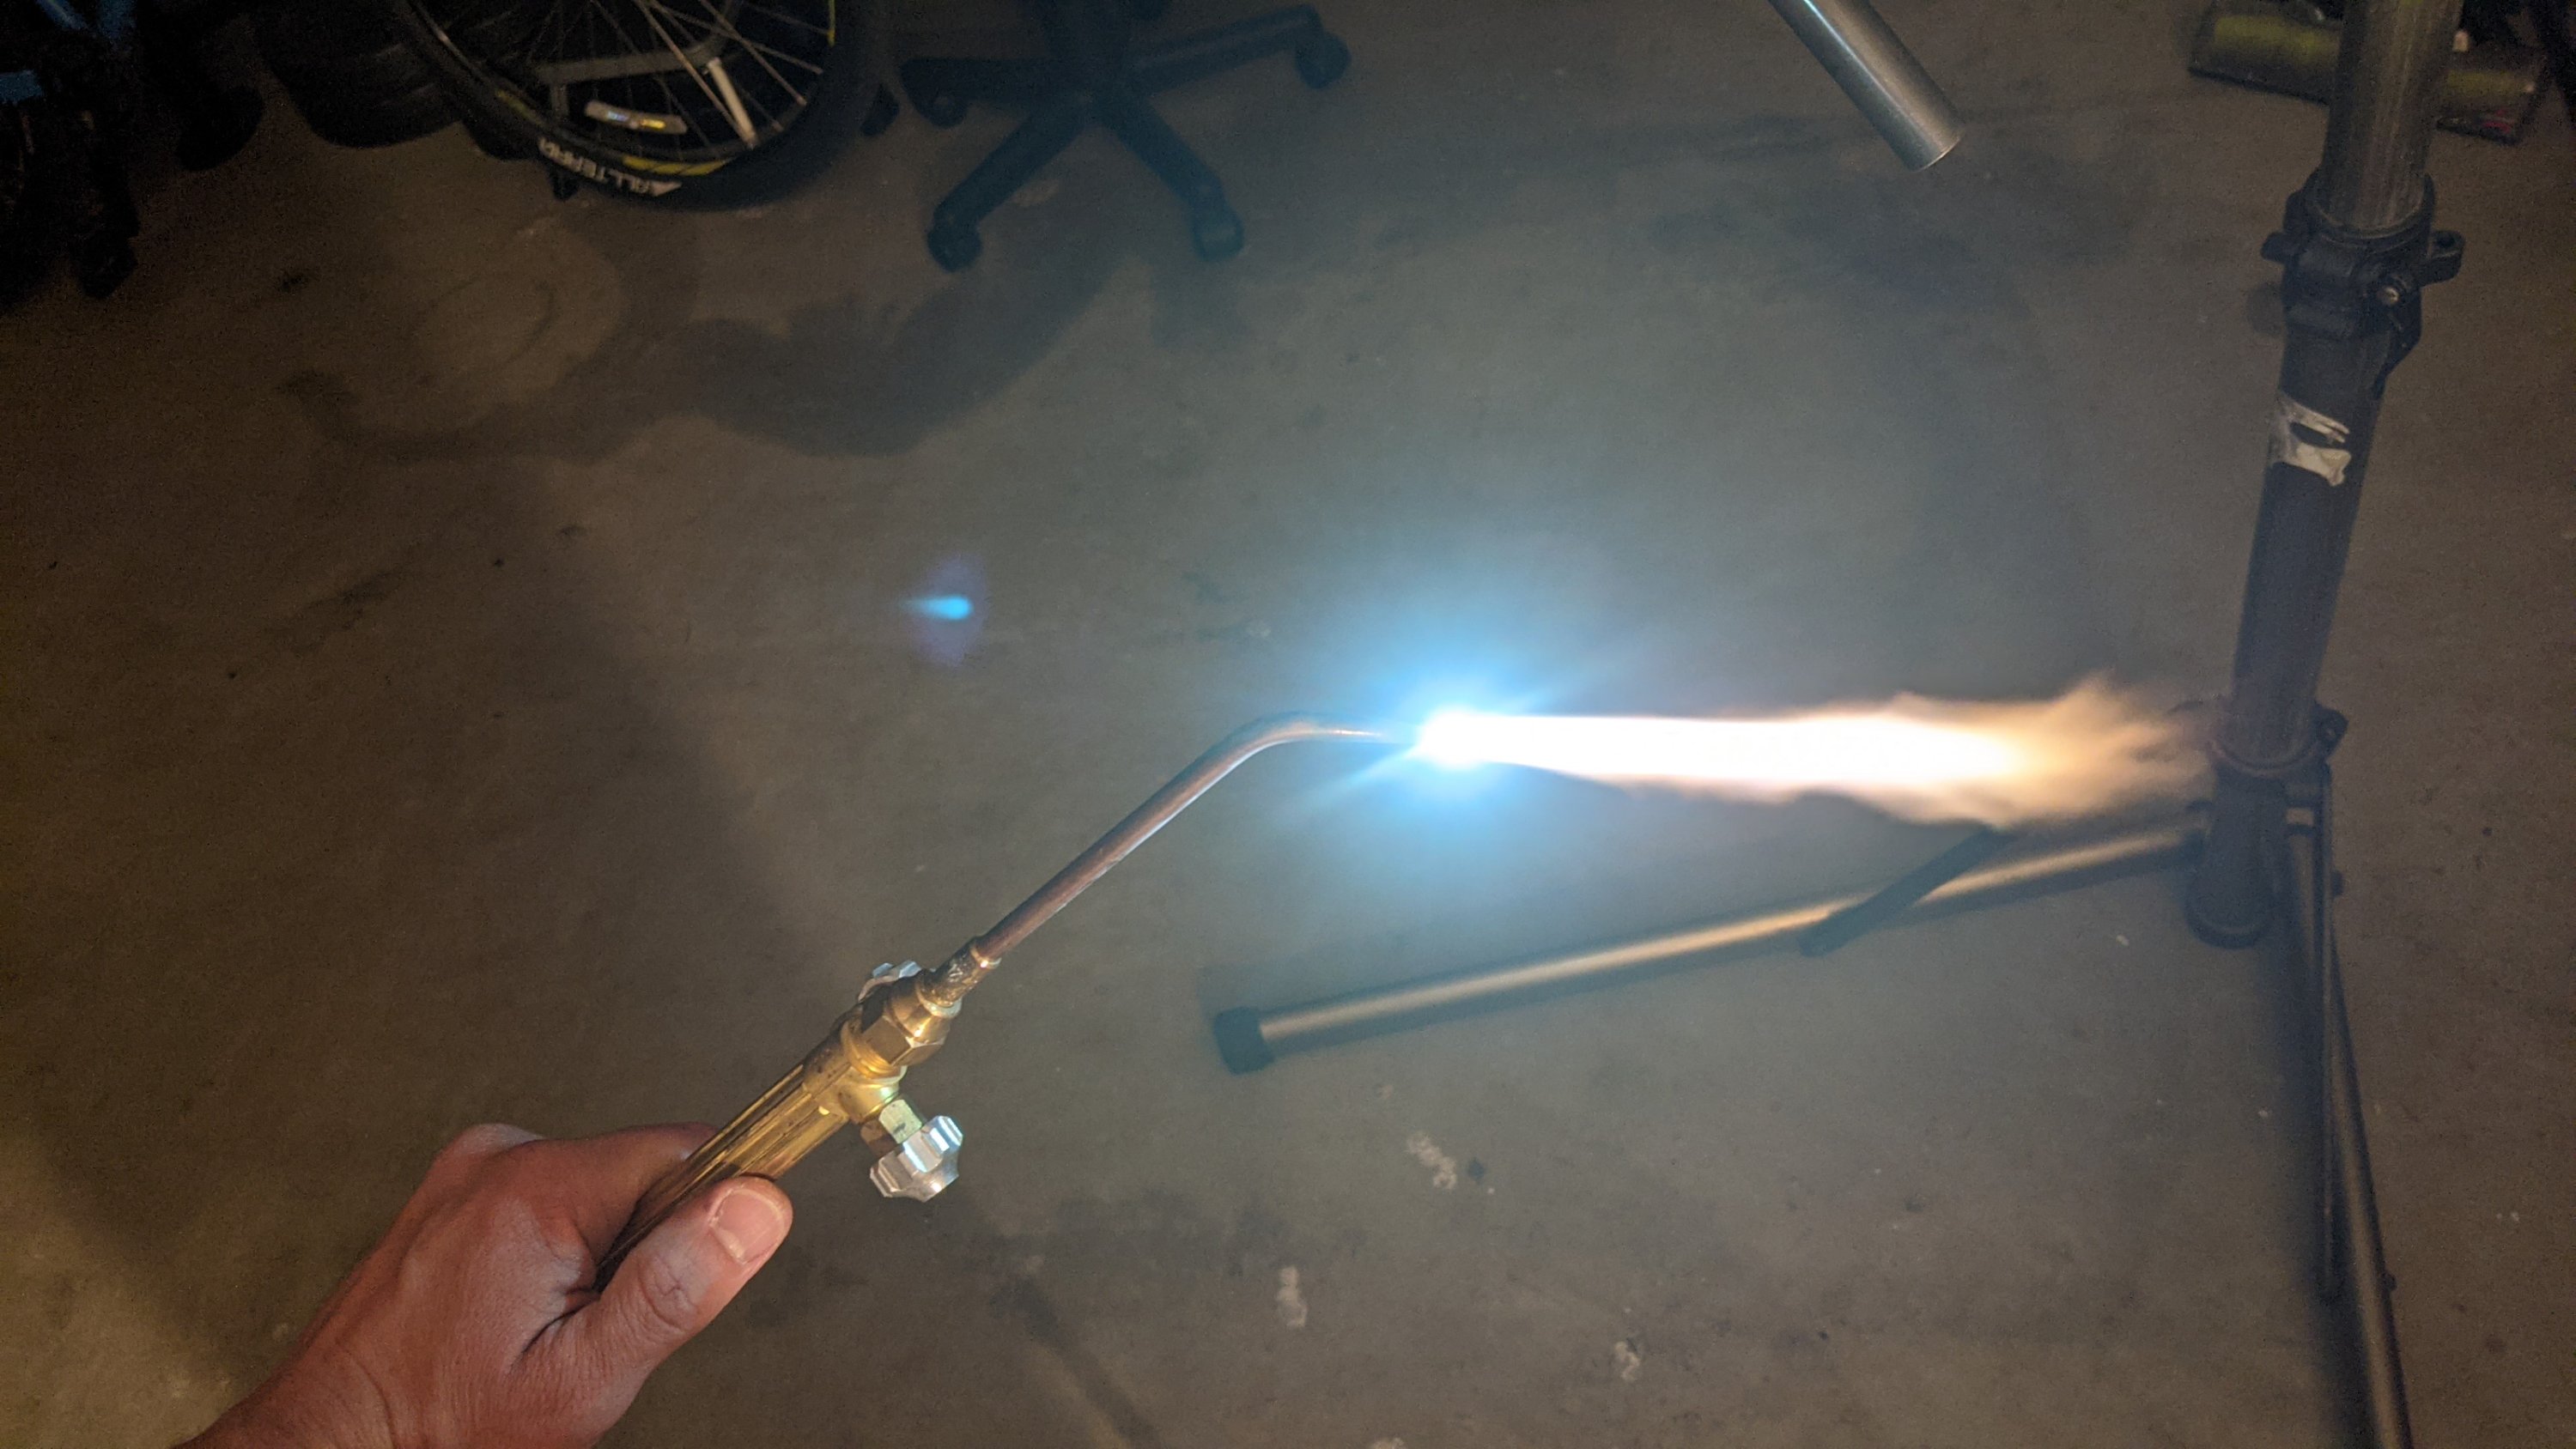
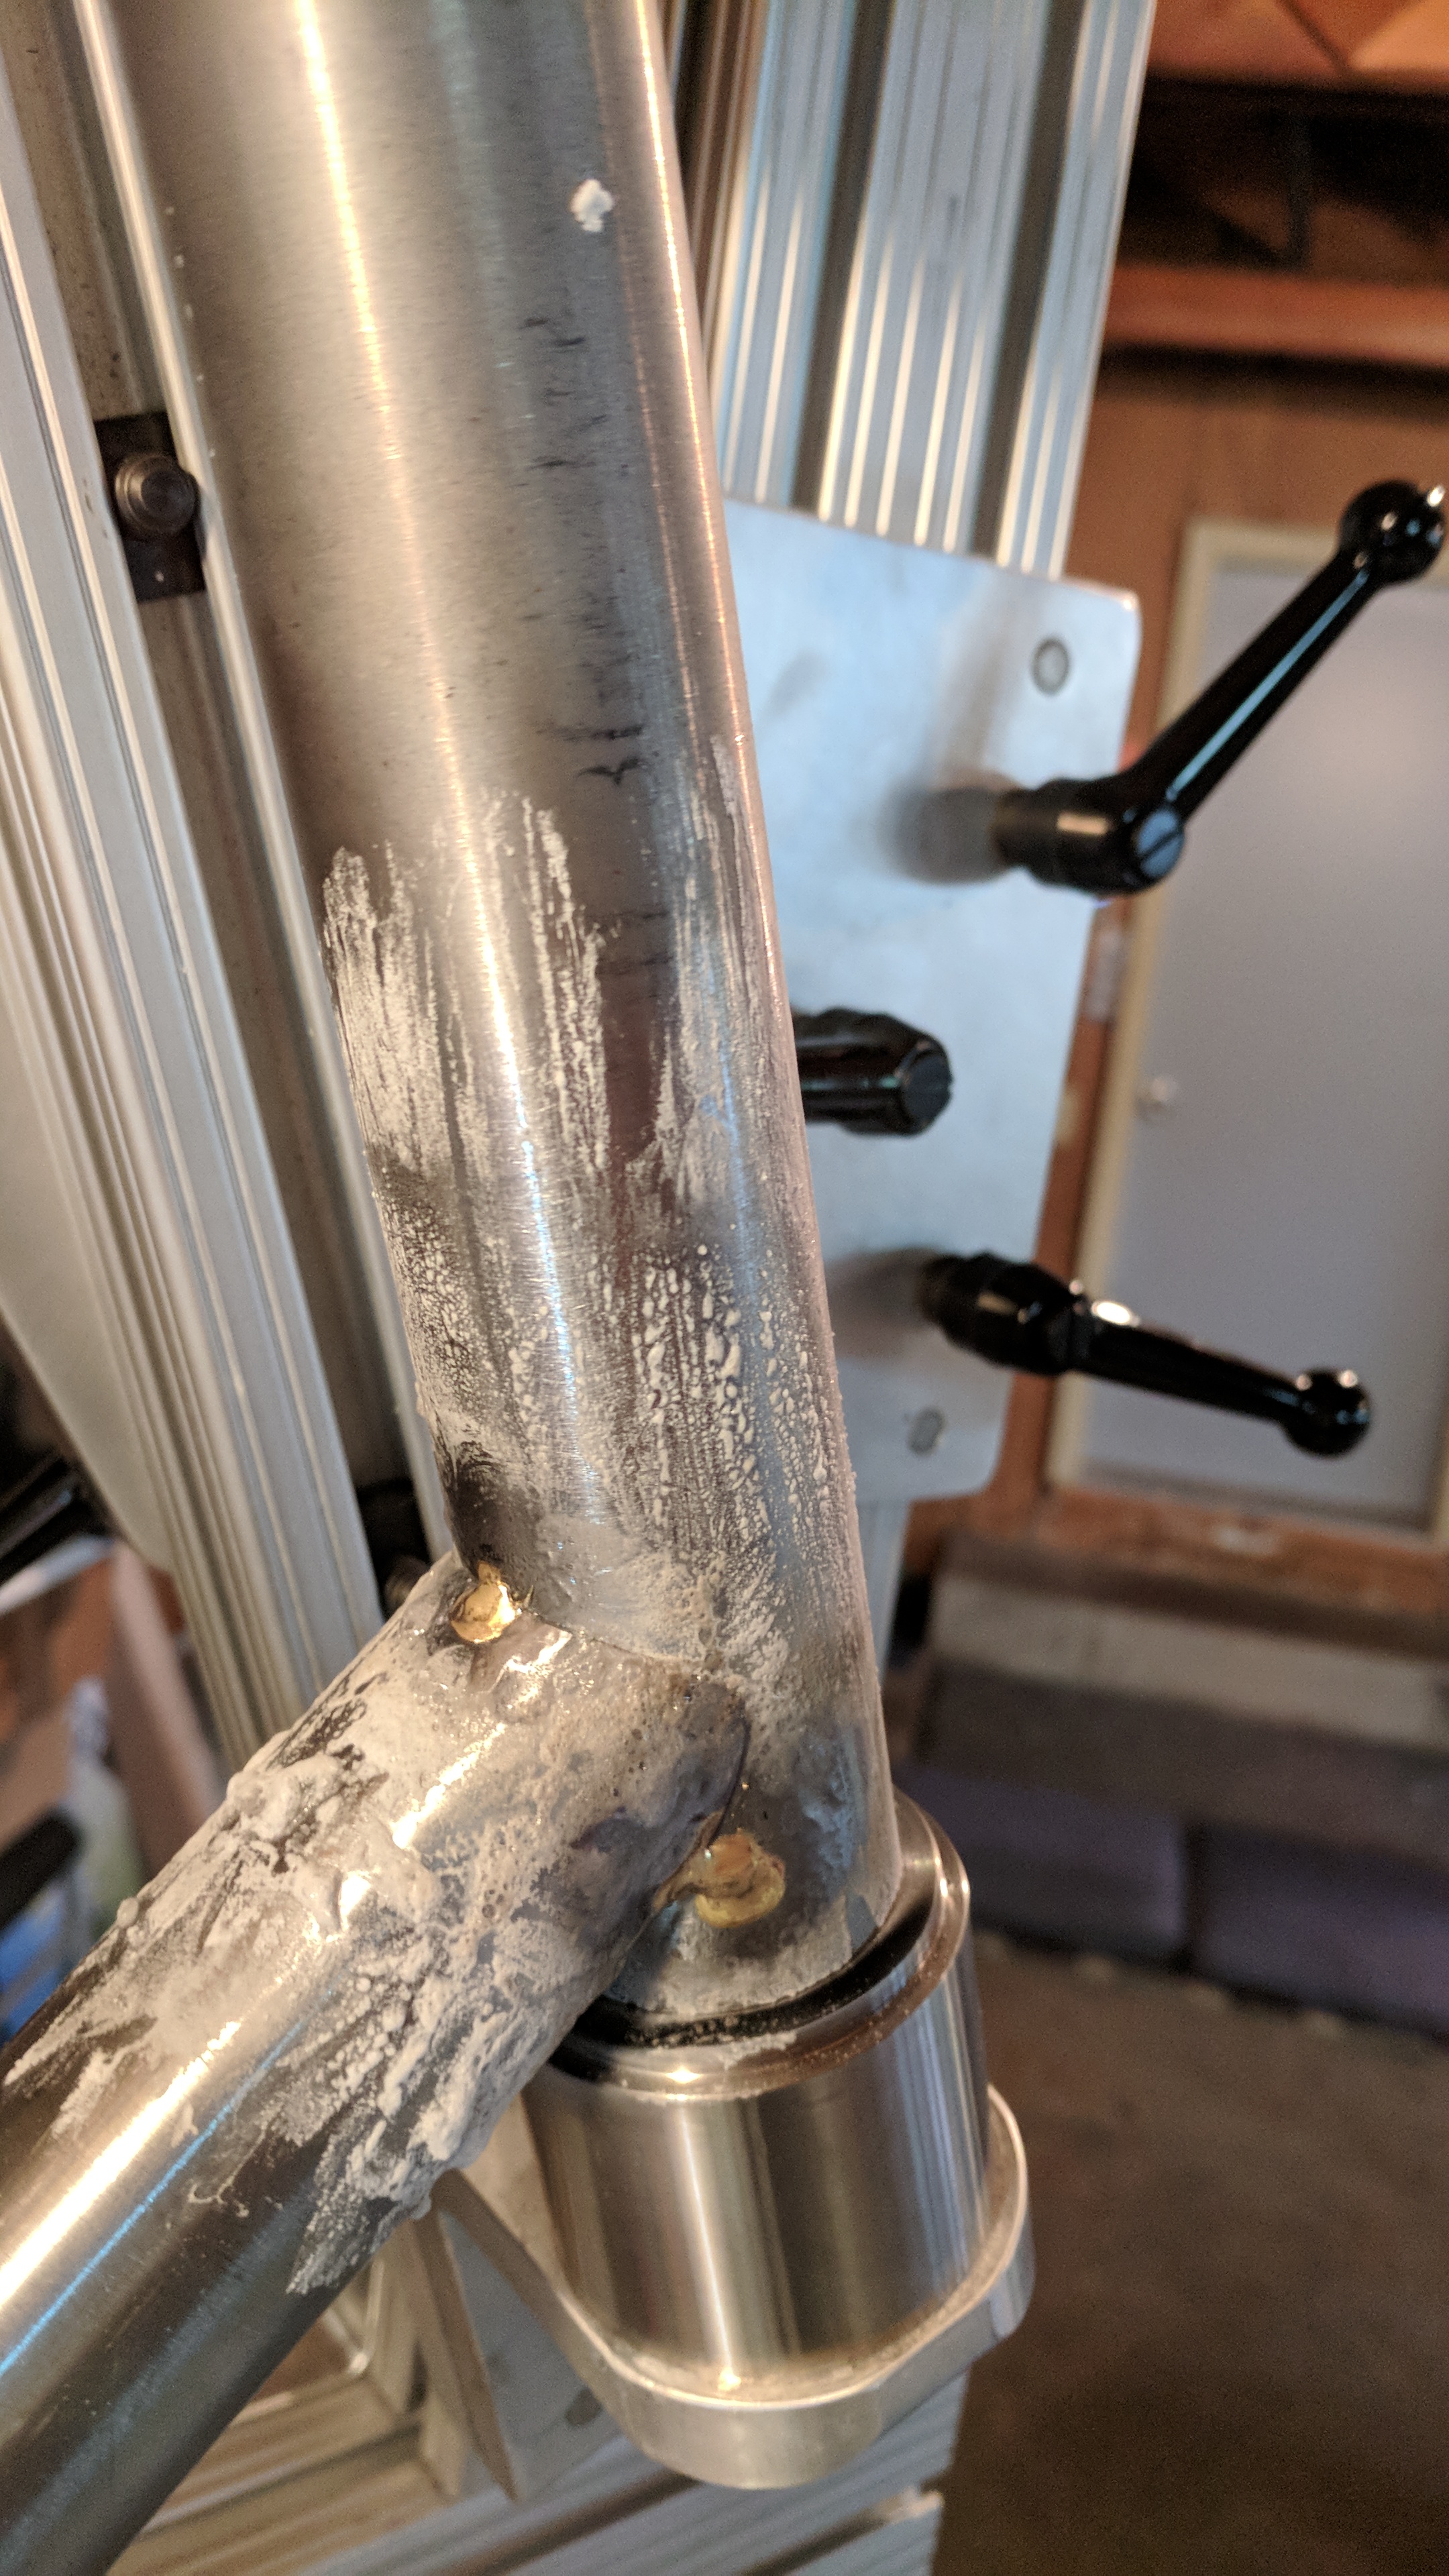
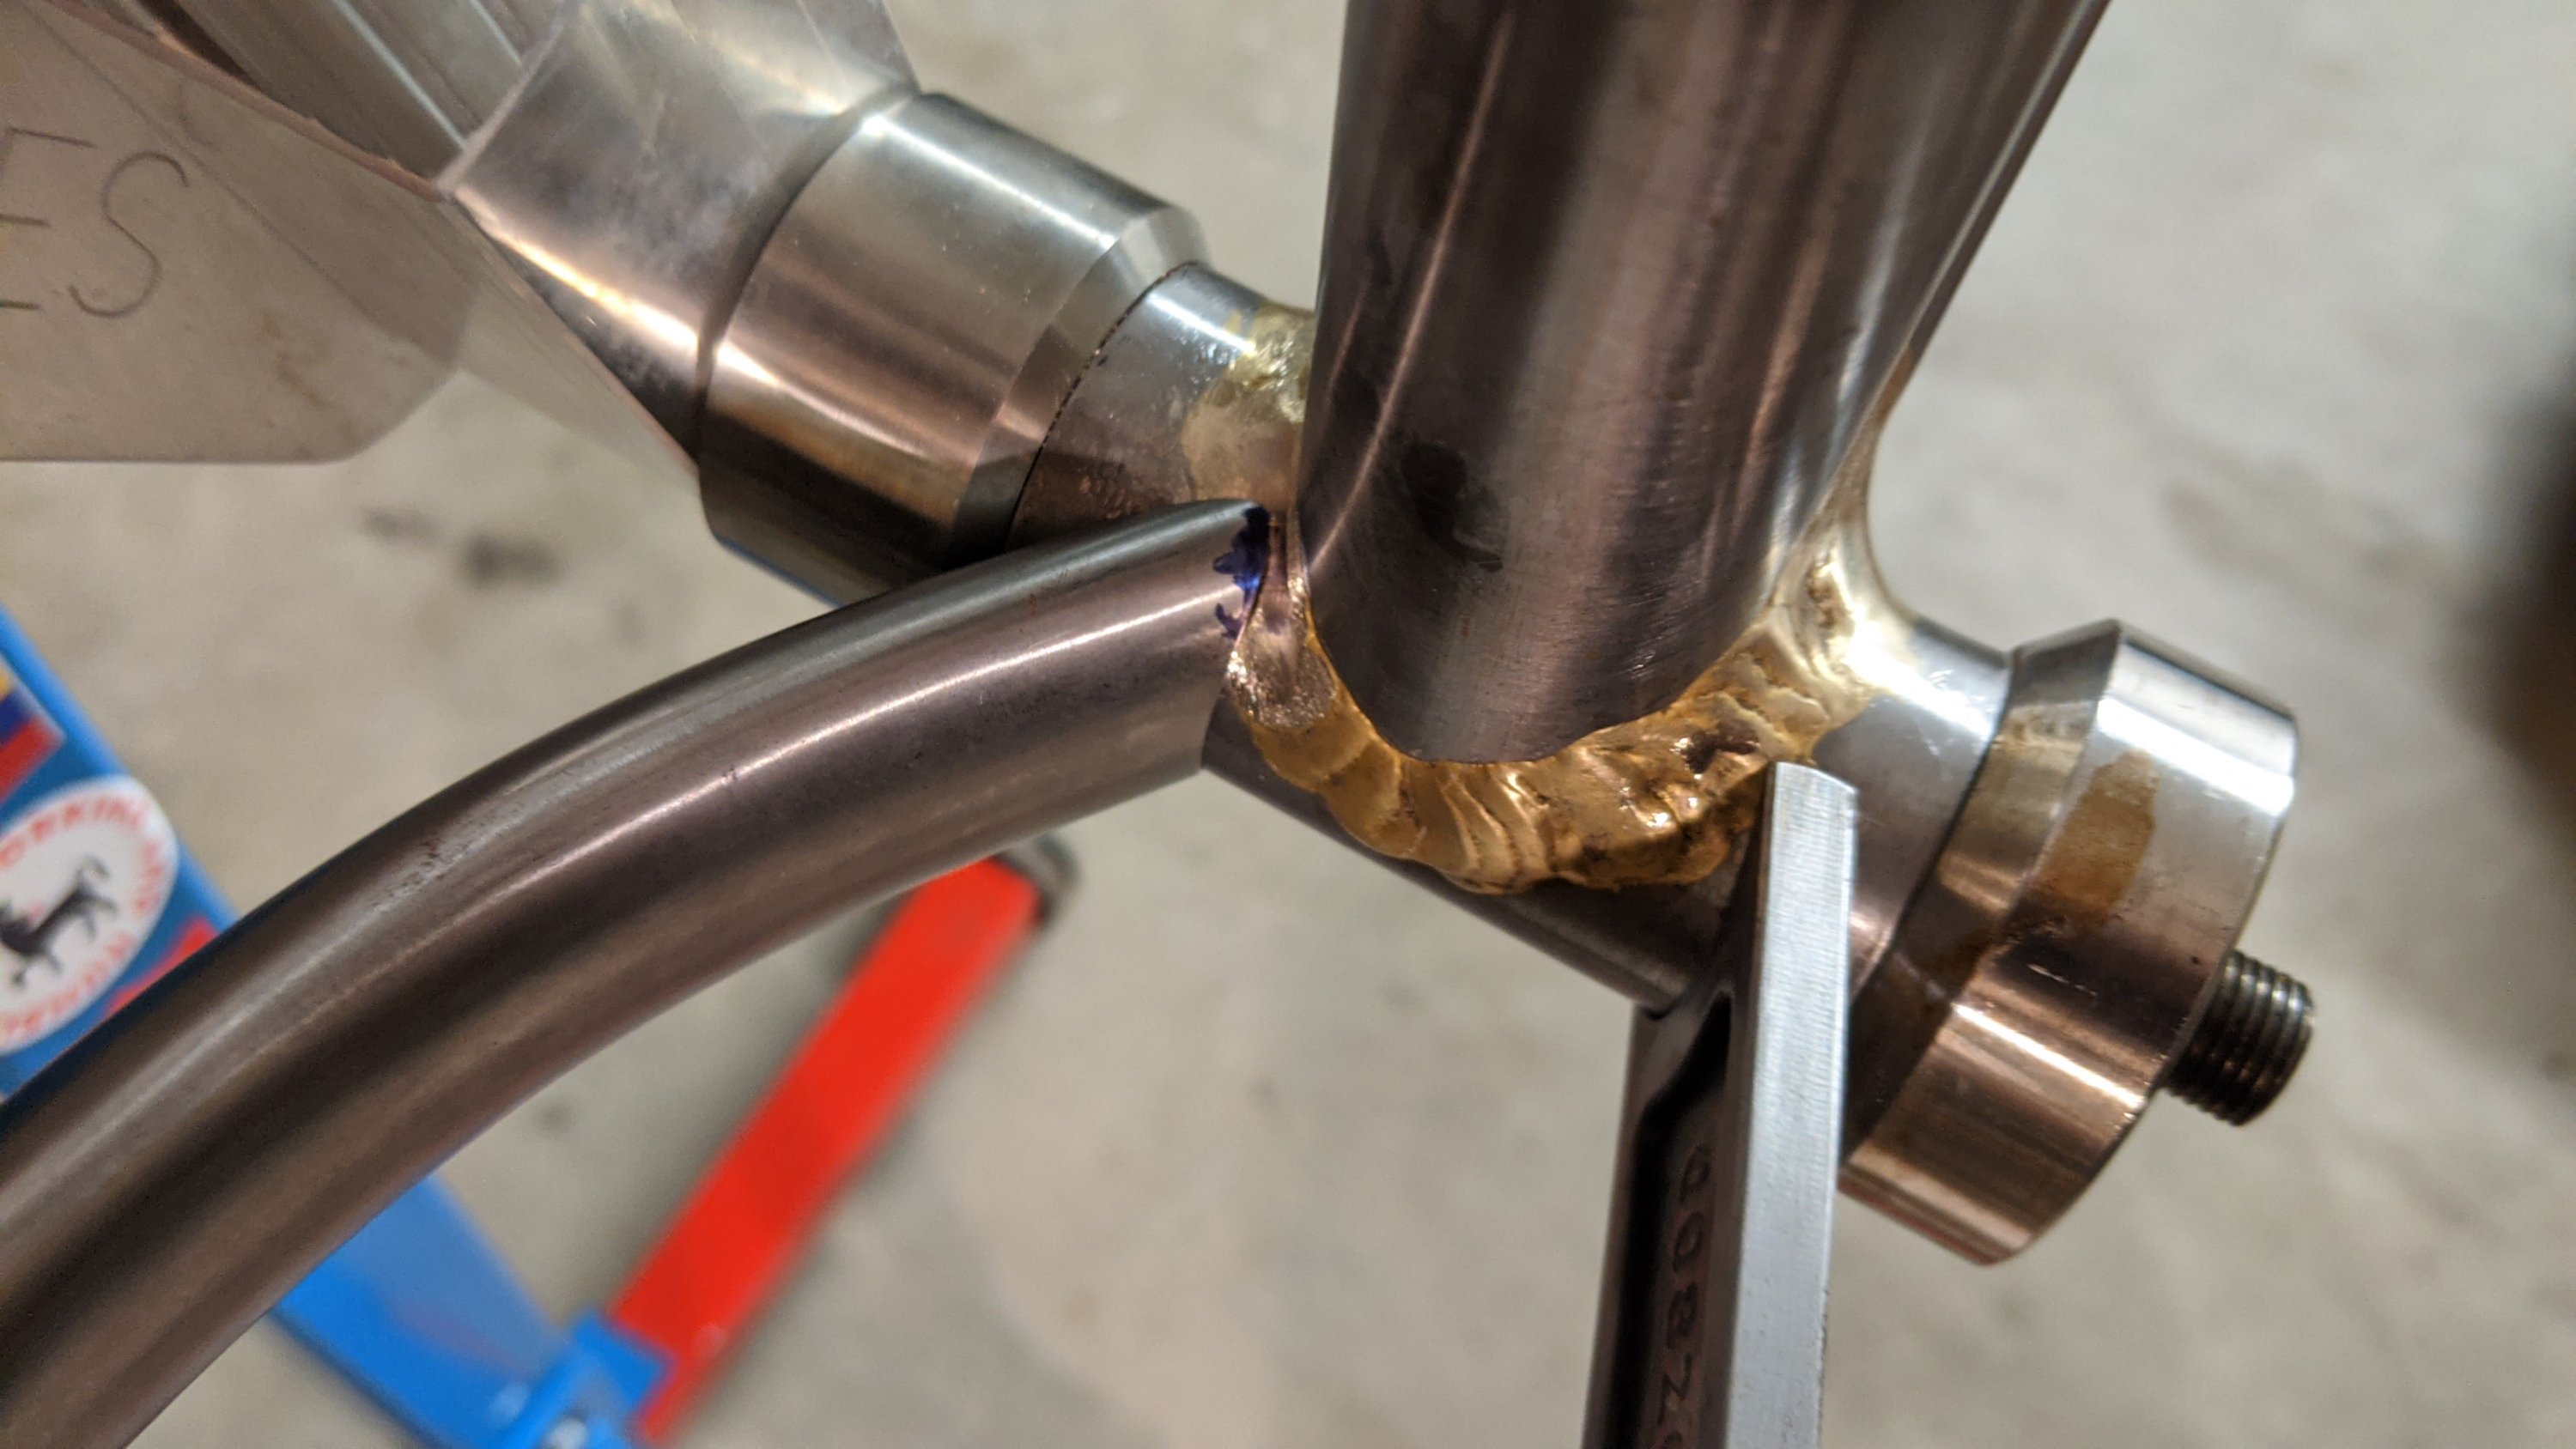
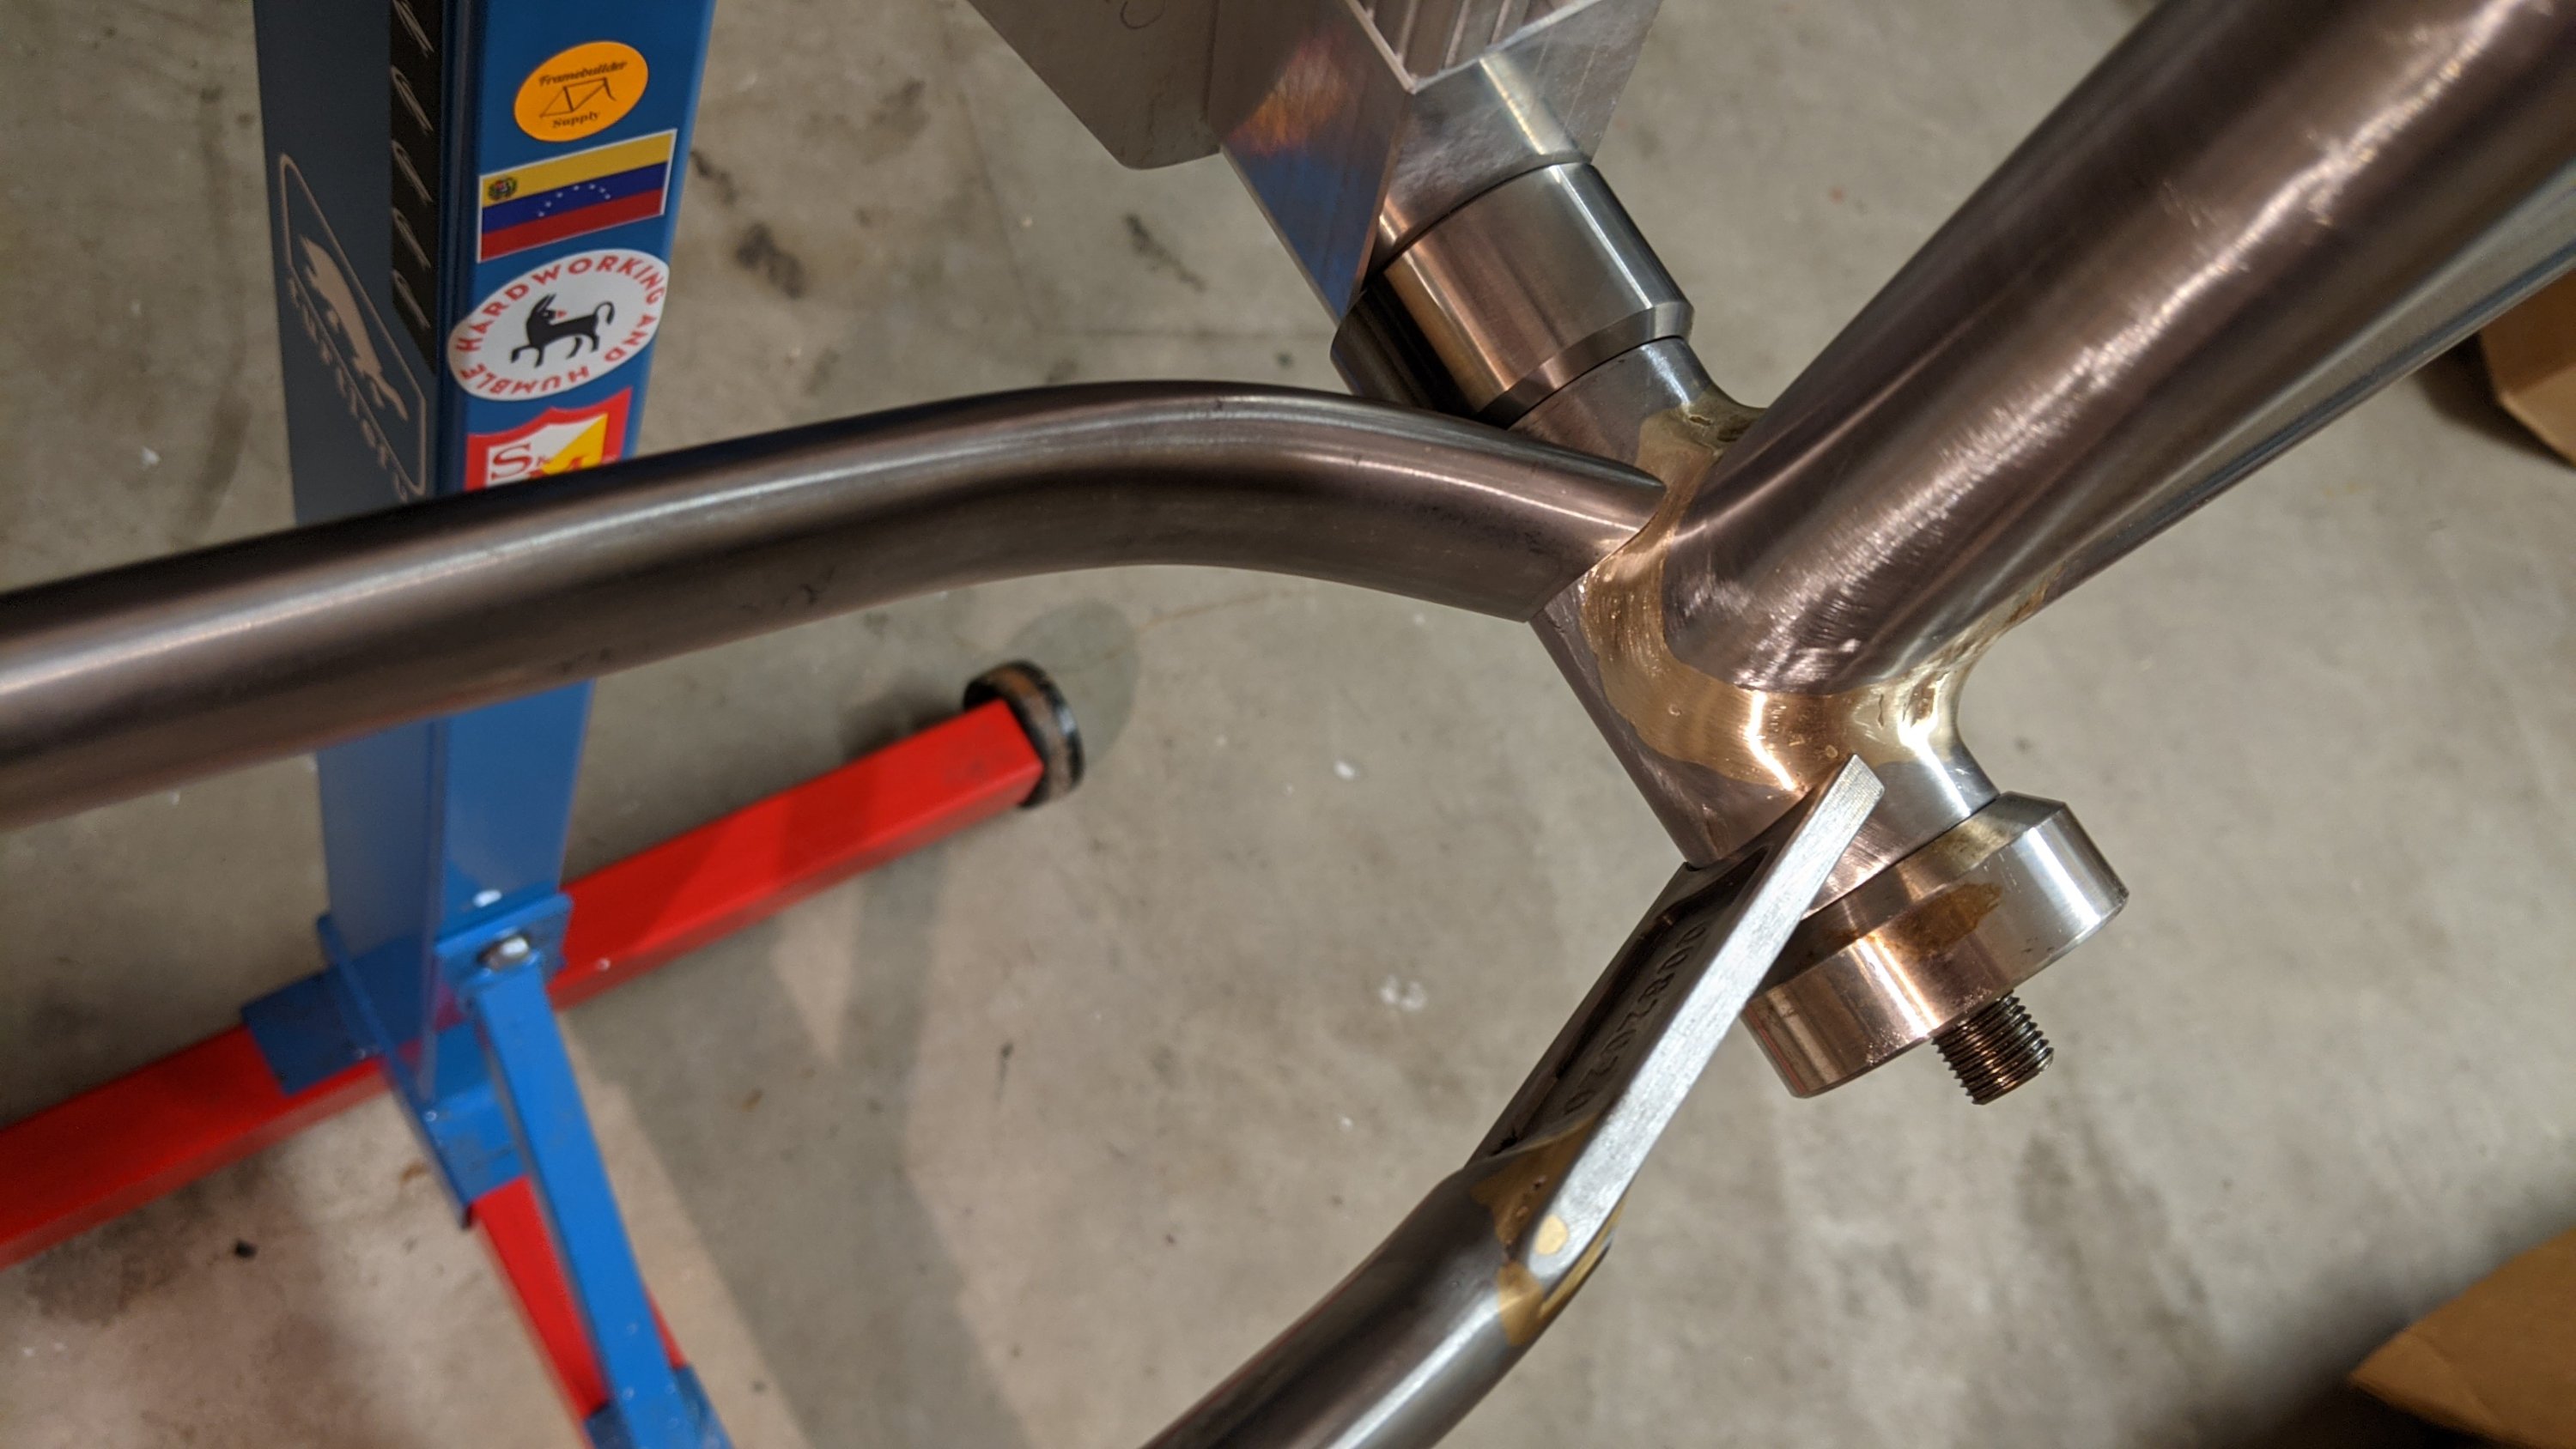
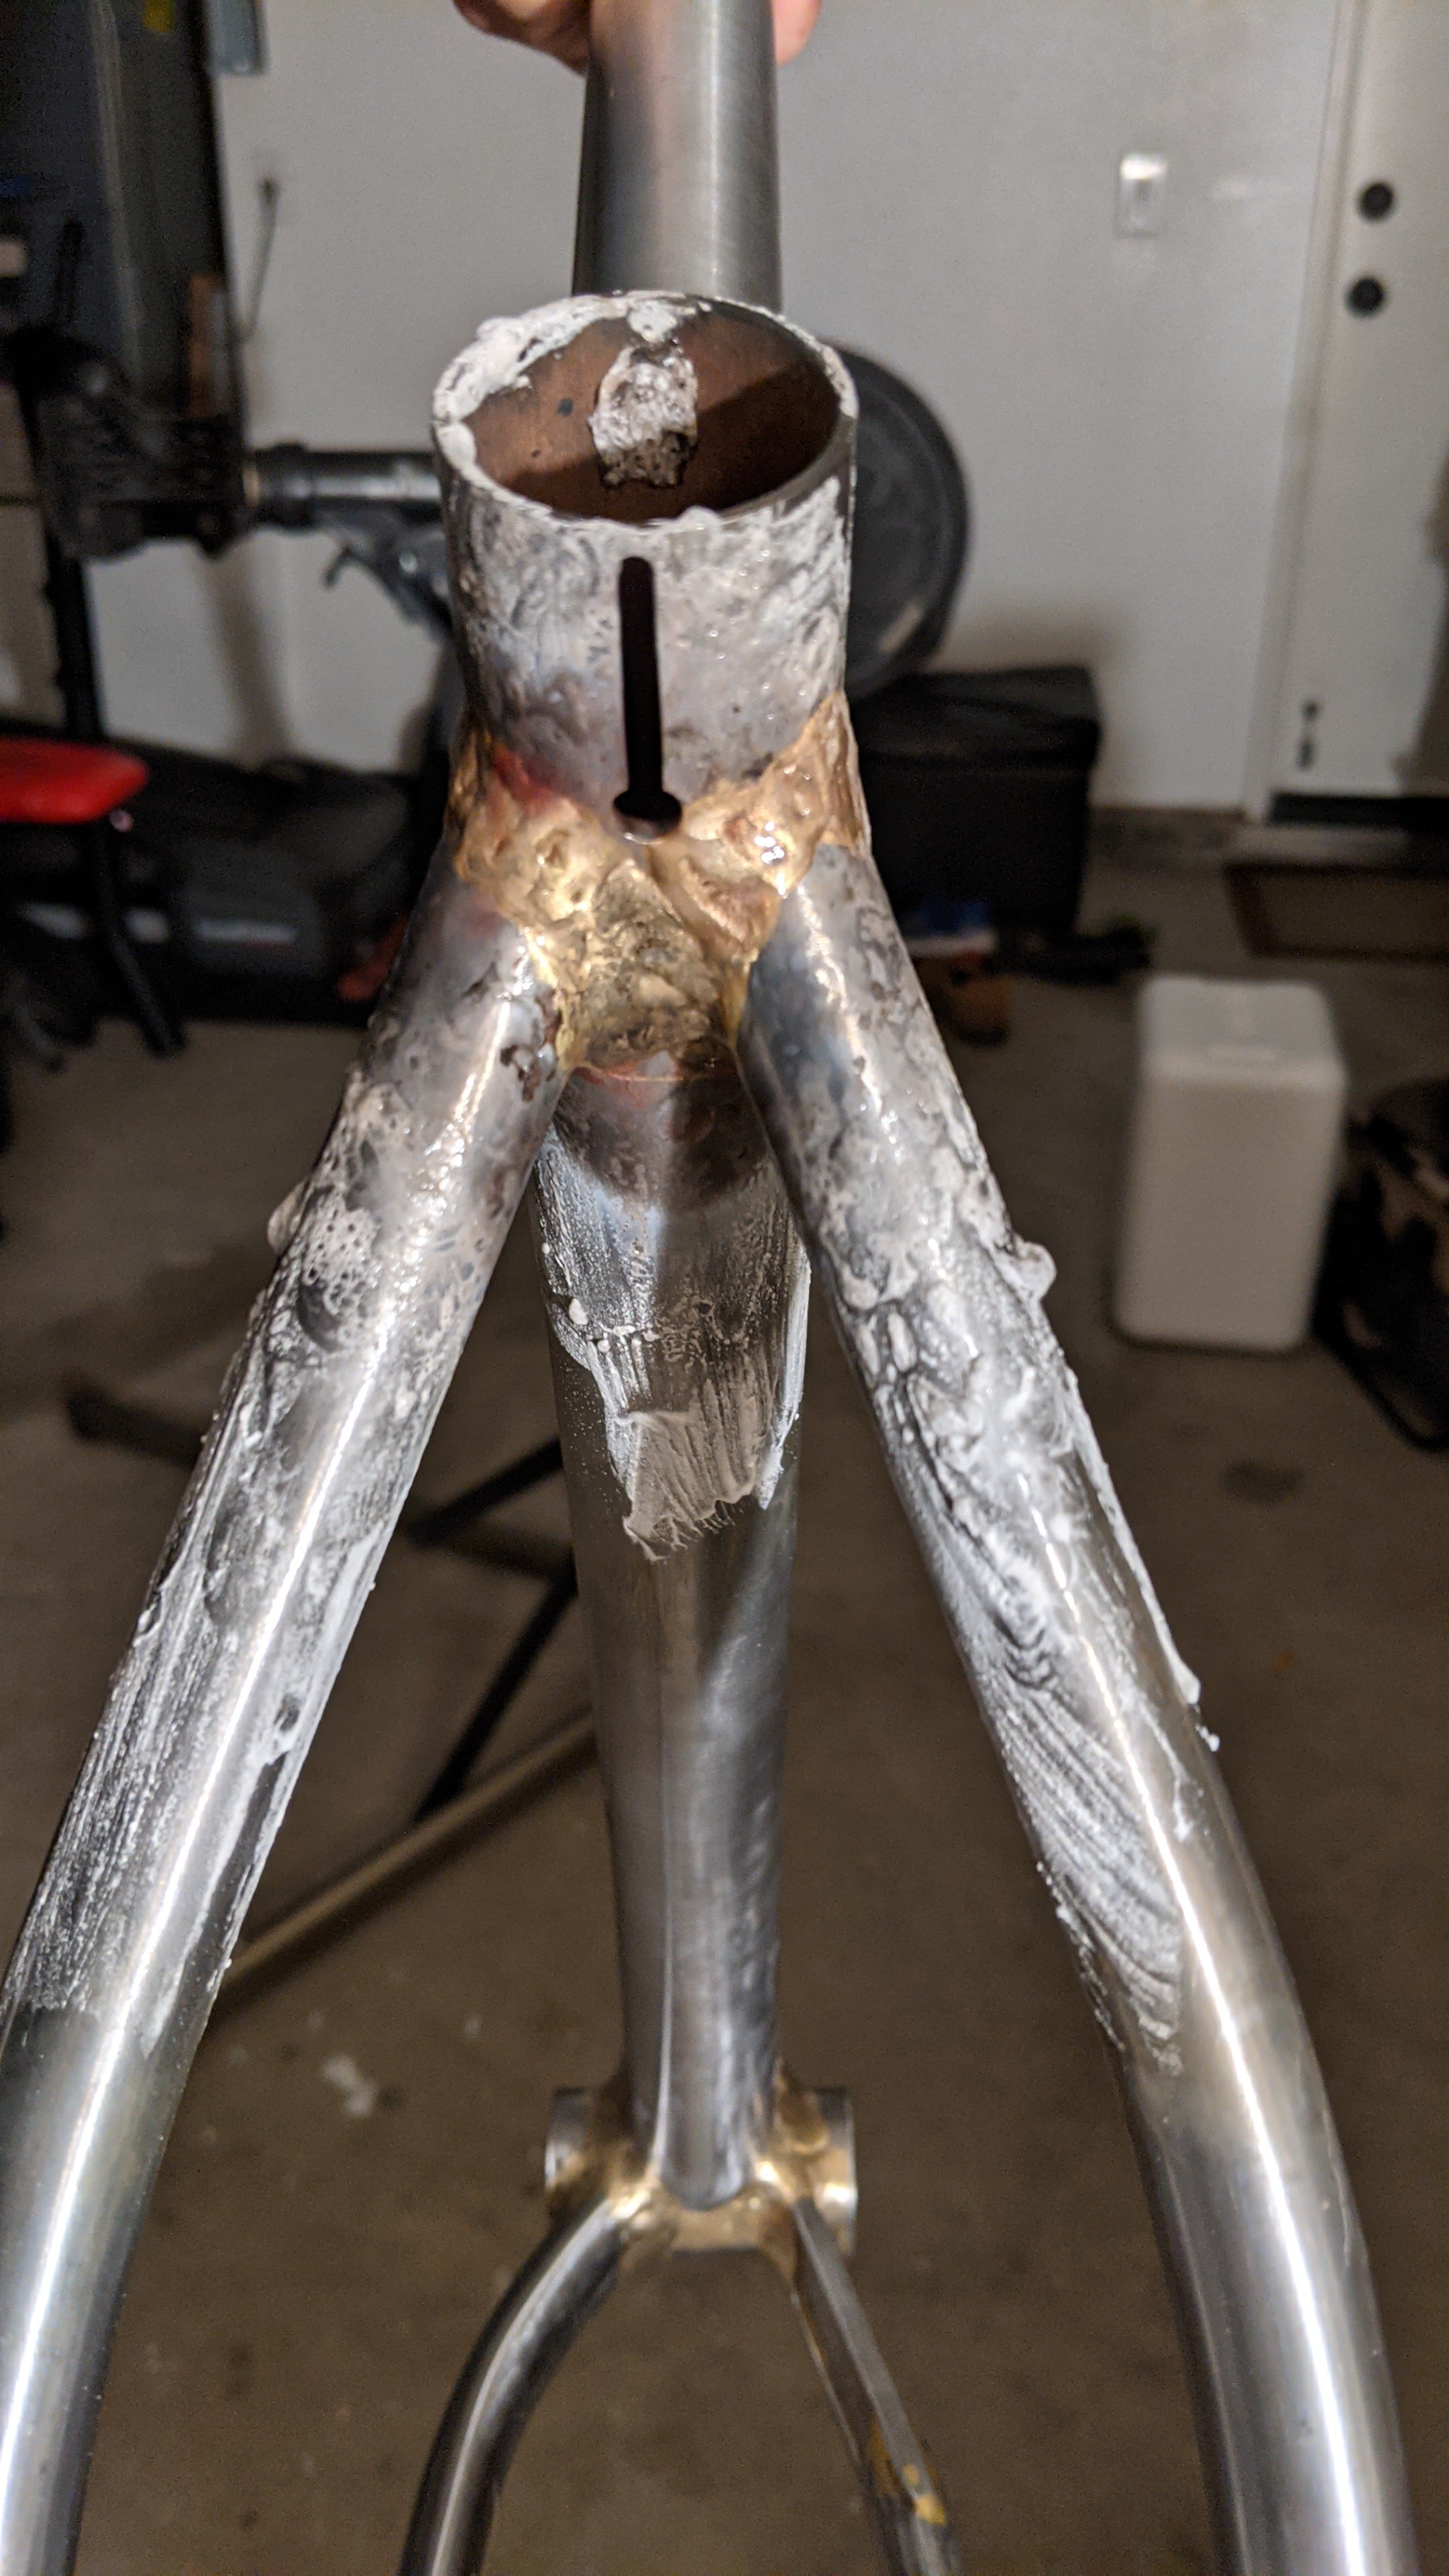
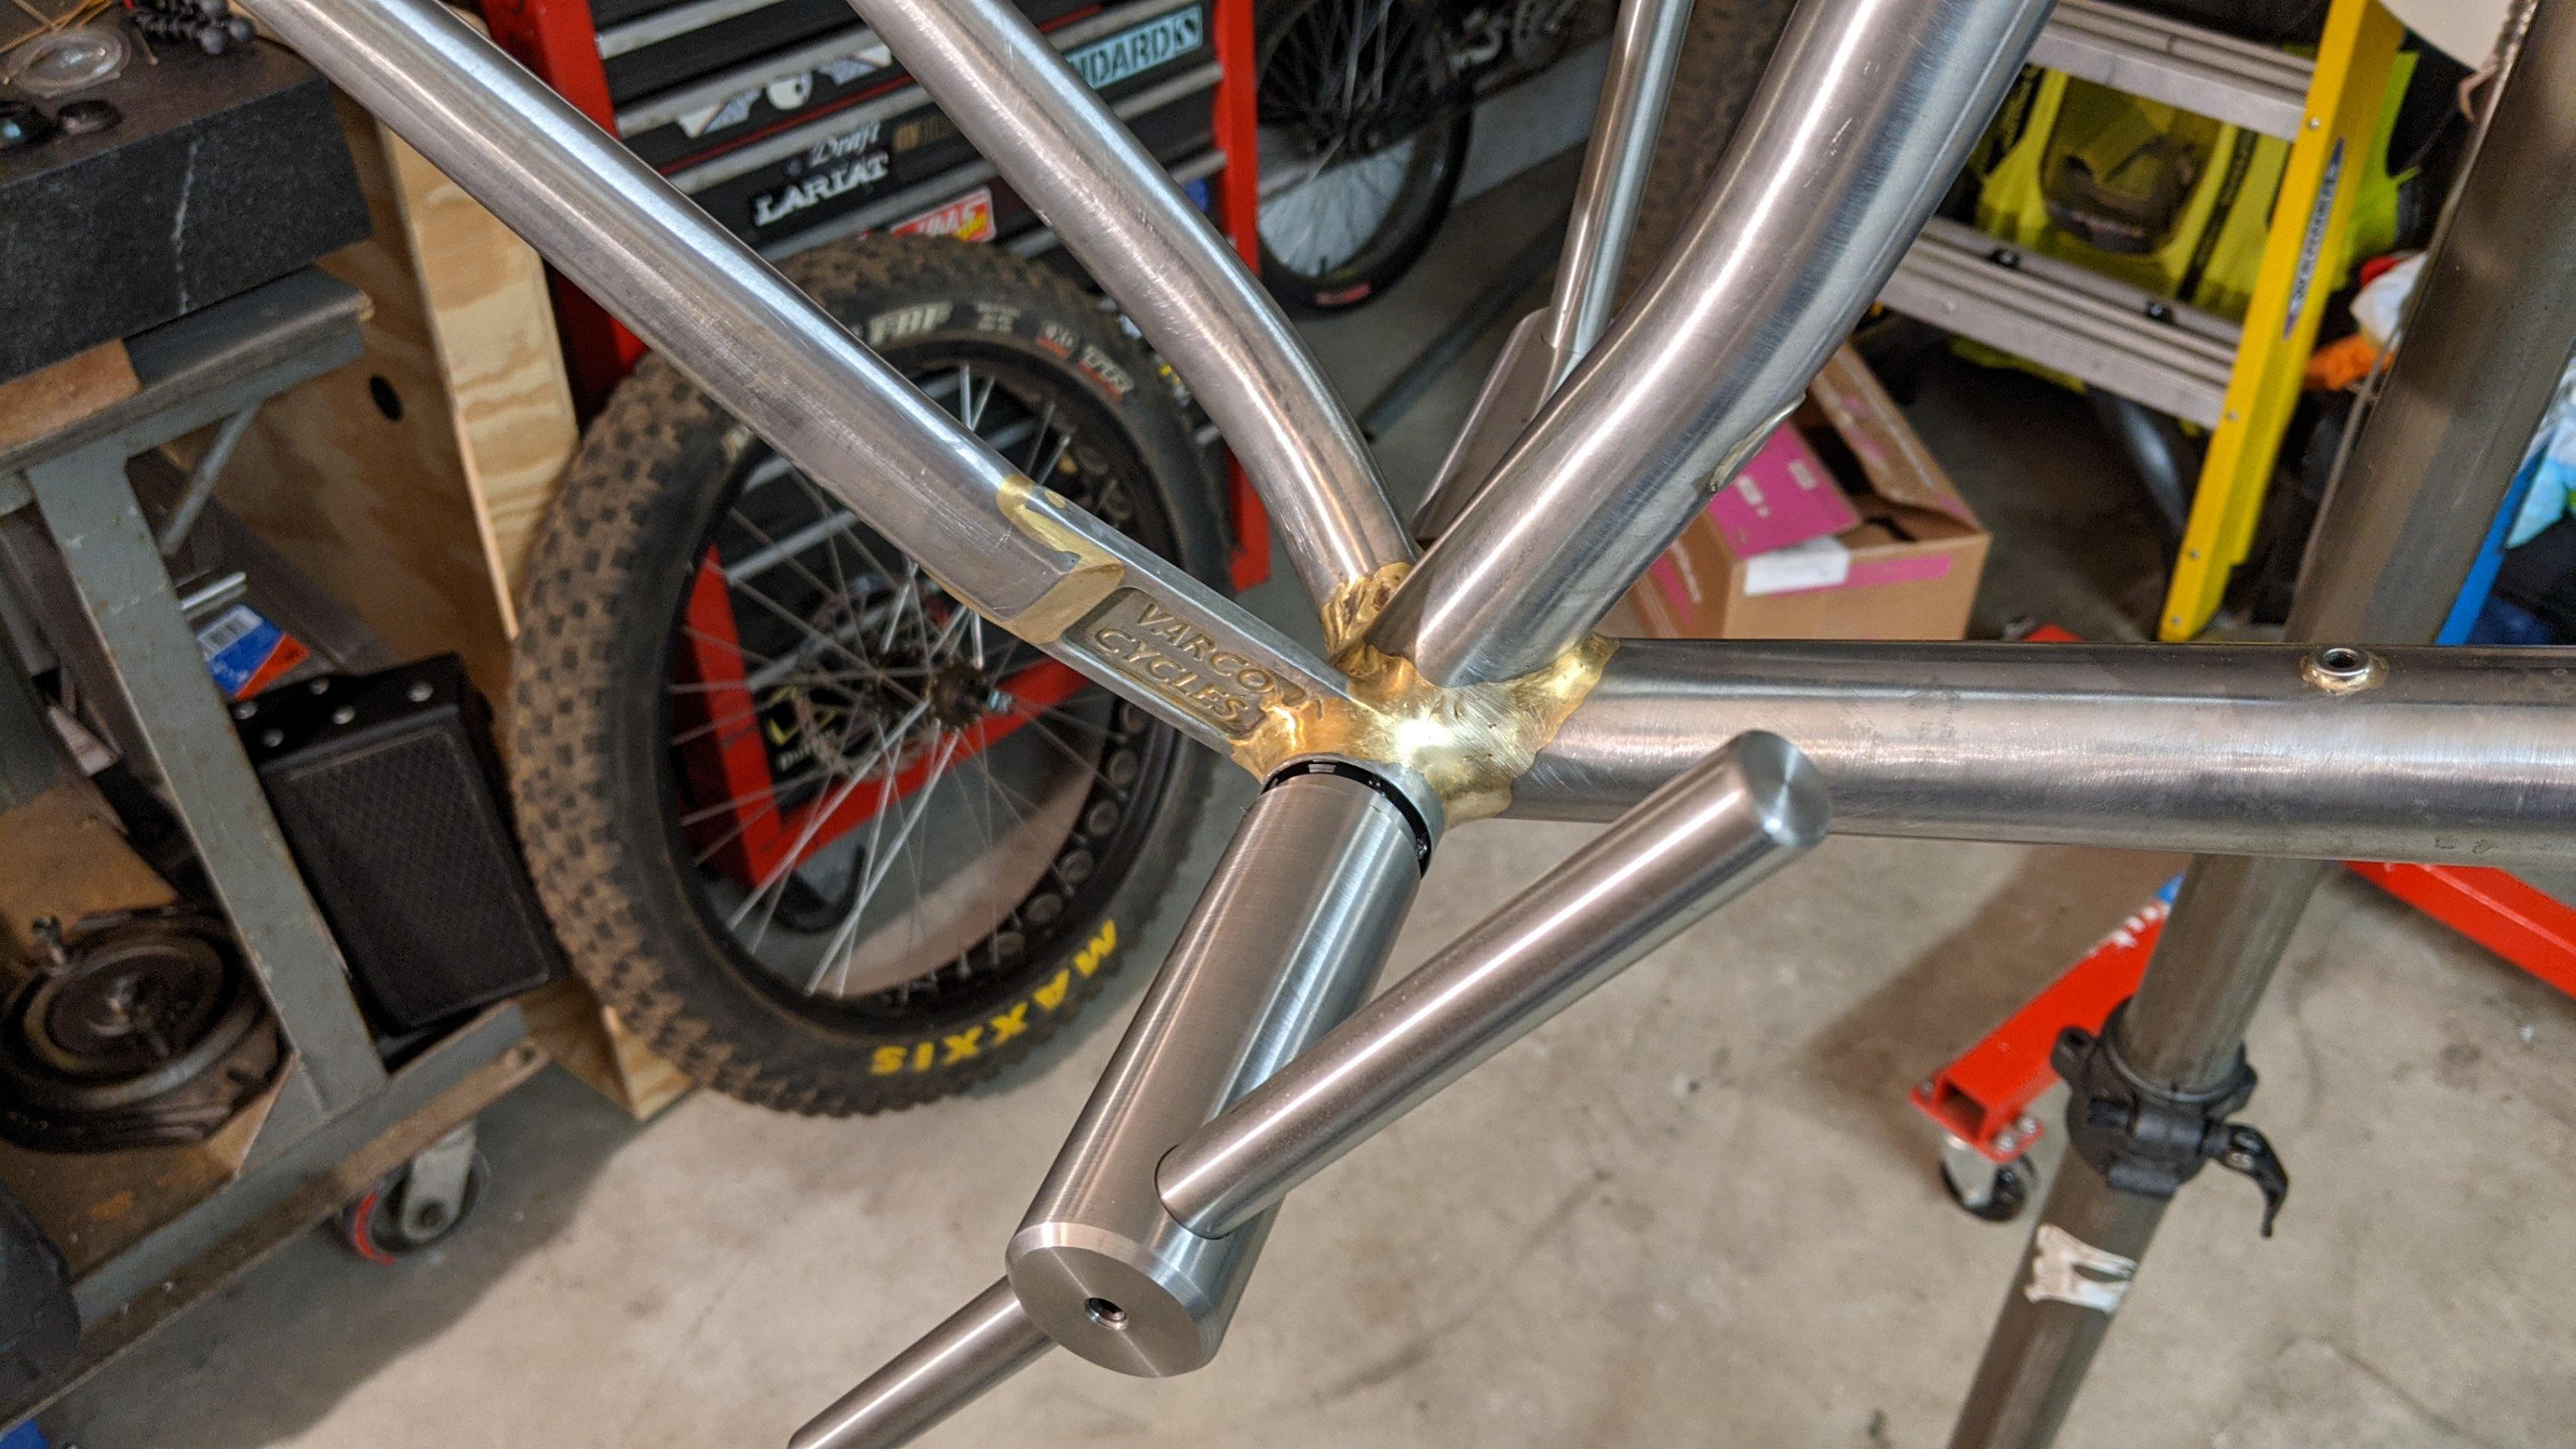
These head tubes have some serious meat to them! Now they’re internally and externally butted but the ID of this one is just straight thru. It took a fair amount more heat than the downtube here.
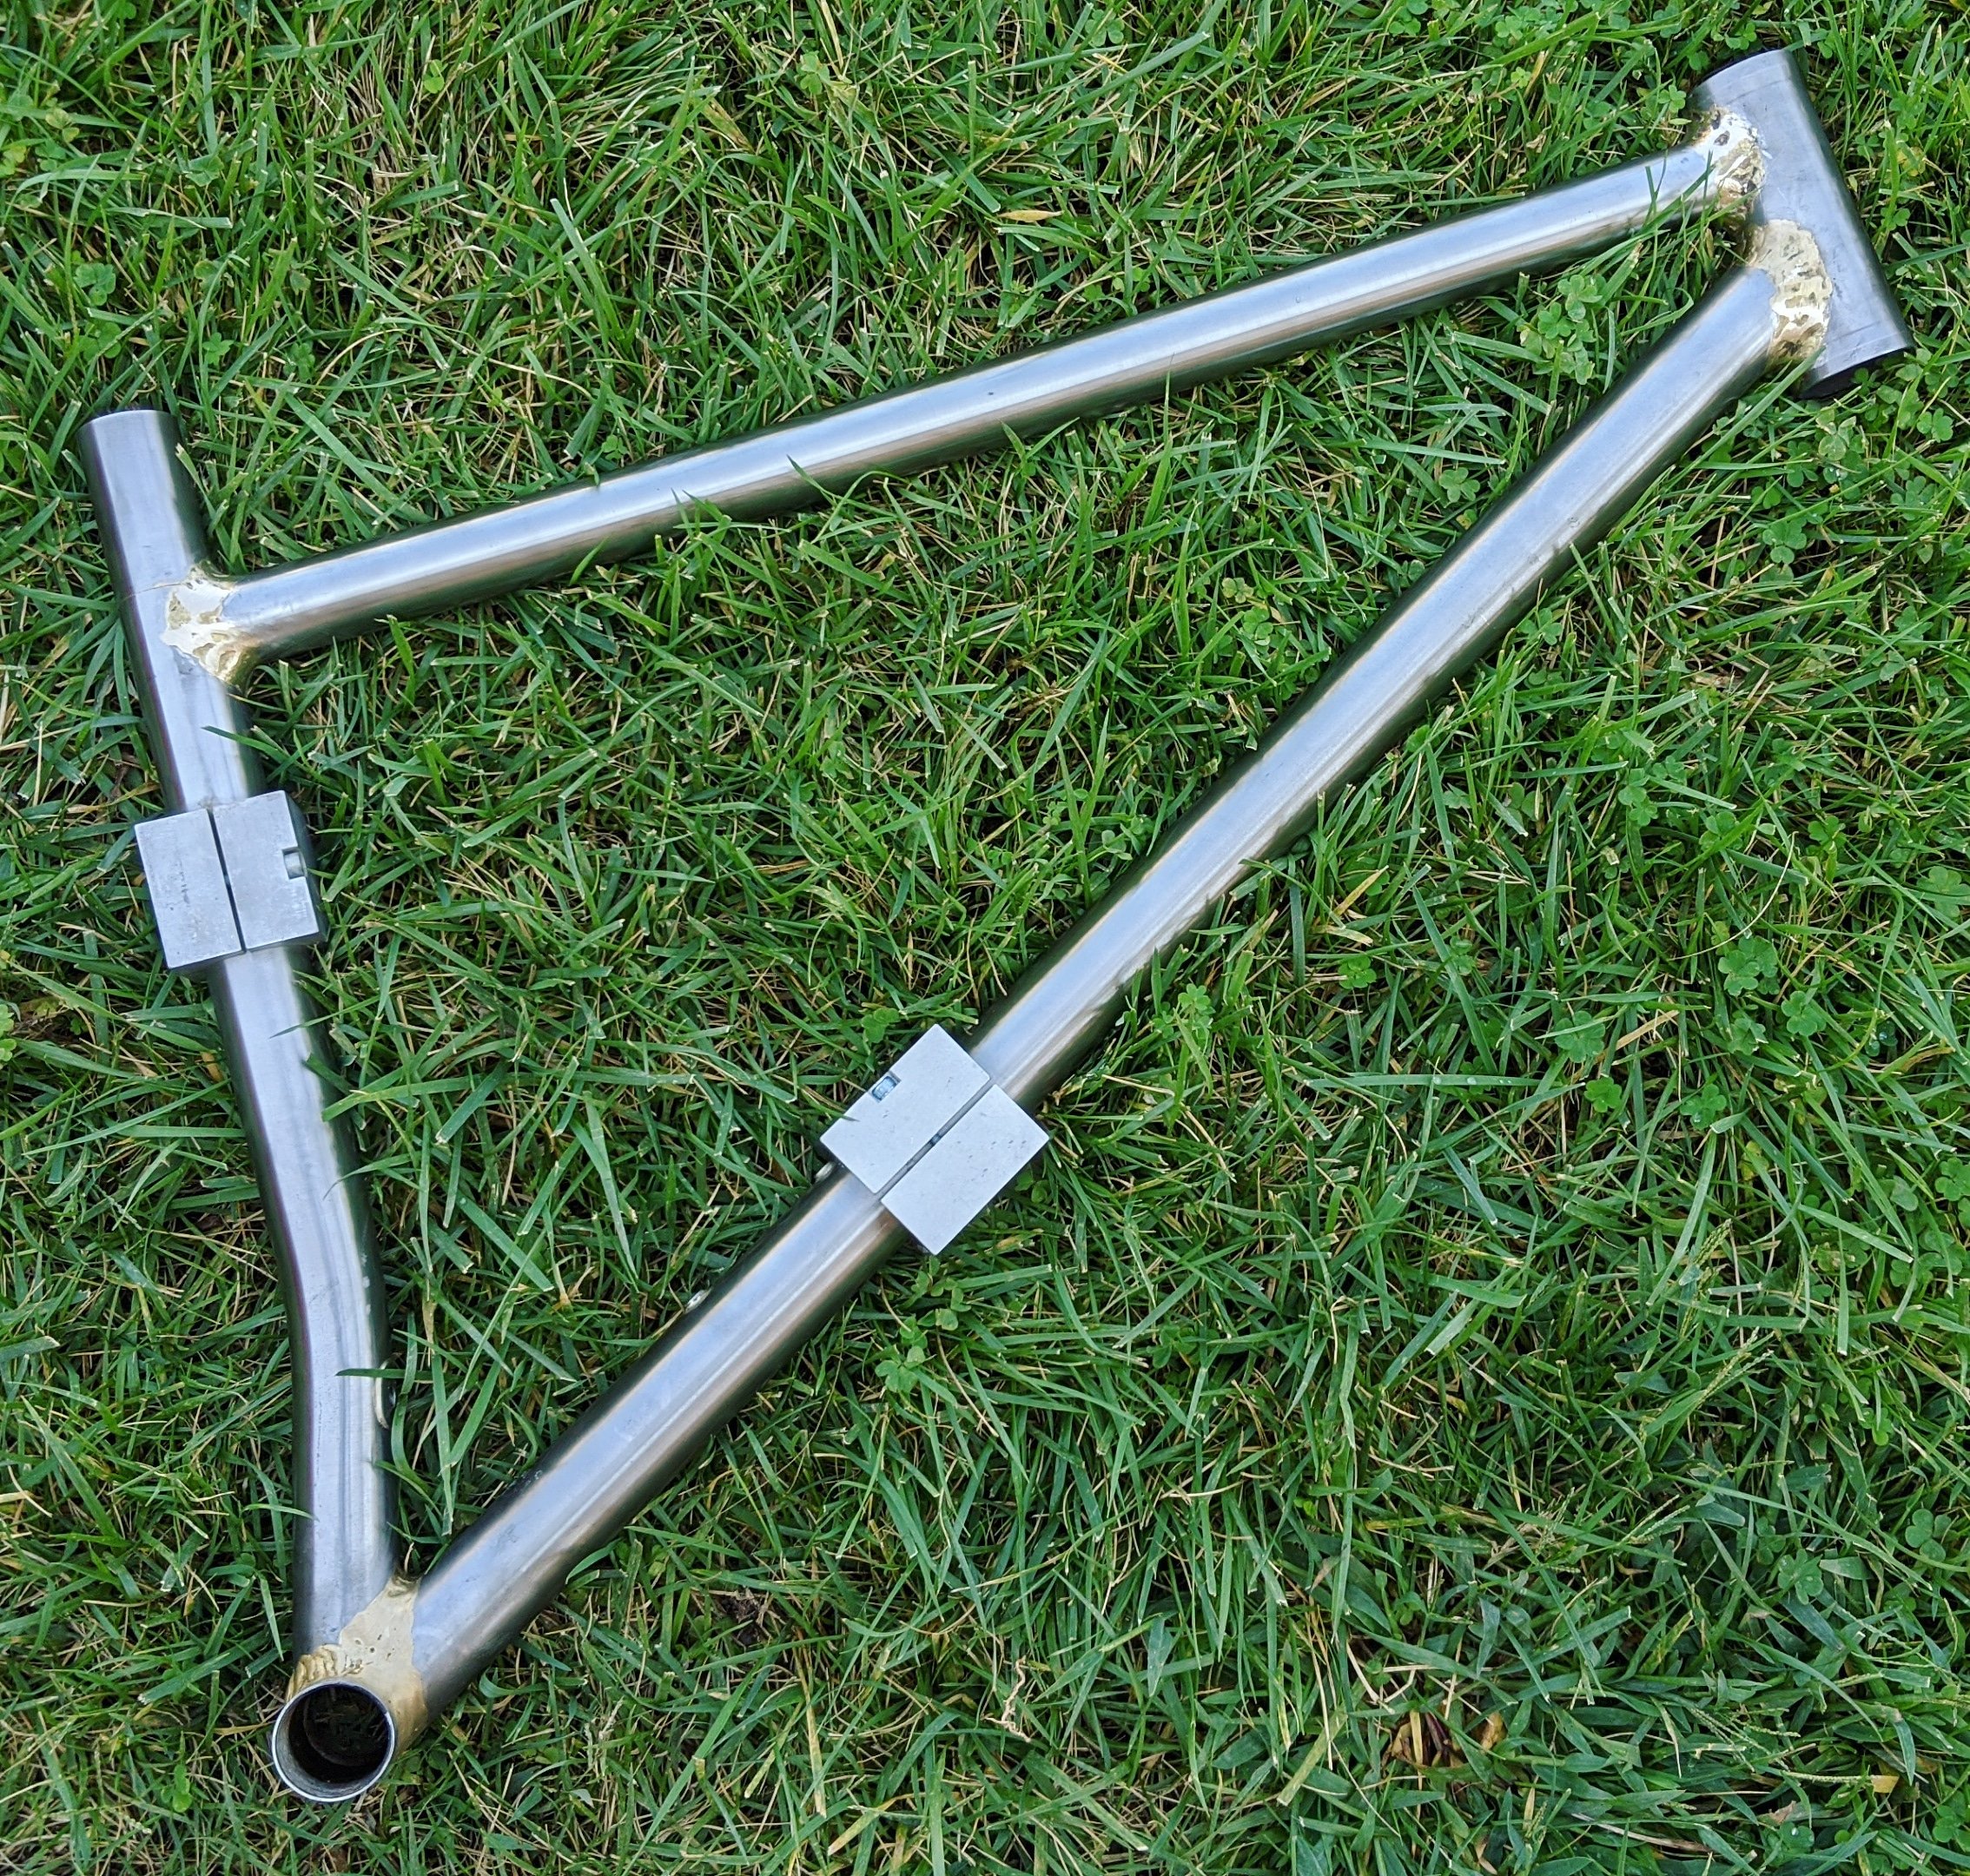
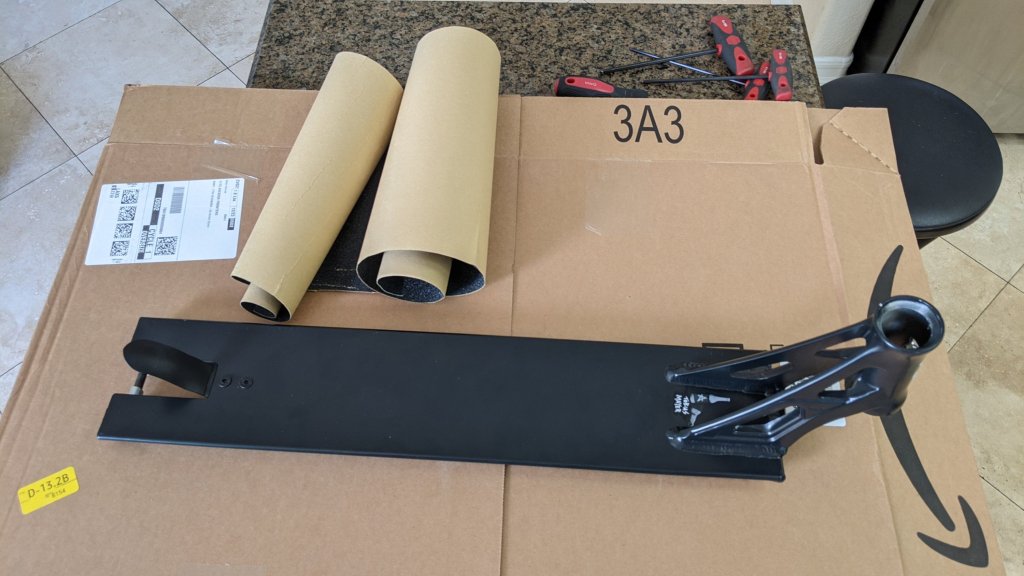
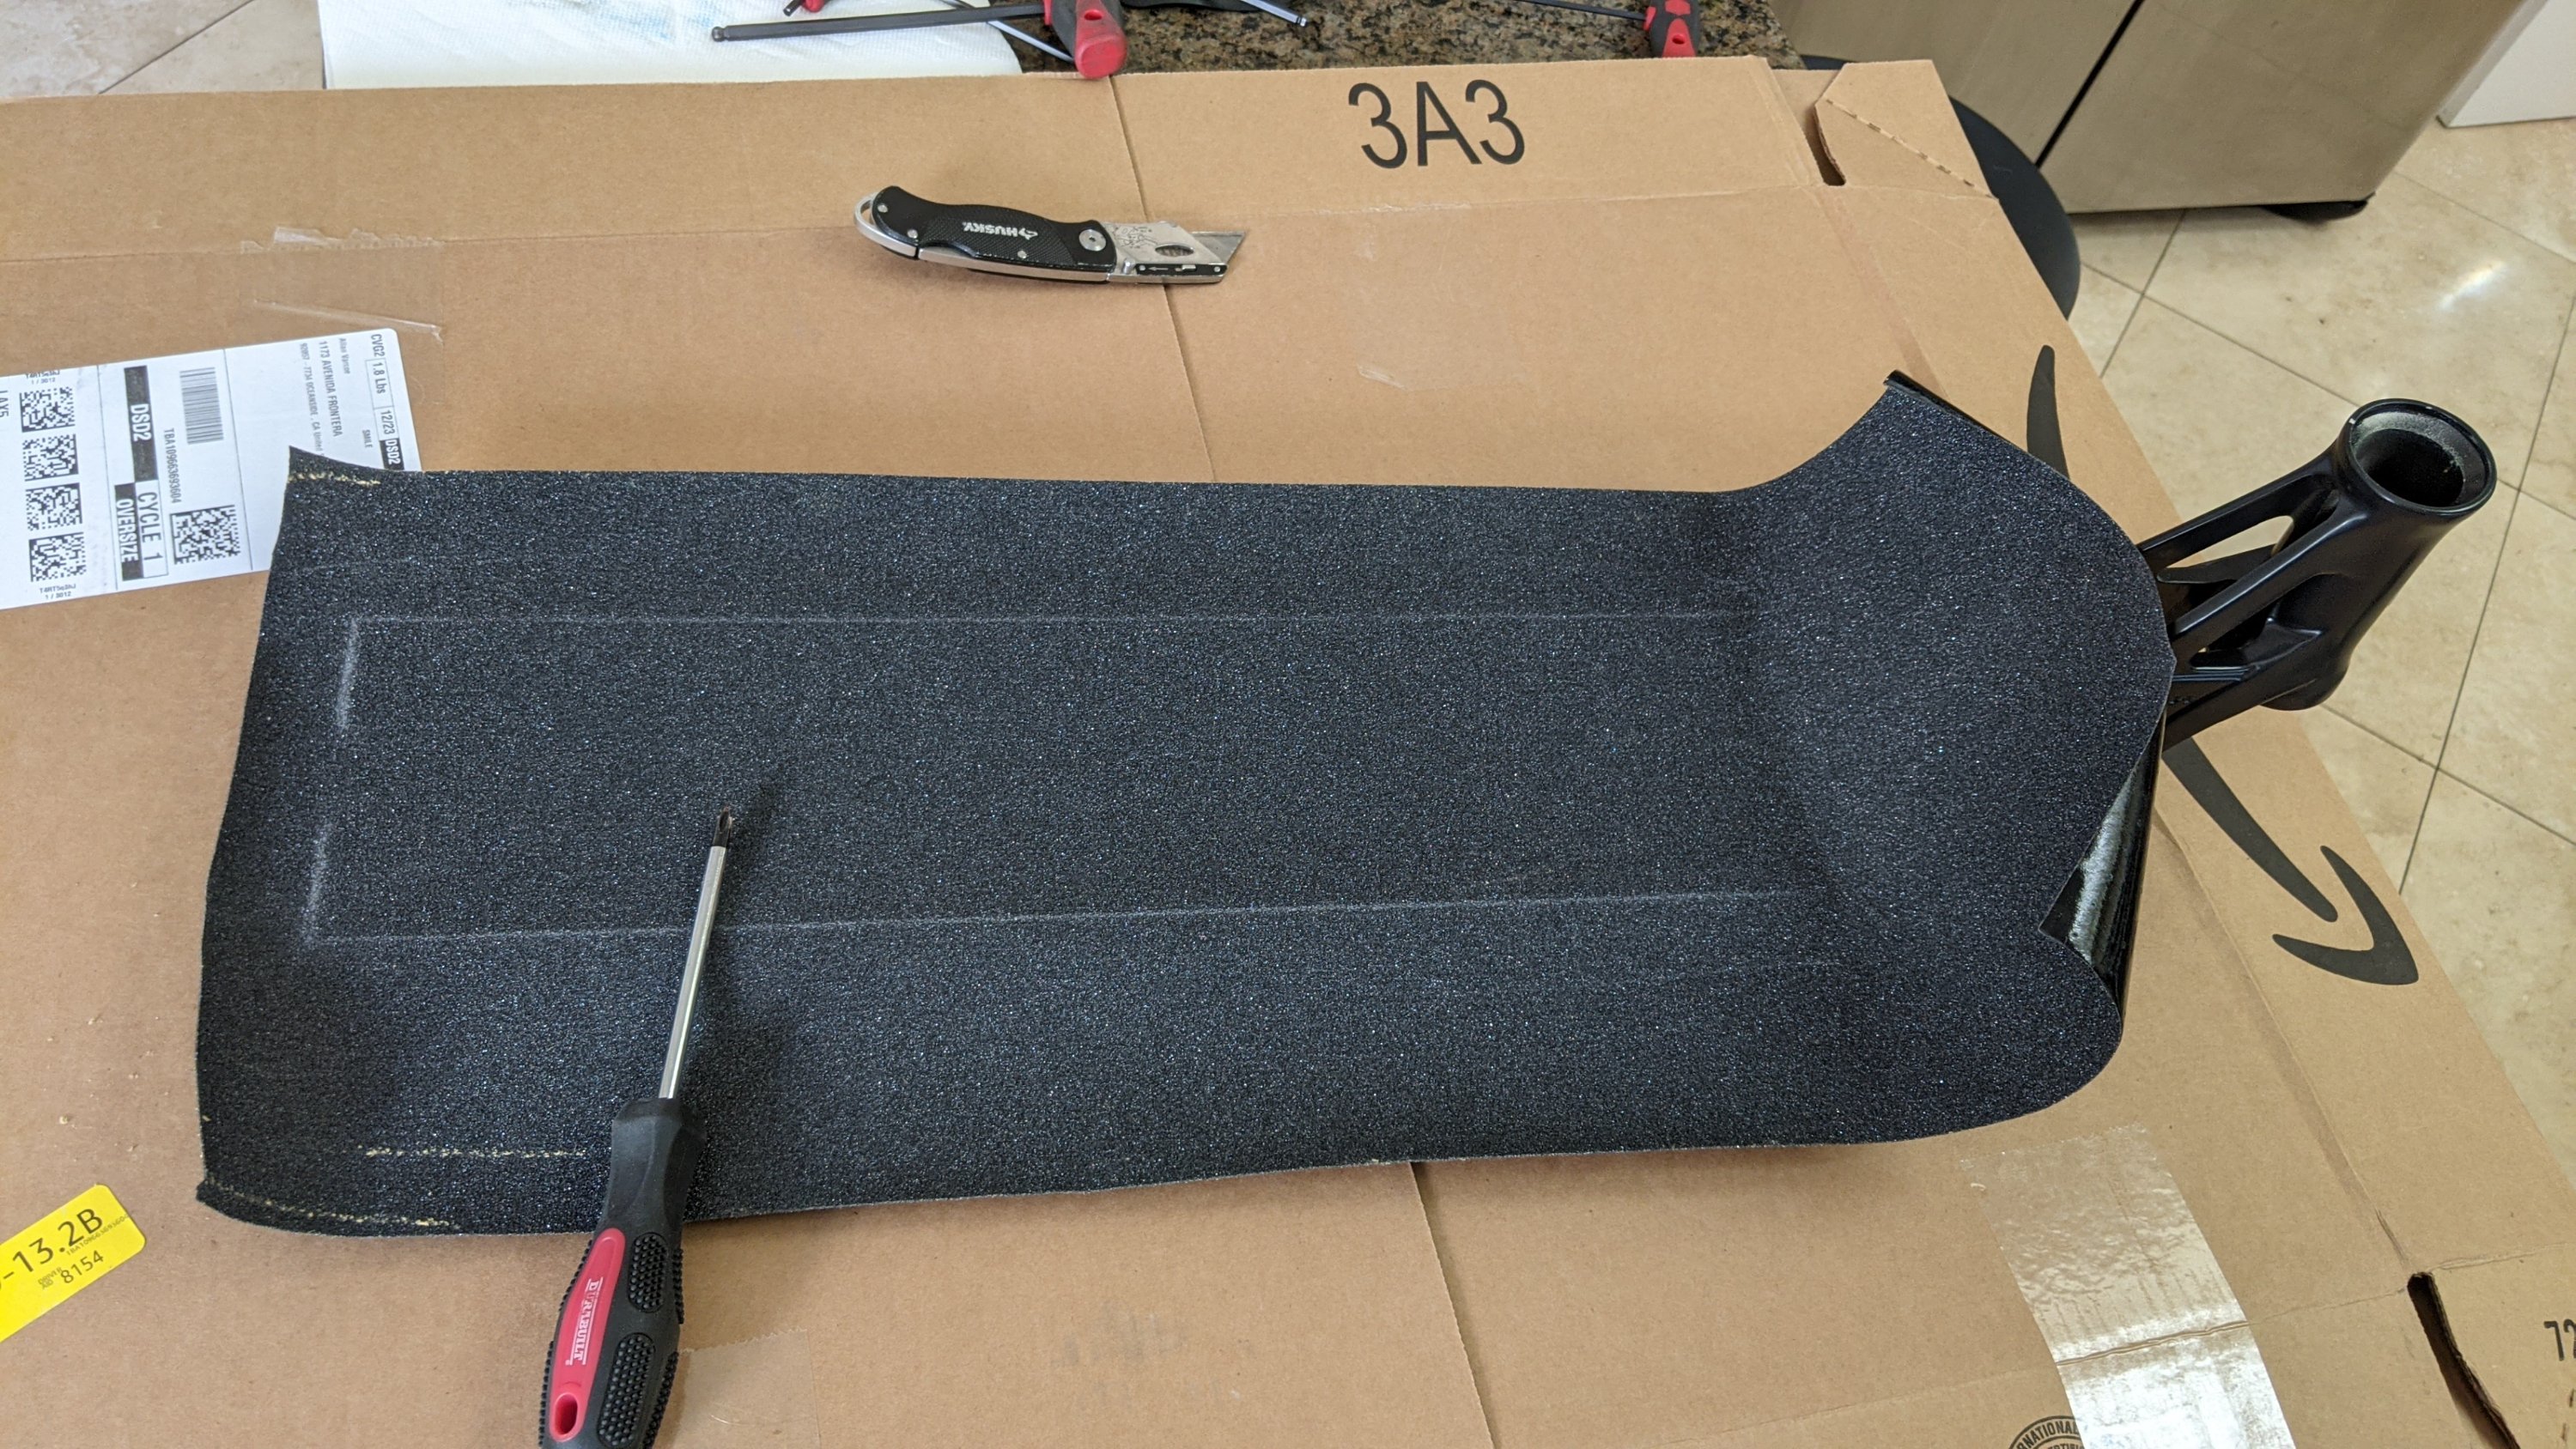
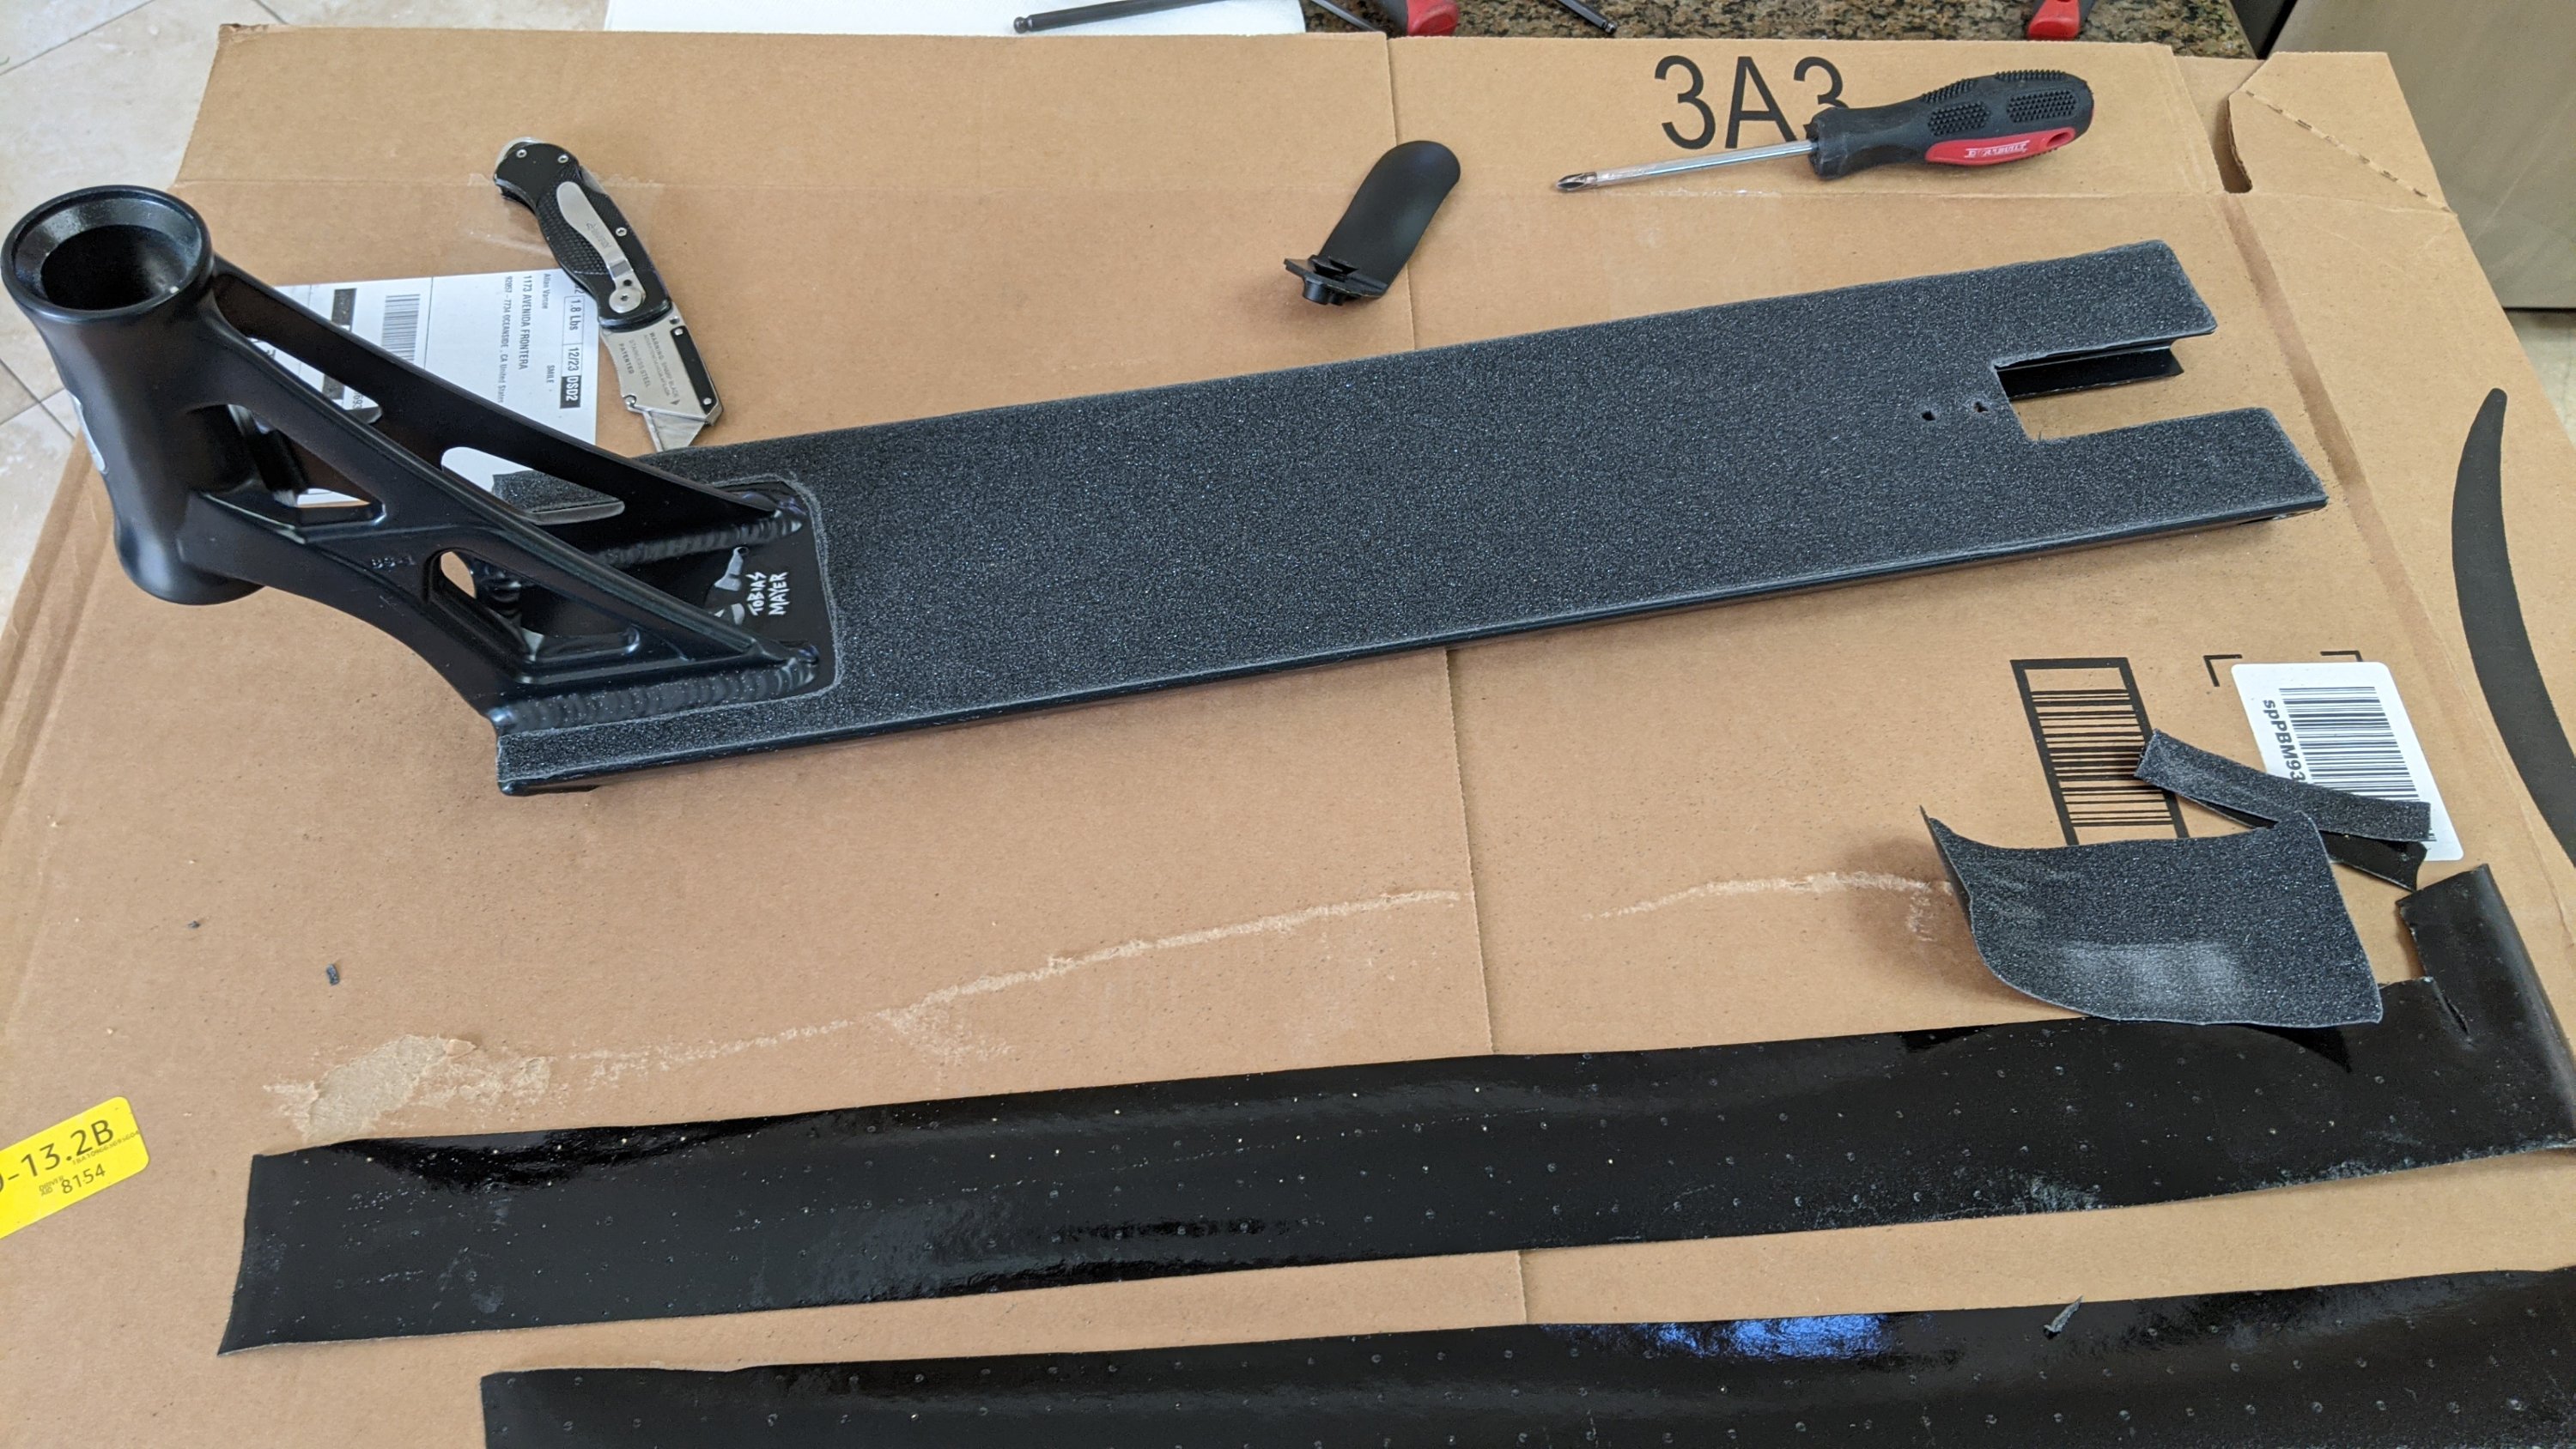
The easy half!

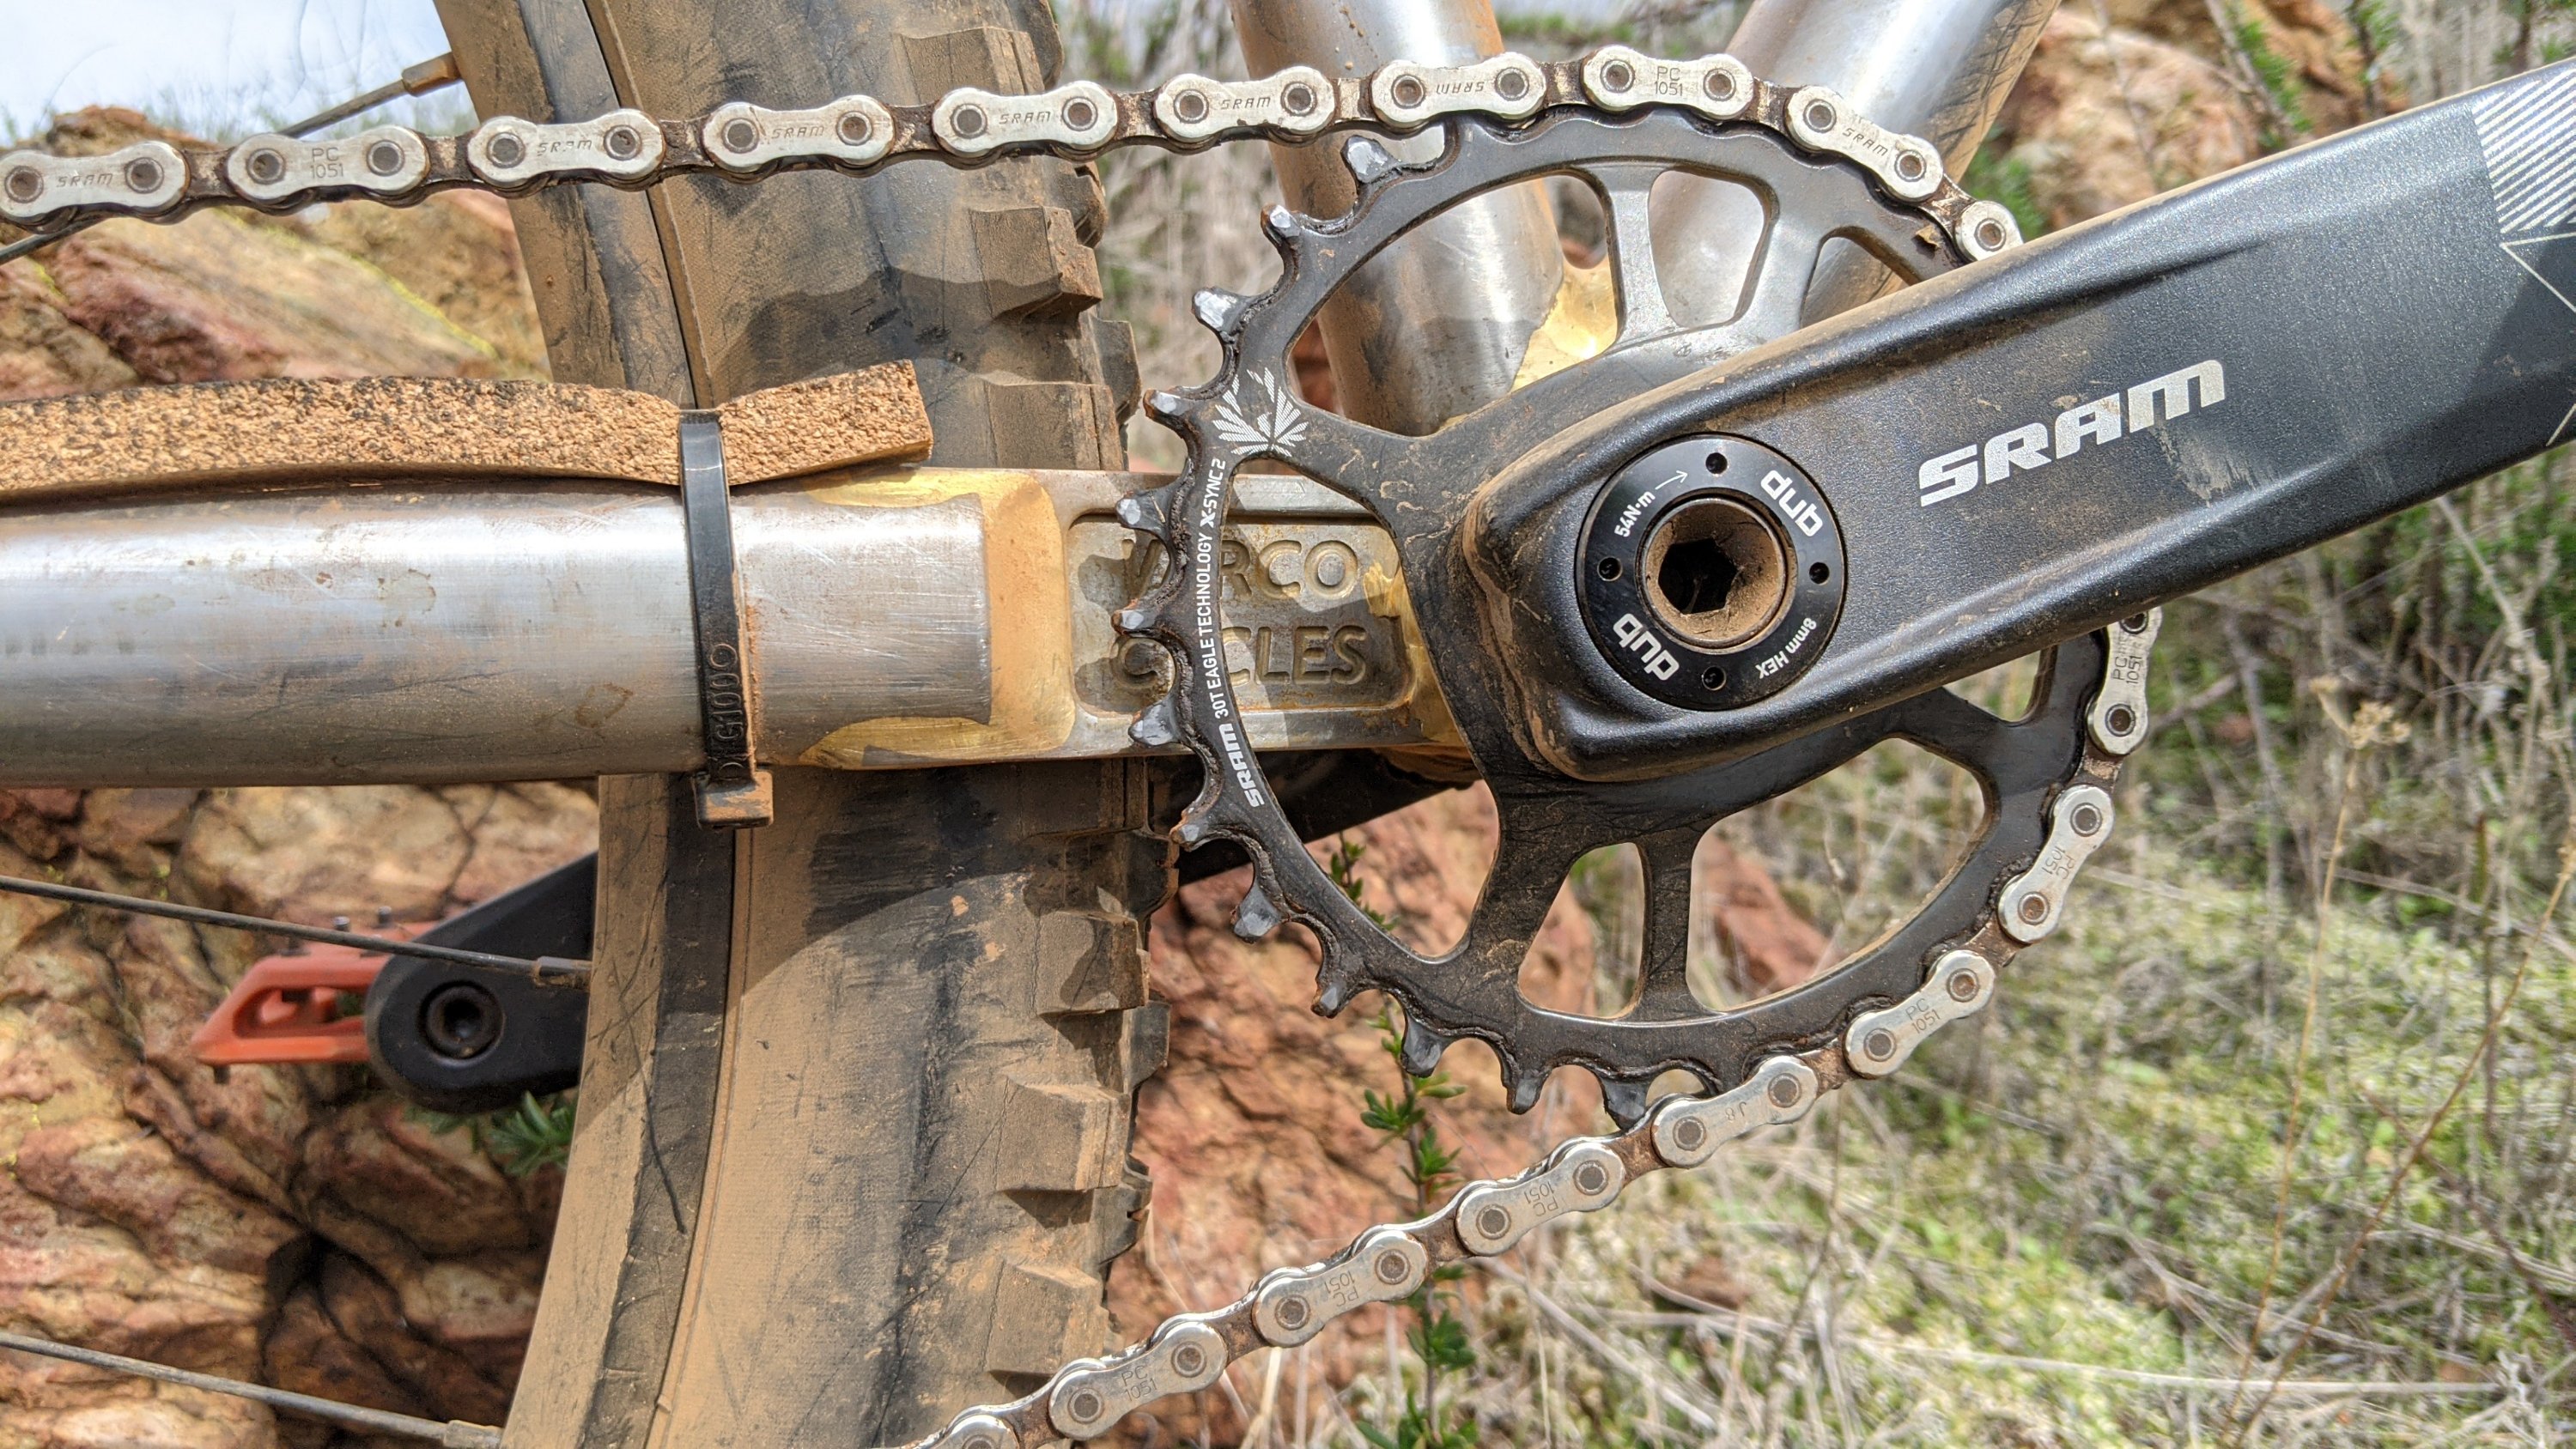
I had already done a couple things for this build in Minnesota before leaving. That chainring clearance flat plate thing is one of them.

First time using a sliding dropout. These stainless sliders from Paragon are so slick! Seemed funny brazing them with silver but bronze and SS don’t fly.

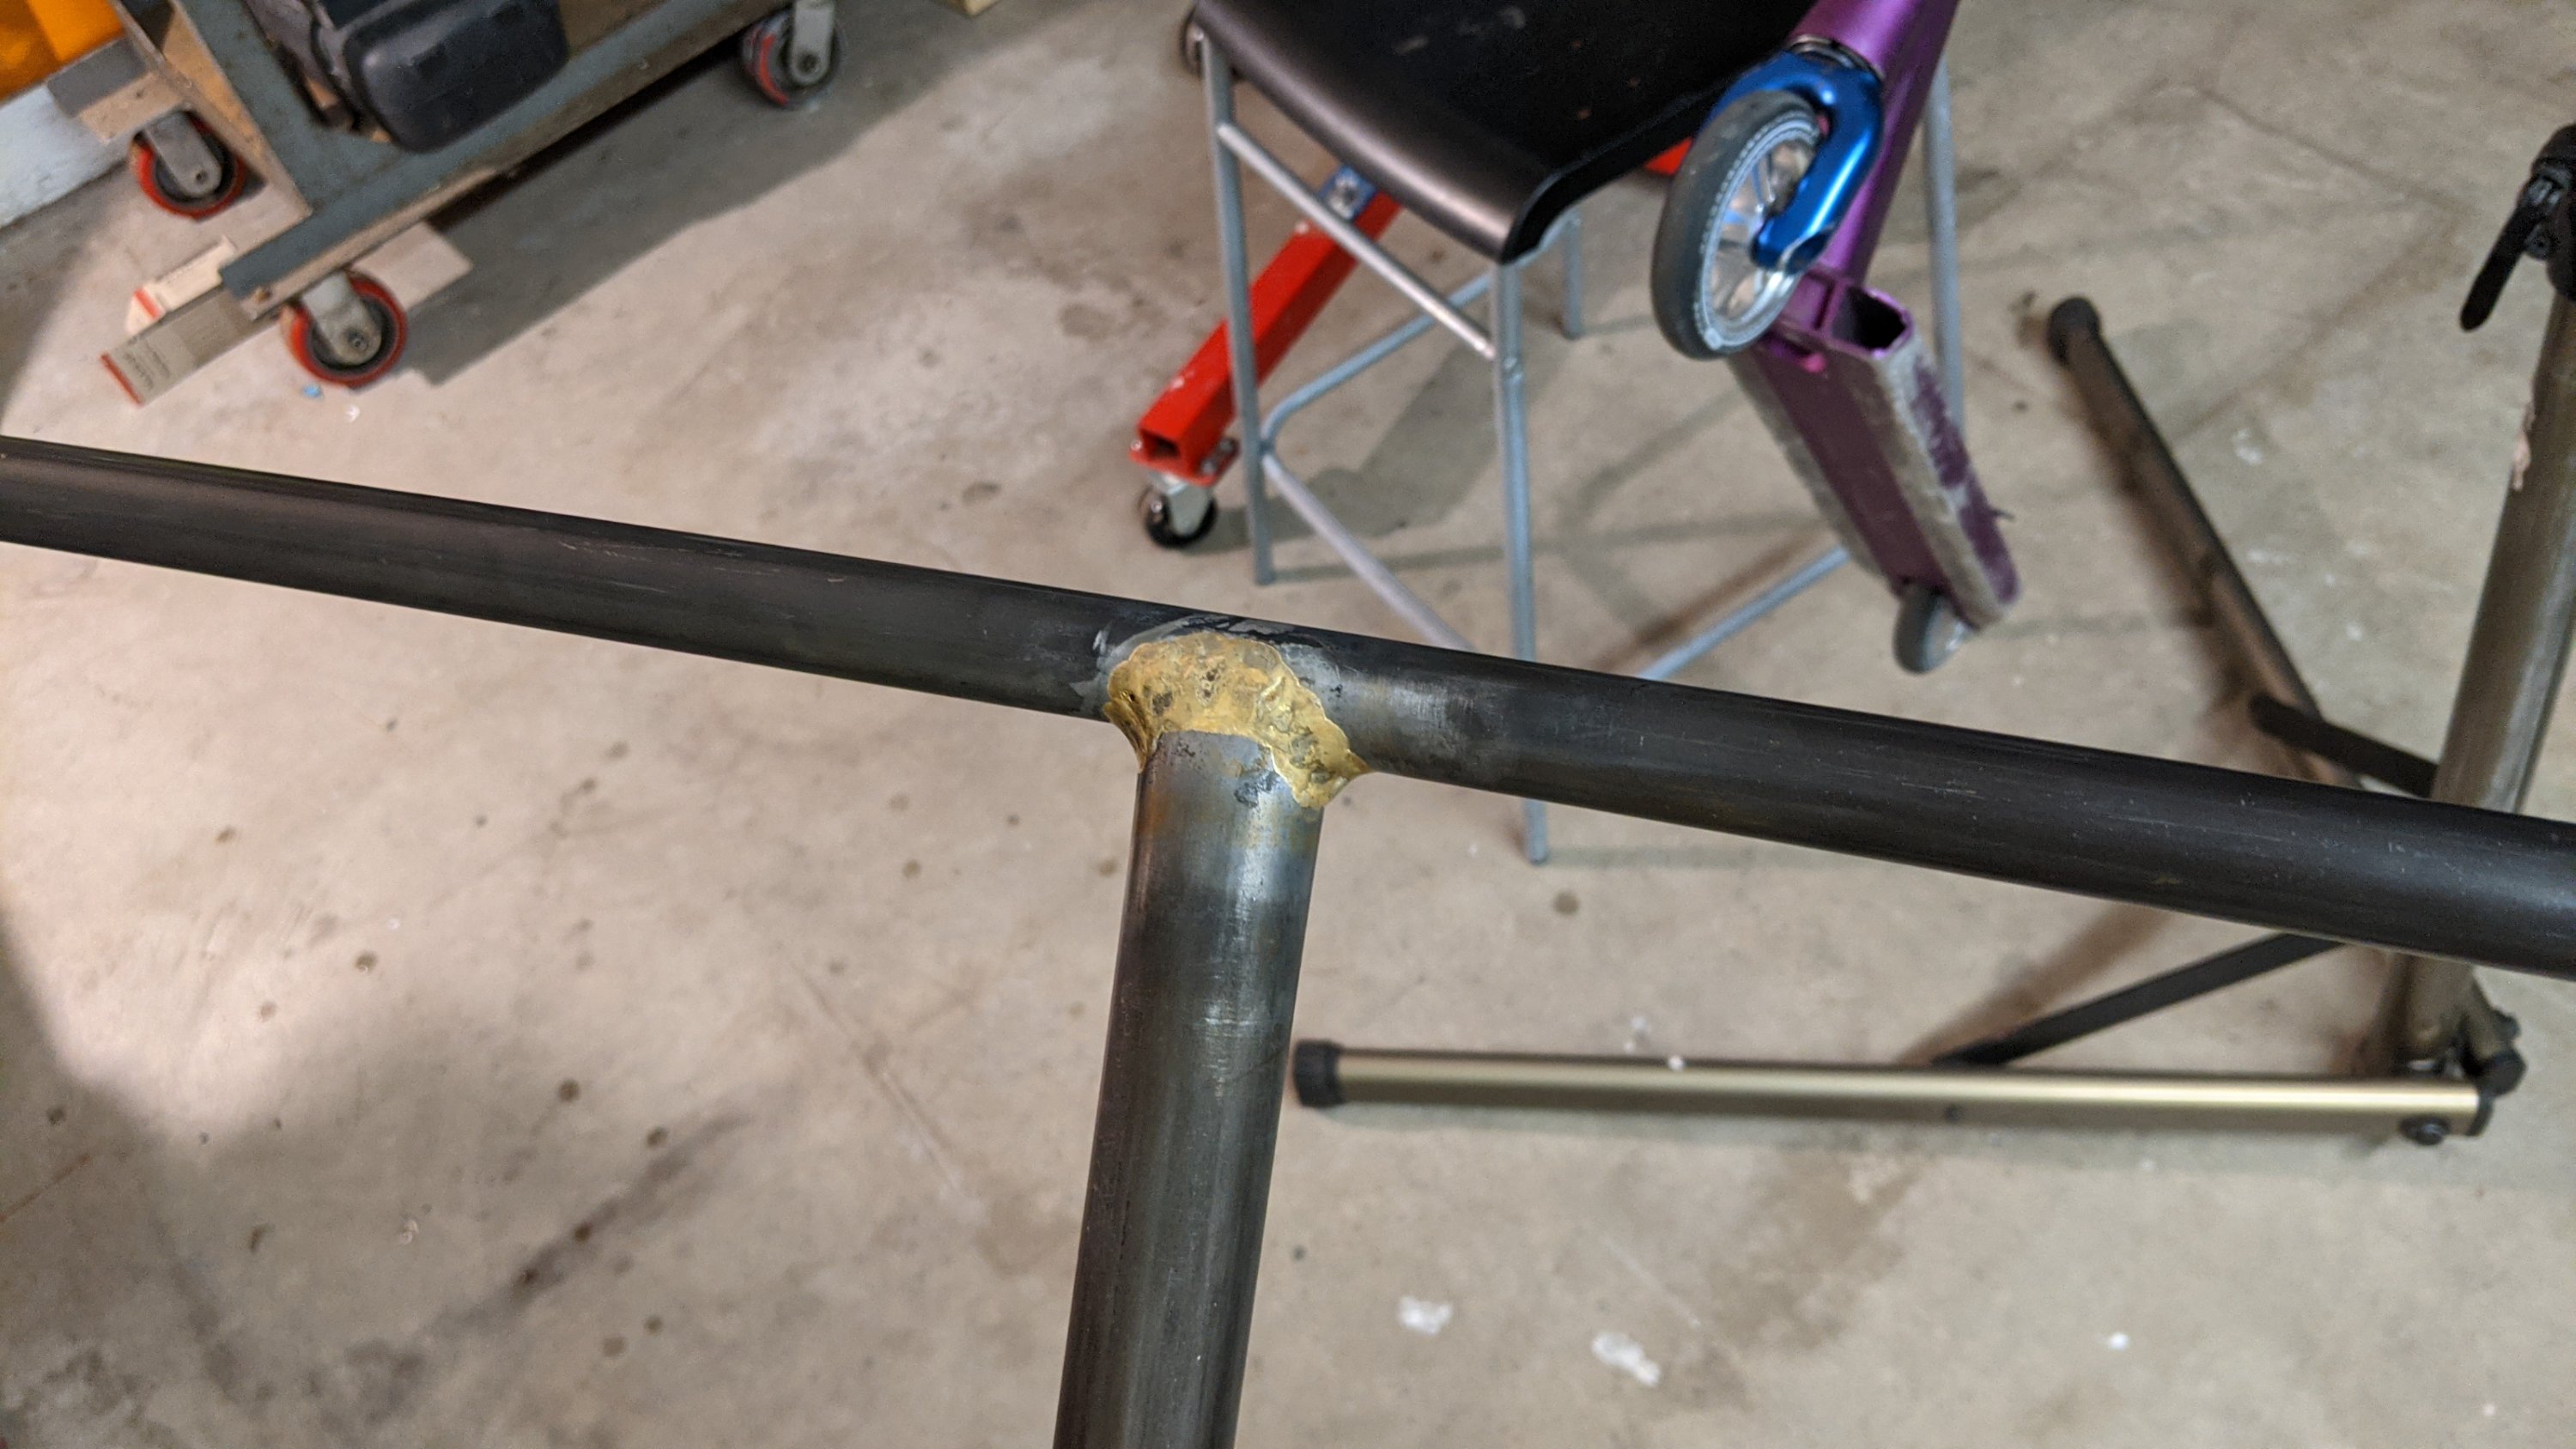
On to the chainstay/BB joint. Shawn Pedersen brought up a good point. Miter the chainstays to fit near the bottom of the BB shell and you won’t have to remove any (or as much) of the braze on the seat tube/BB joint. In other words, the centerline of the chainstays should be below the center of the BB shell. I will definitely take that advise forward! Thanks Shawn! #spreadsheet

Paul Brodie even says to only run a tinning pass on the back of the BB shell until you get the chainstays cut and ready to avoid having to remove ANY of the existing braze. Noted!
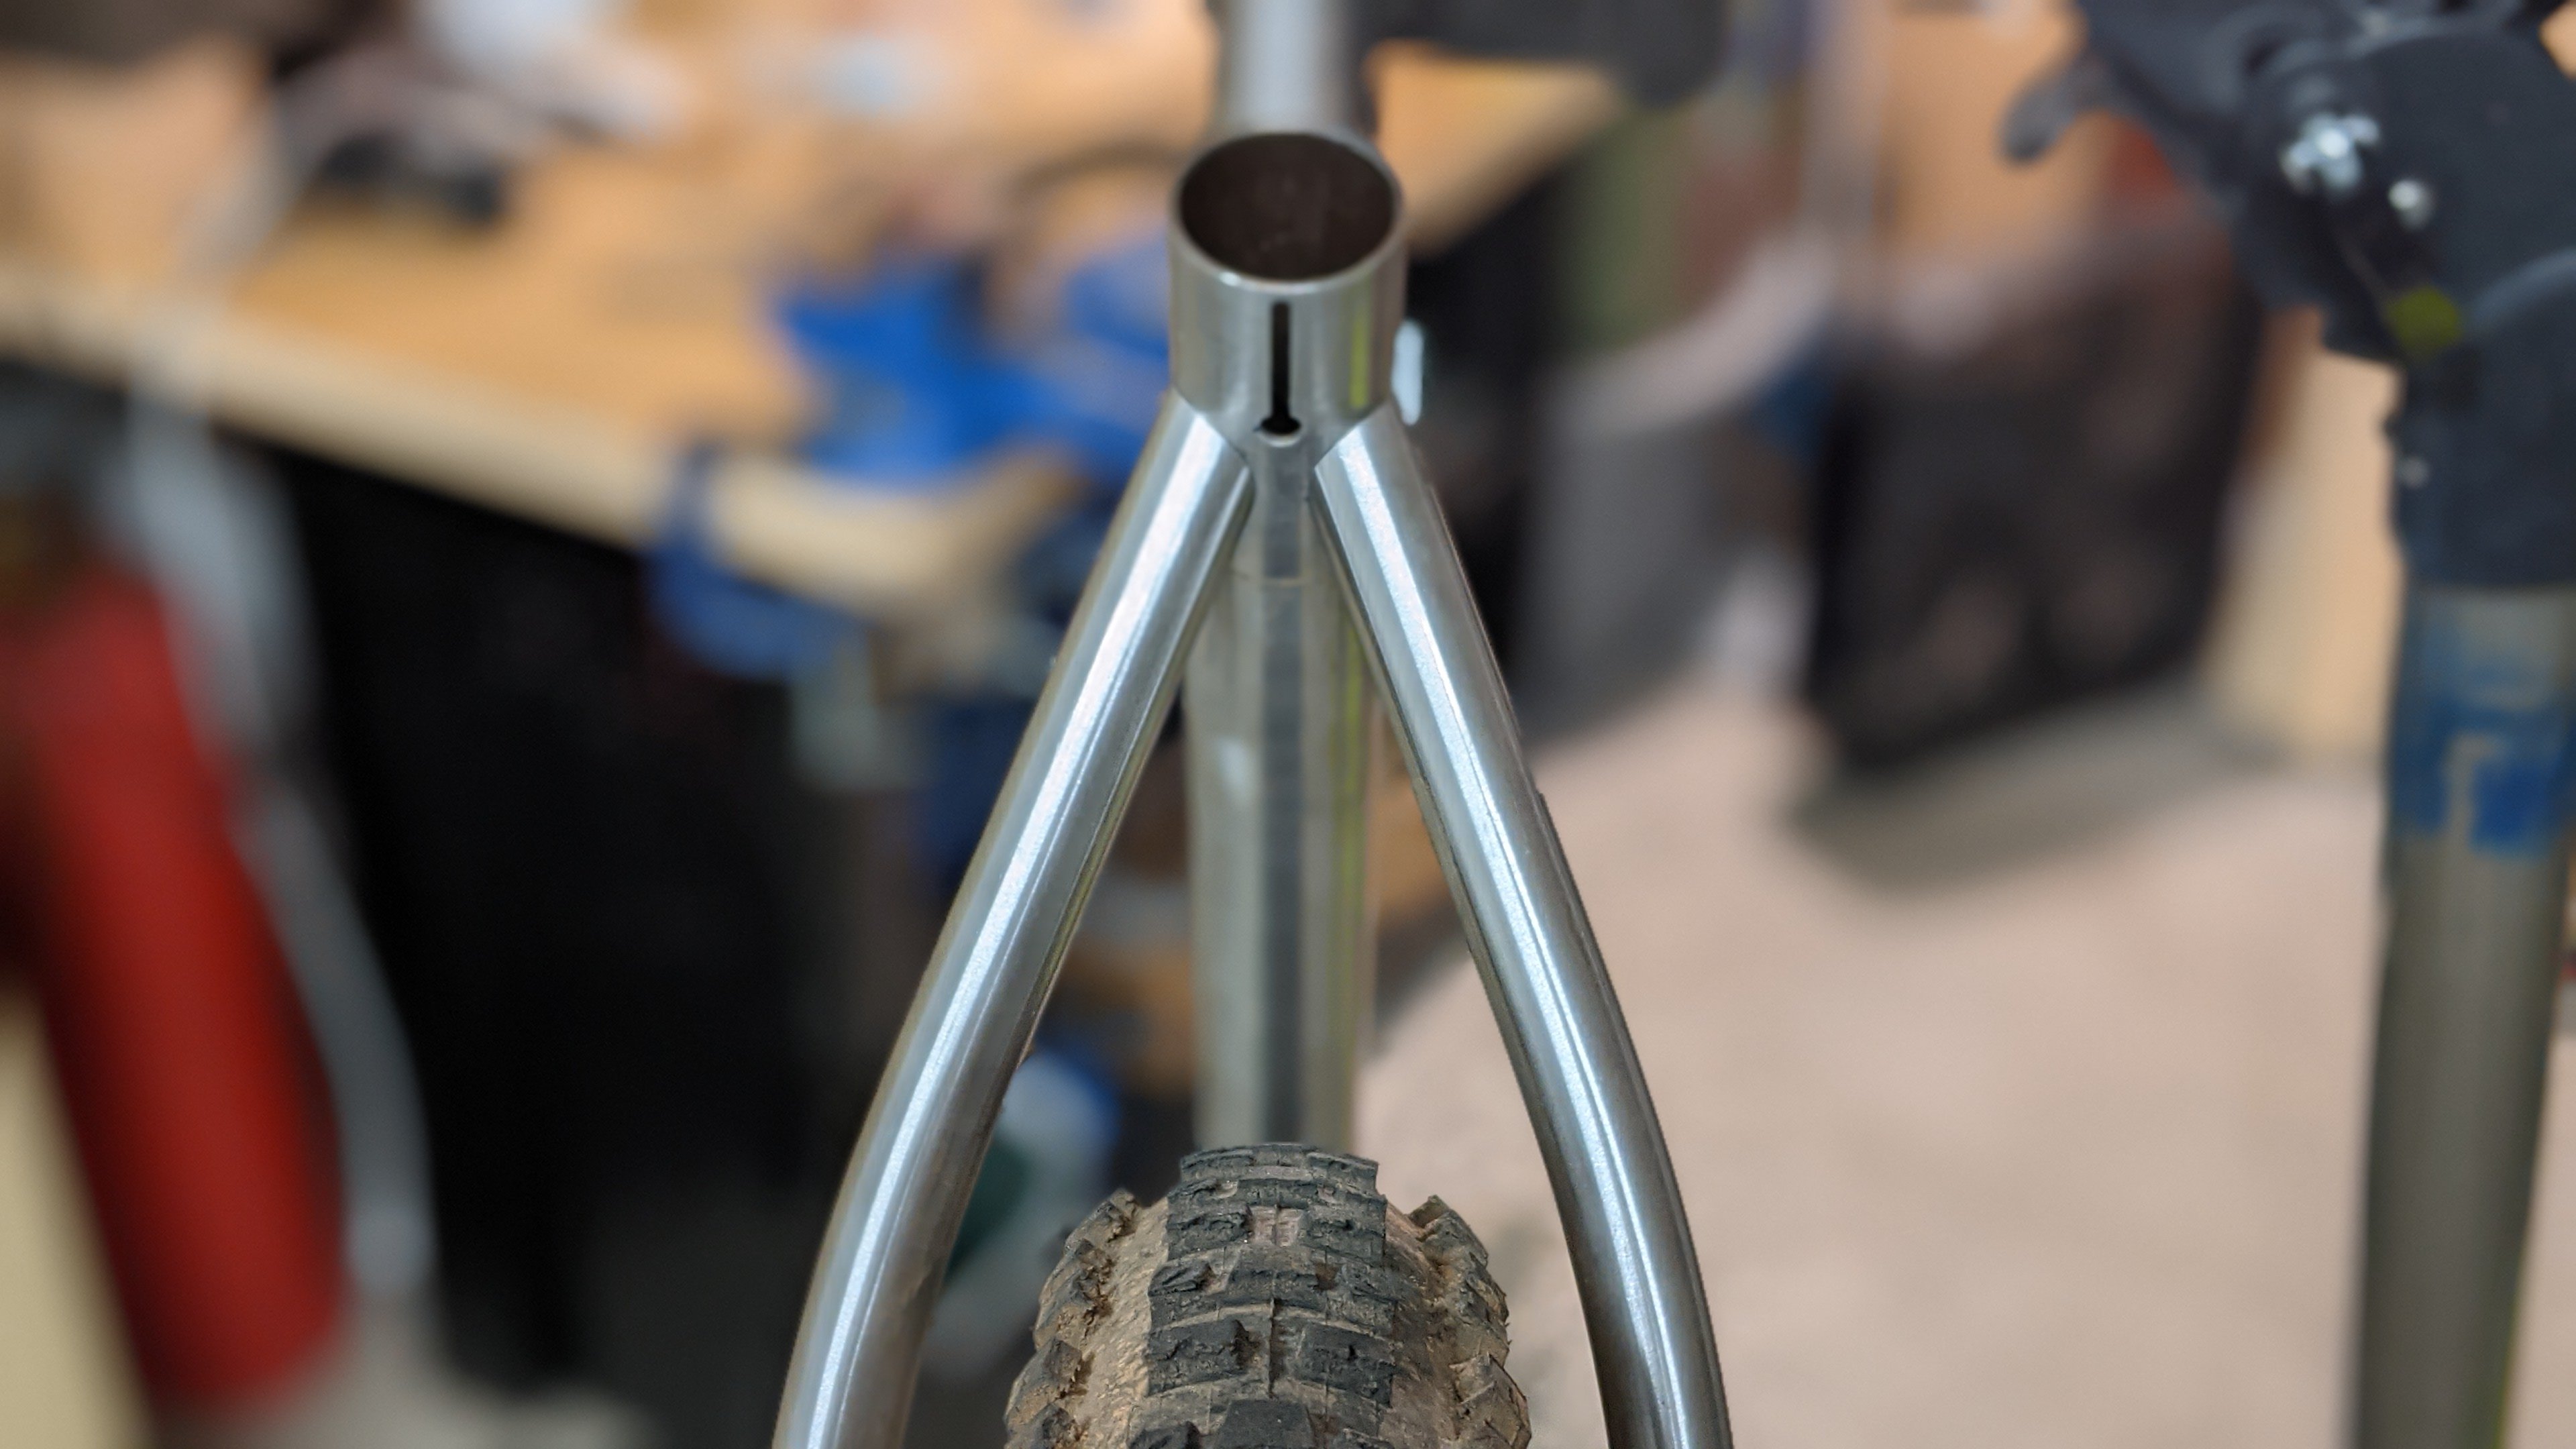
On to seat stays.

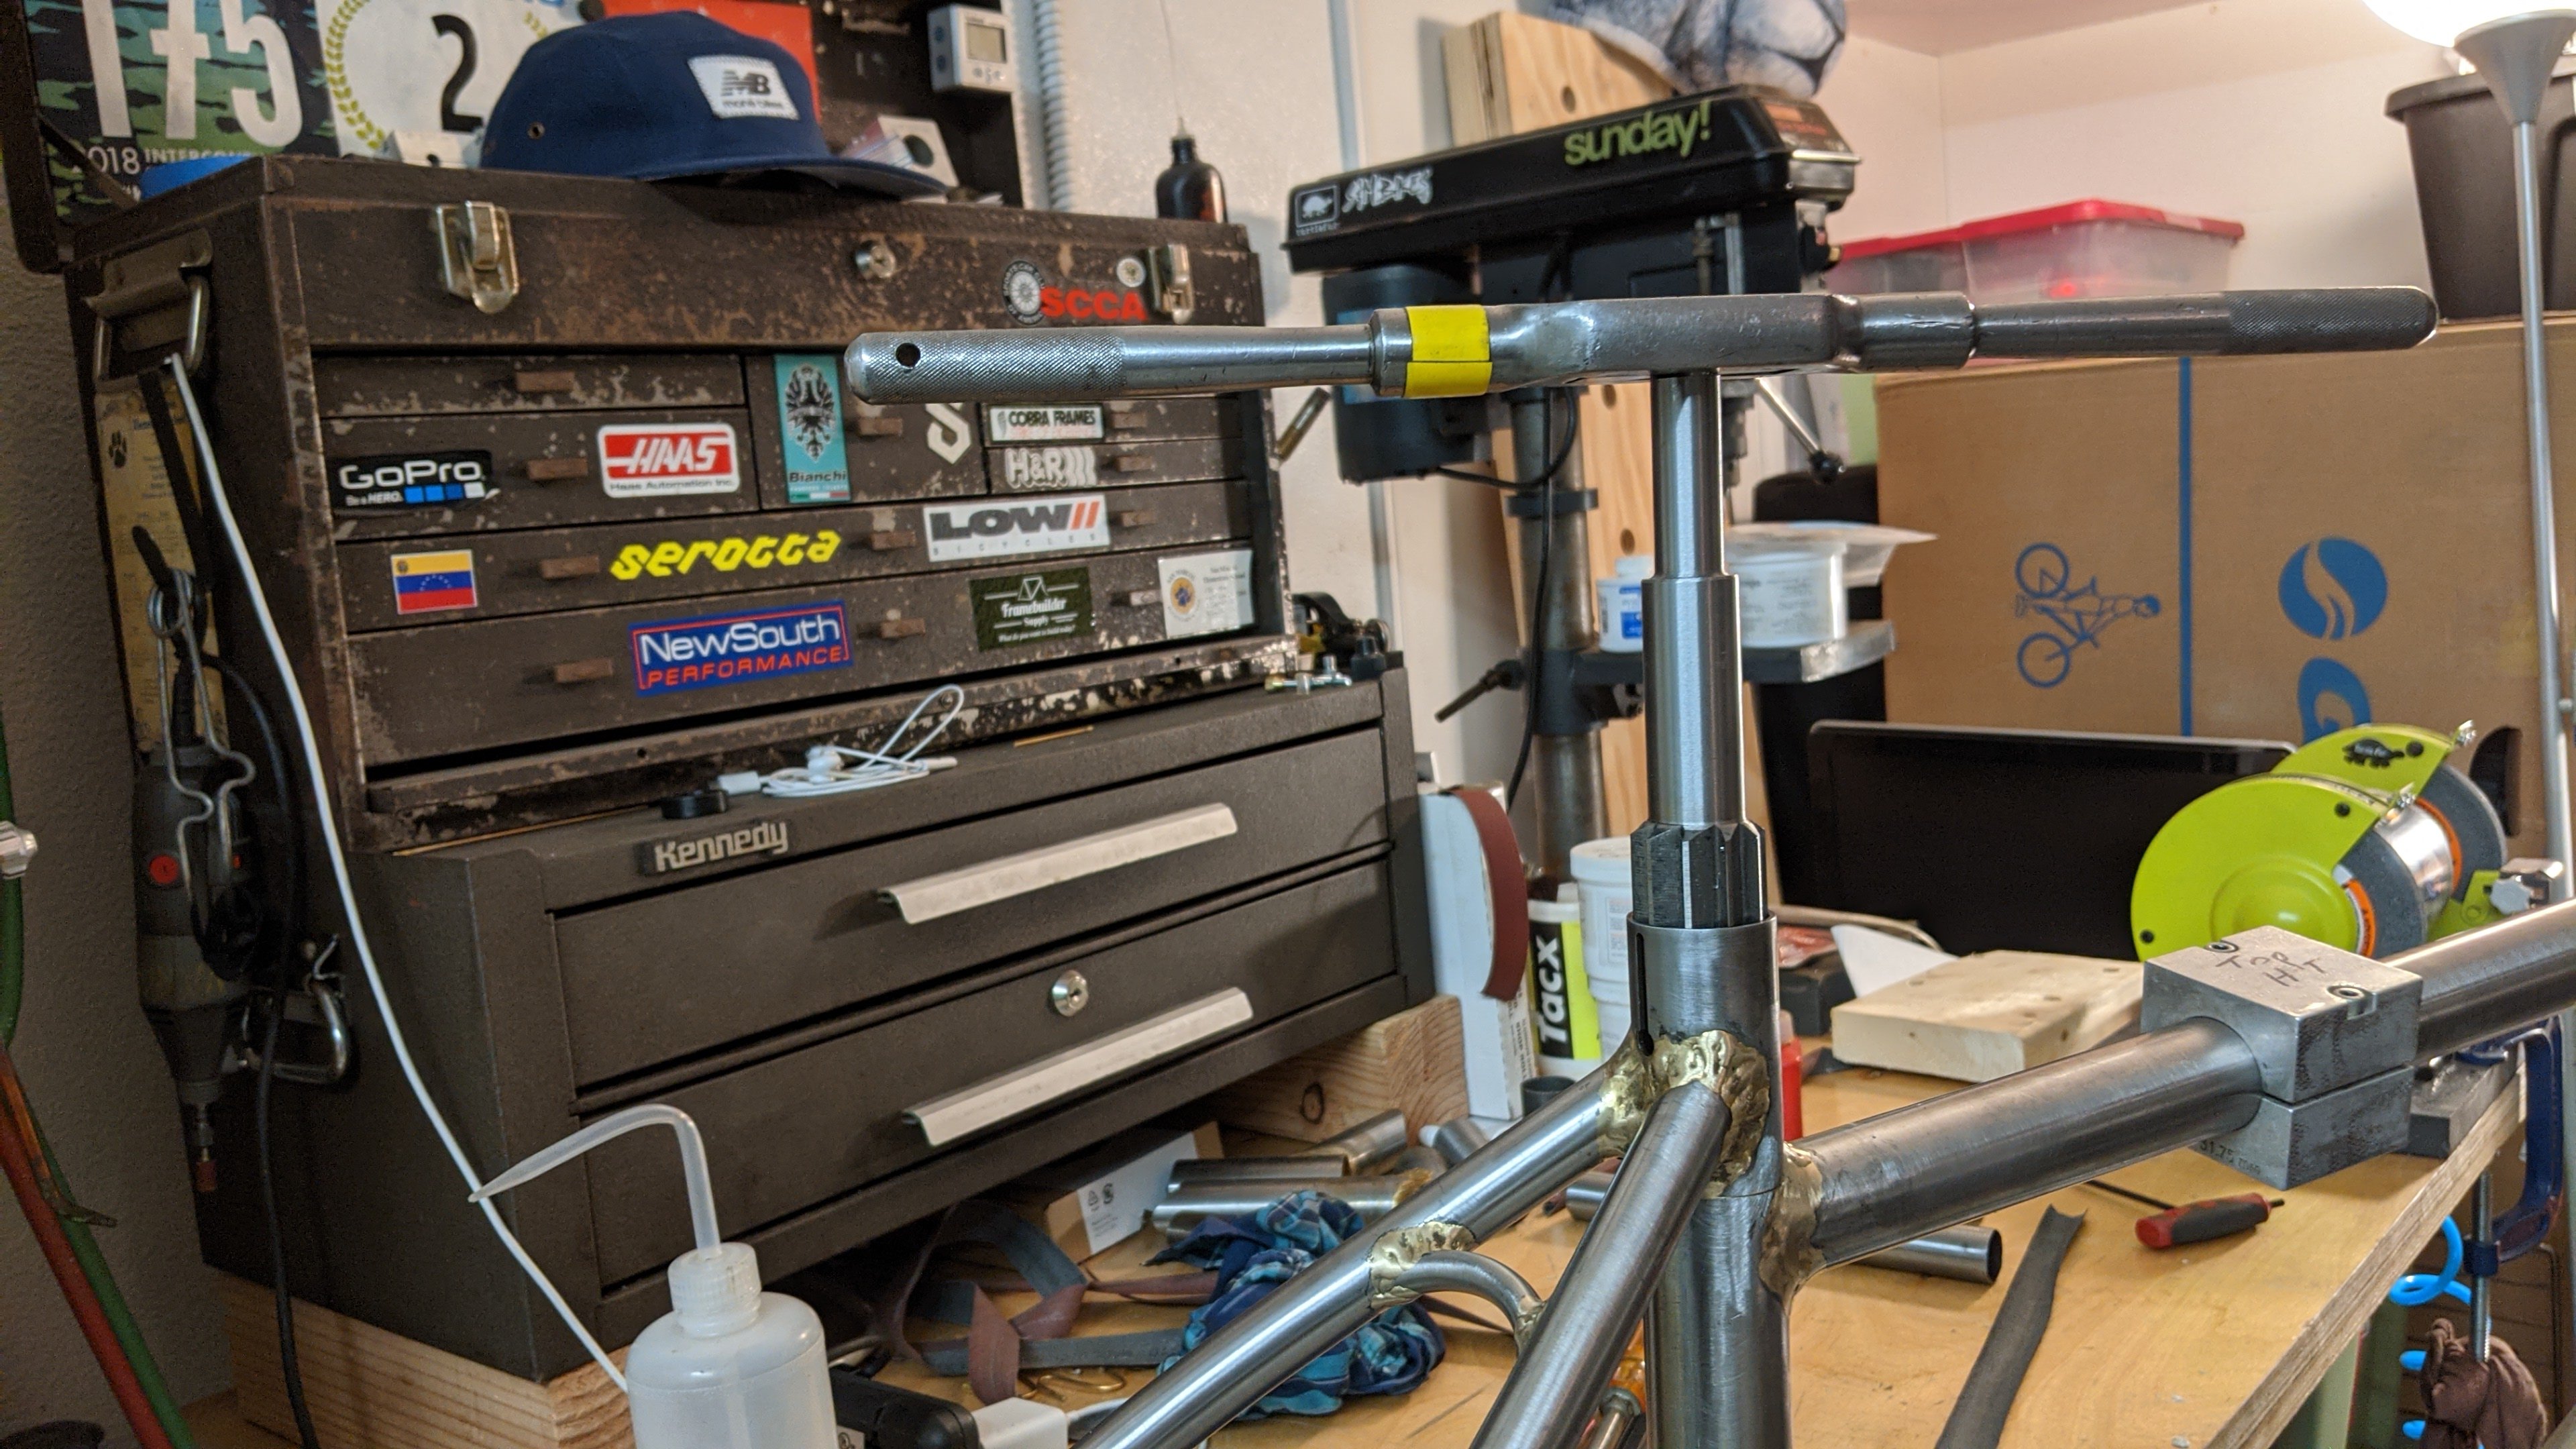
This part is usually my least favorite and most time consuming part of the build. I’m usually too cautious with how much I miter from the top. This time I got a bit more aggressive with it and got them both mitered in one evening.

Borrowed a co-workers back wheel to check fitness as I didn’t even have my own tires ready yet. Haha!

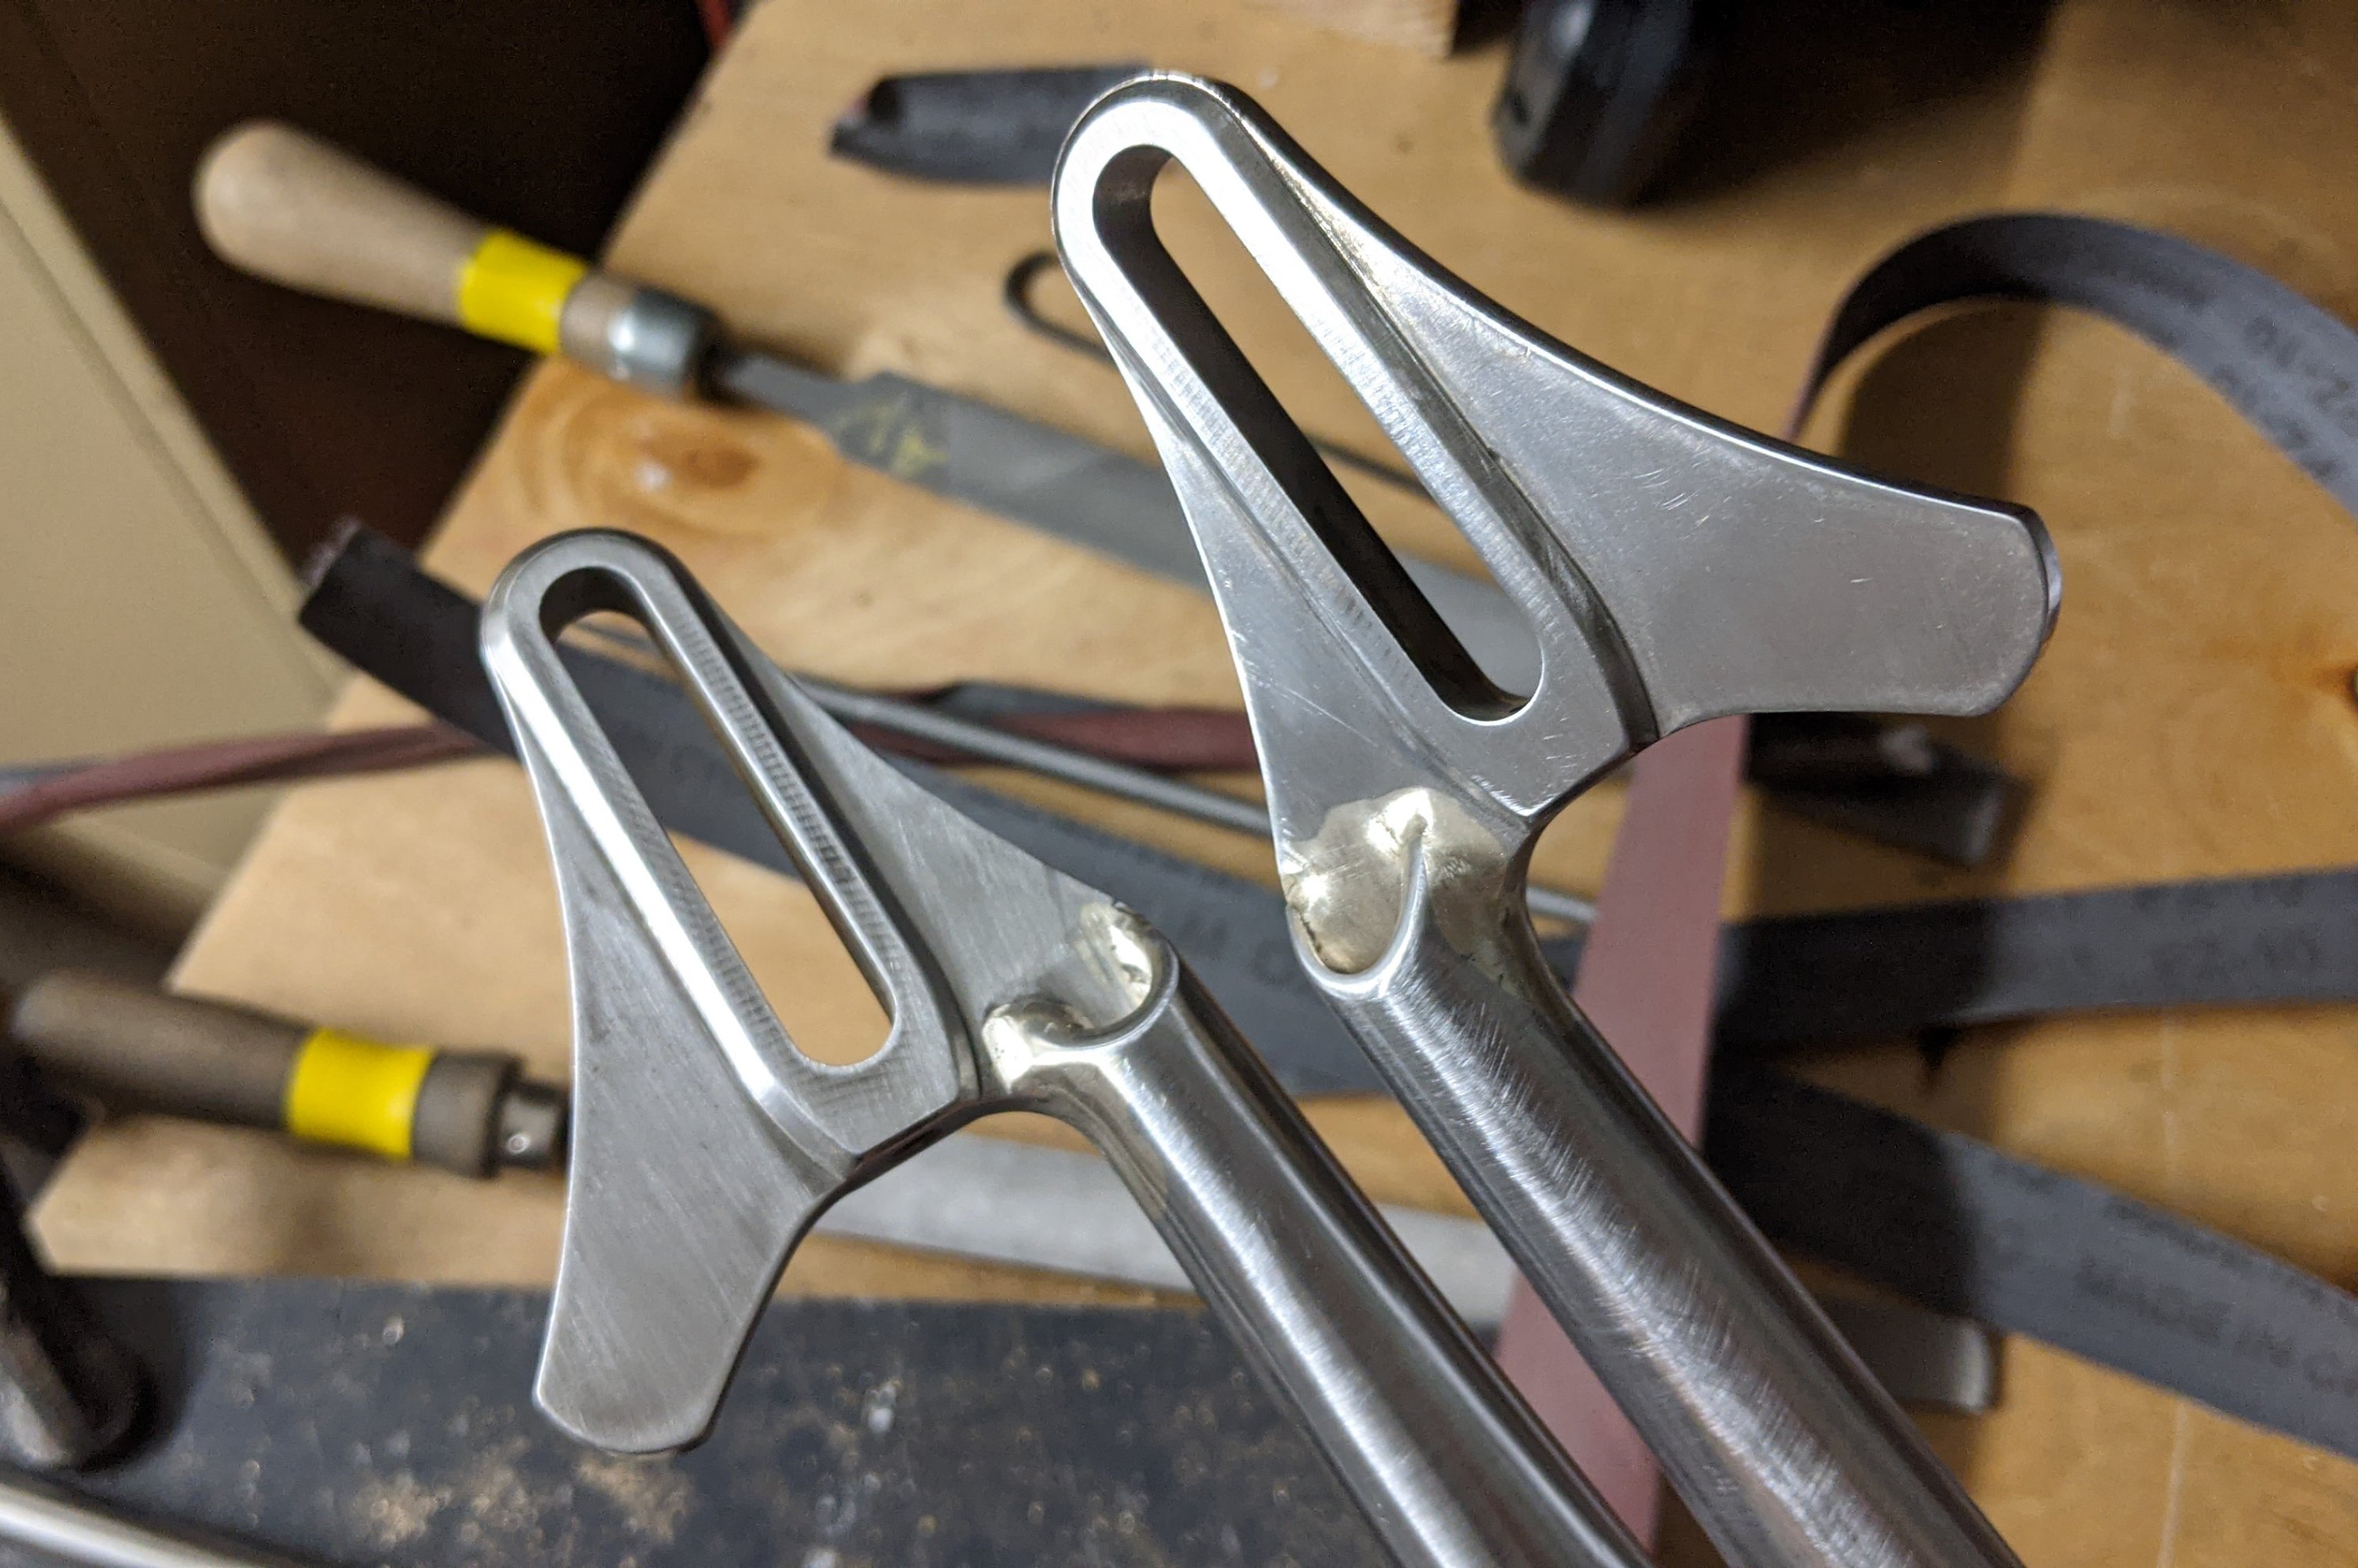
I like small diameter seat stay bridges. I also like them to be curved. Especially when there are curved seat stays. Straight bridges are fine for straight stays.

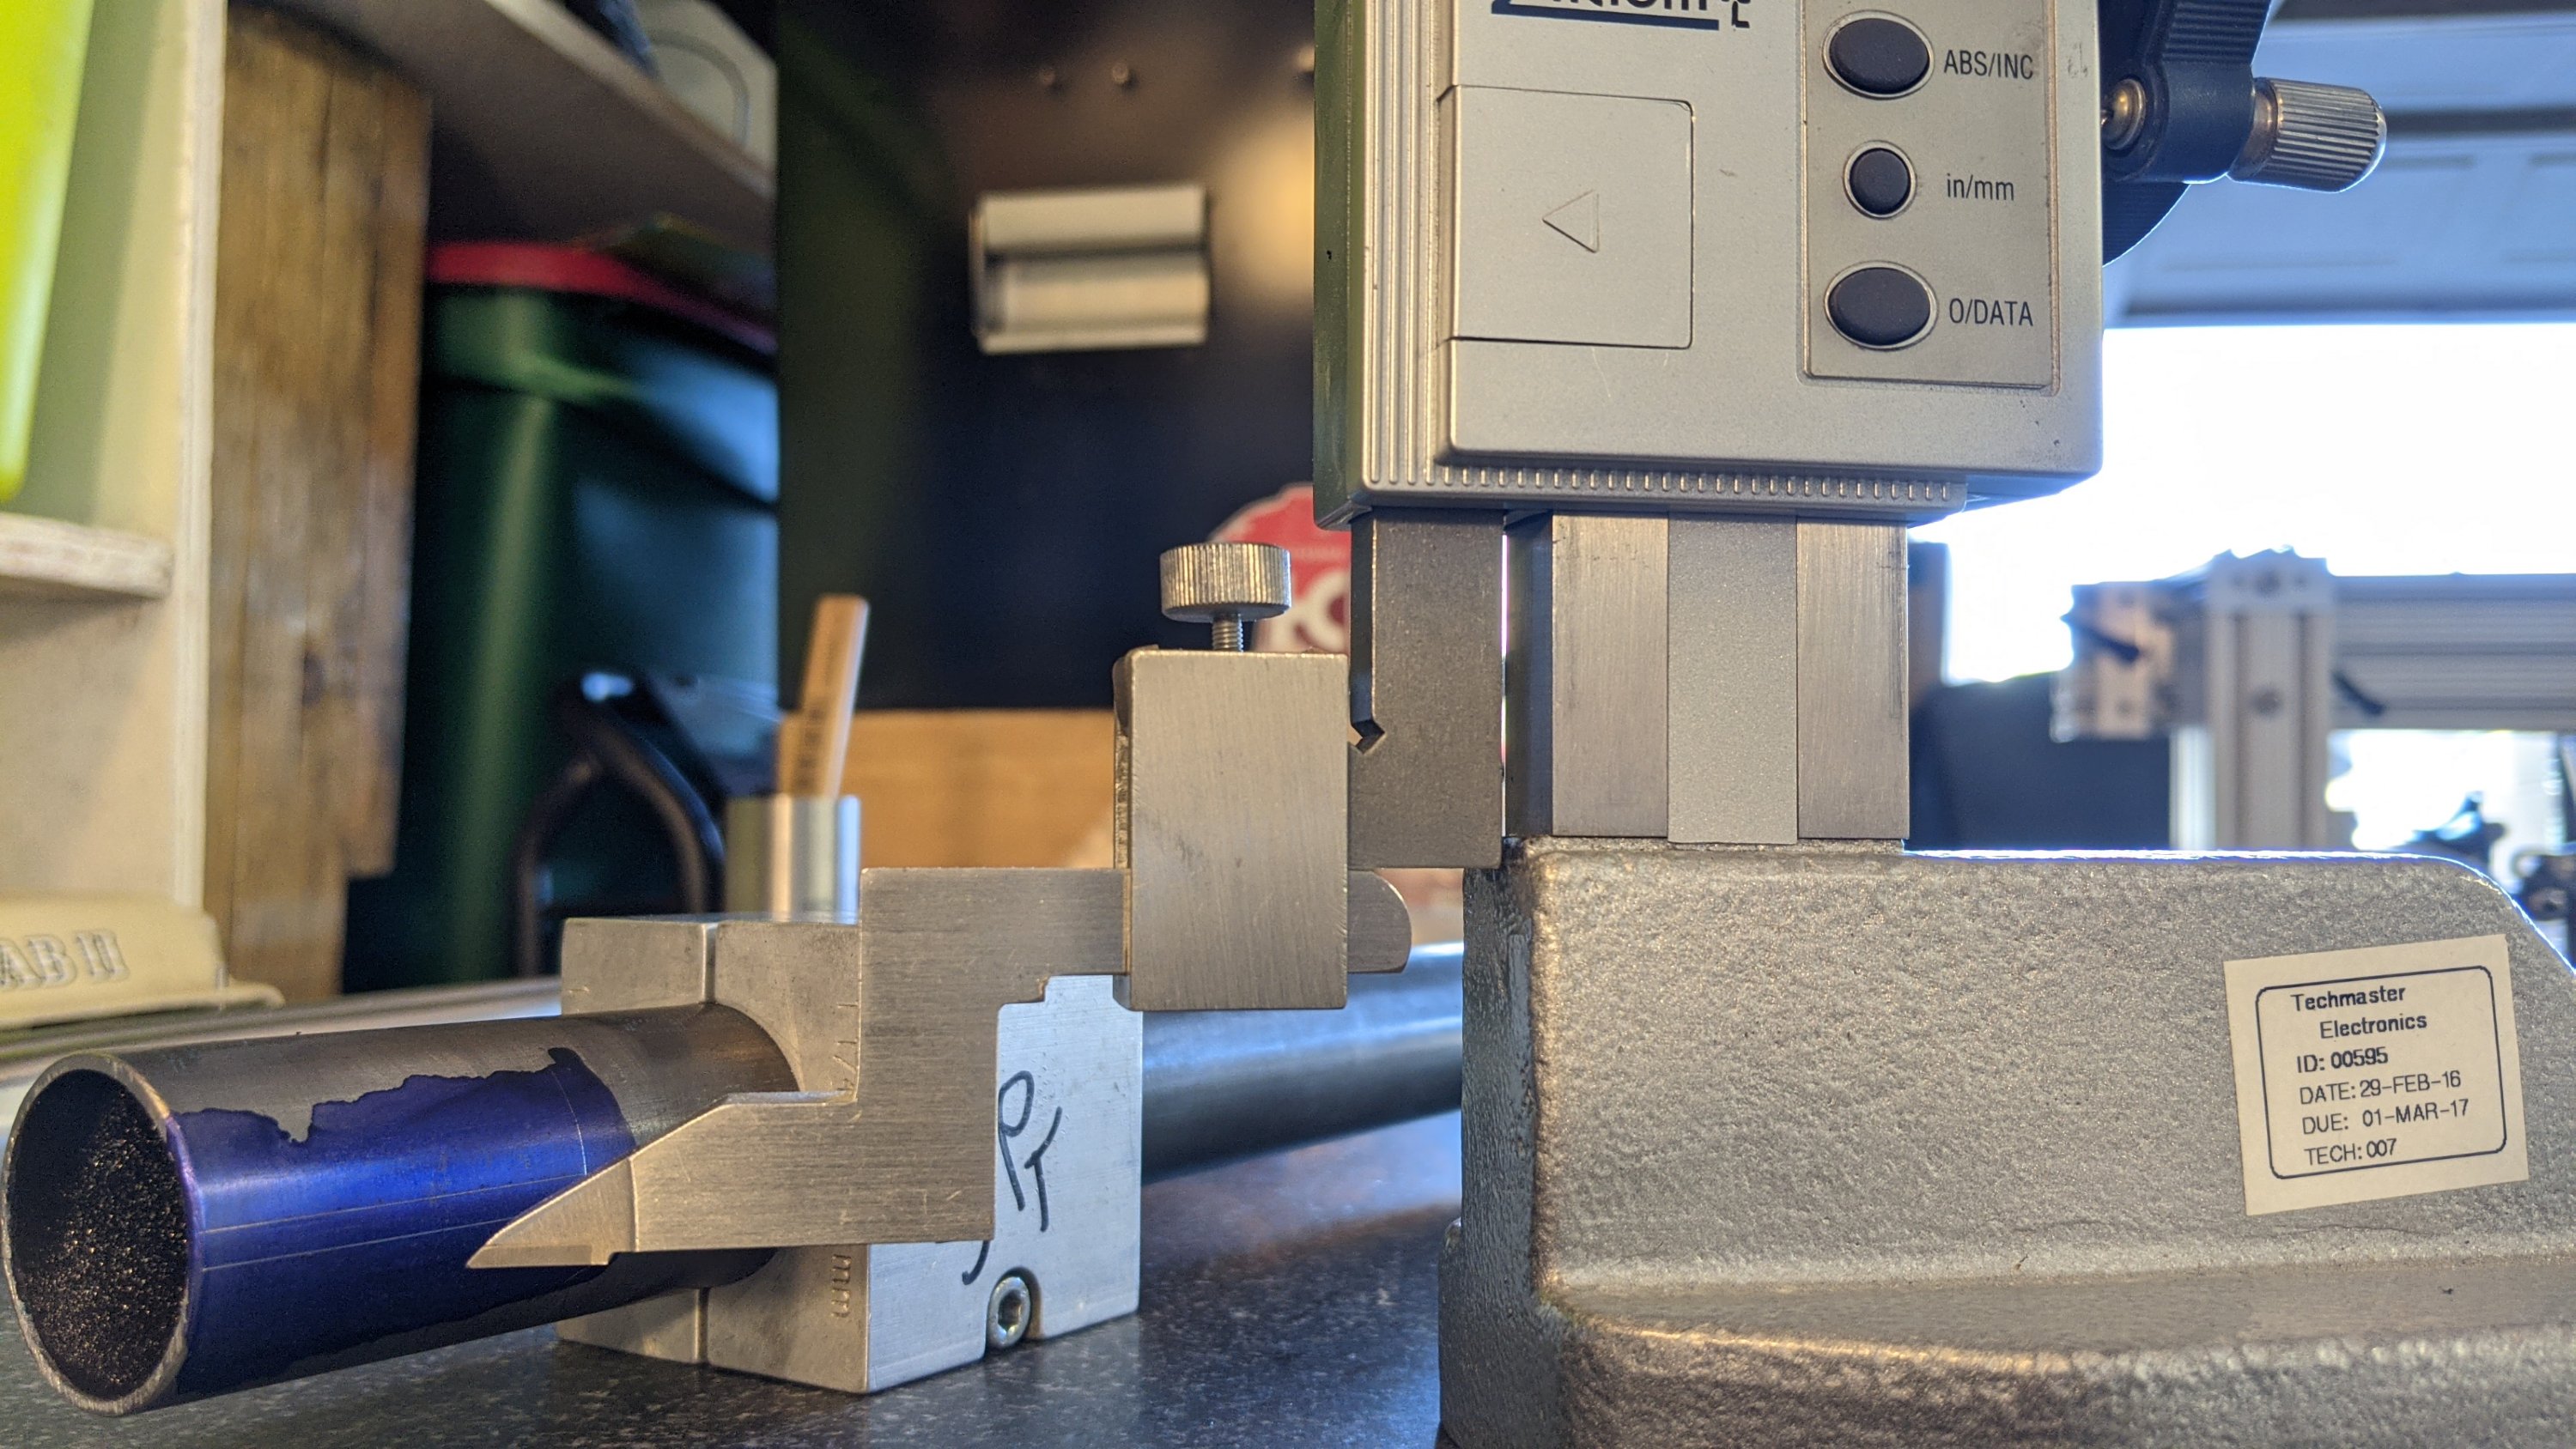
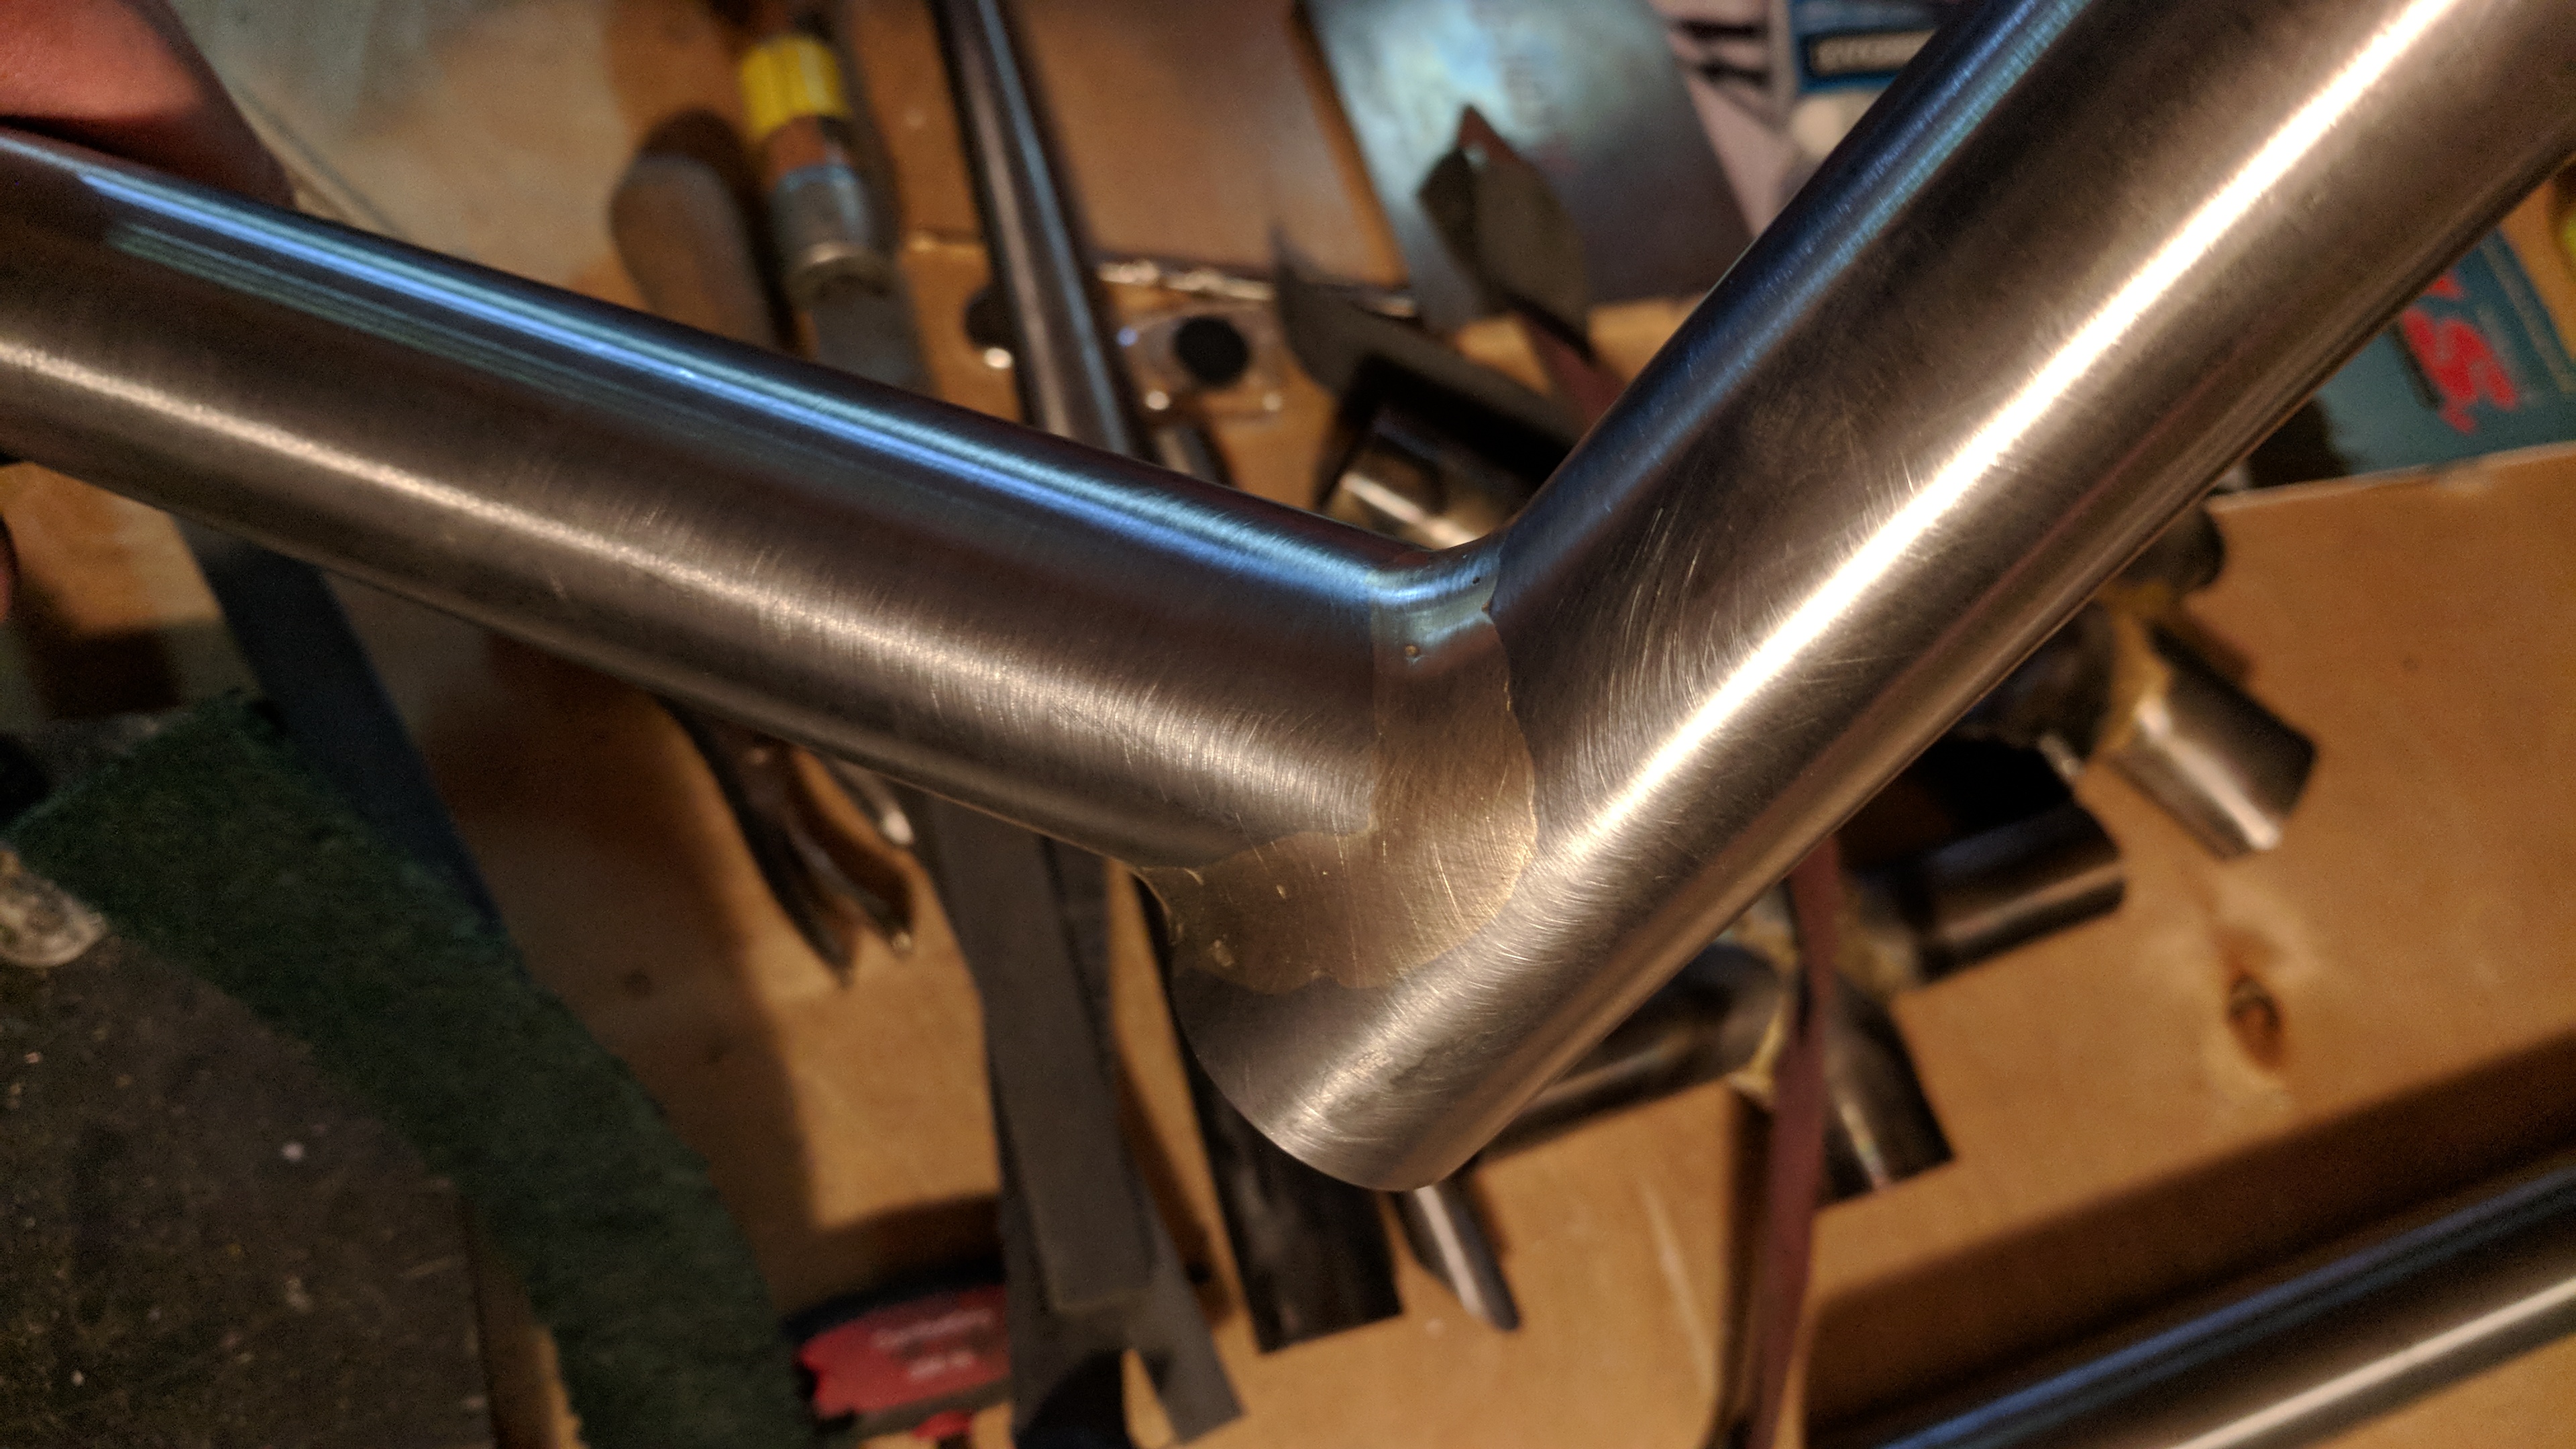
This took embarrassingly long to get it mitred where I wanted it.

Then something happened!

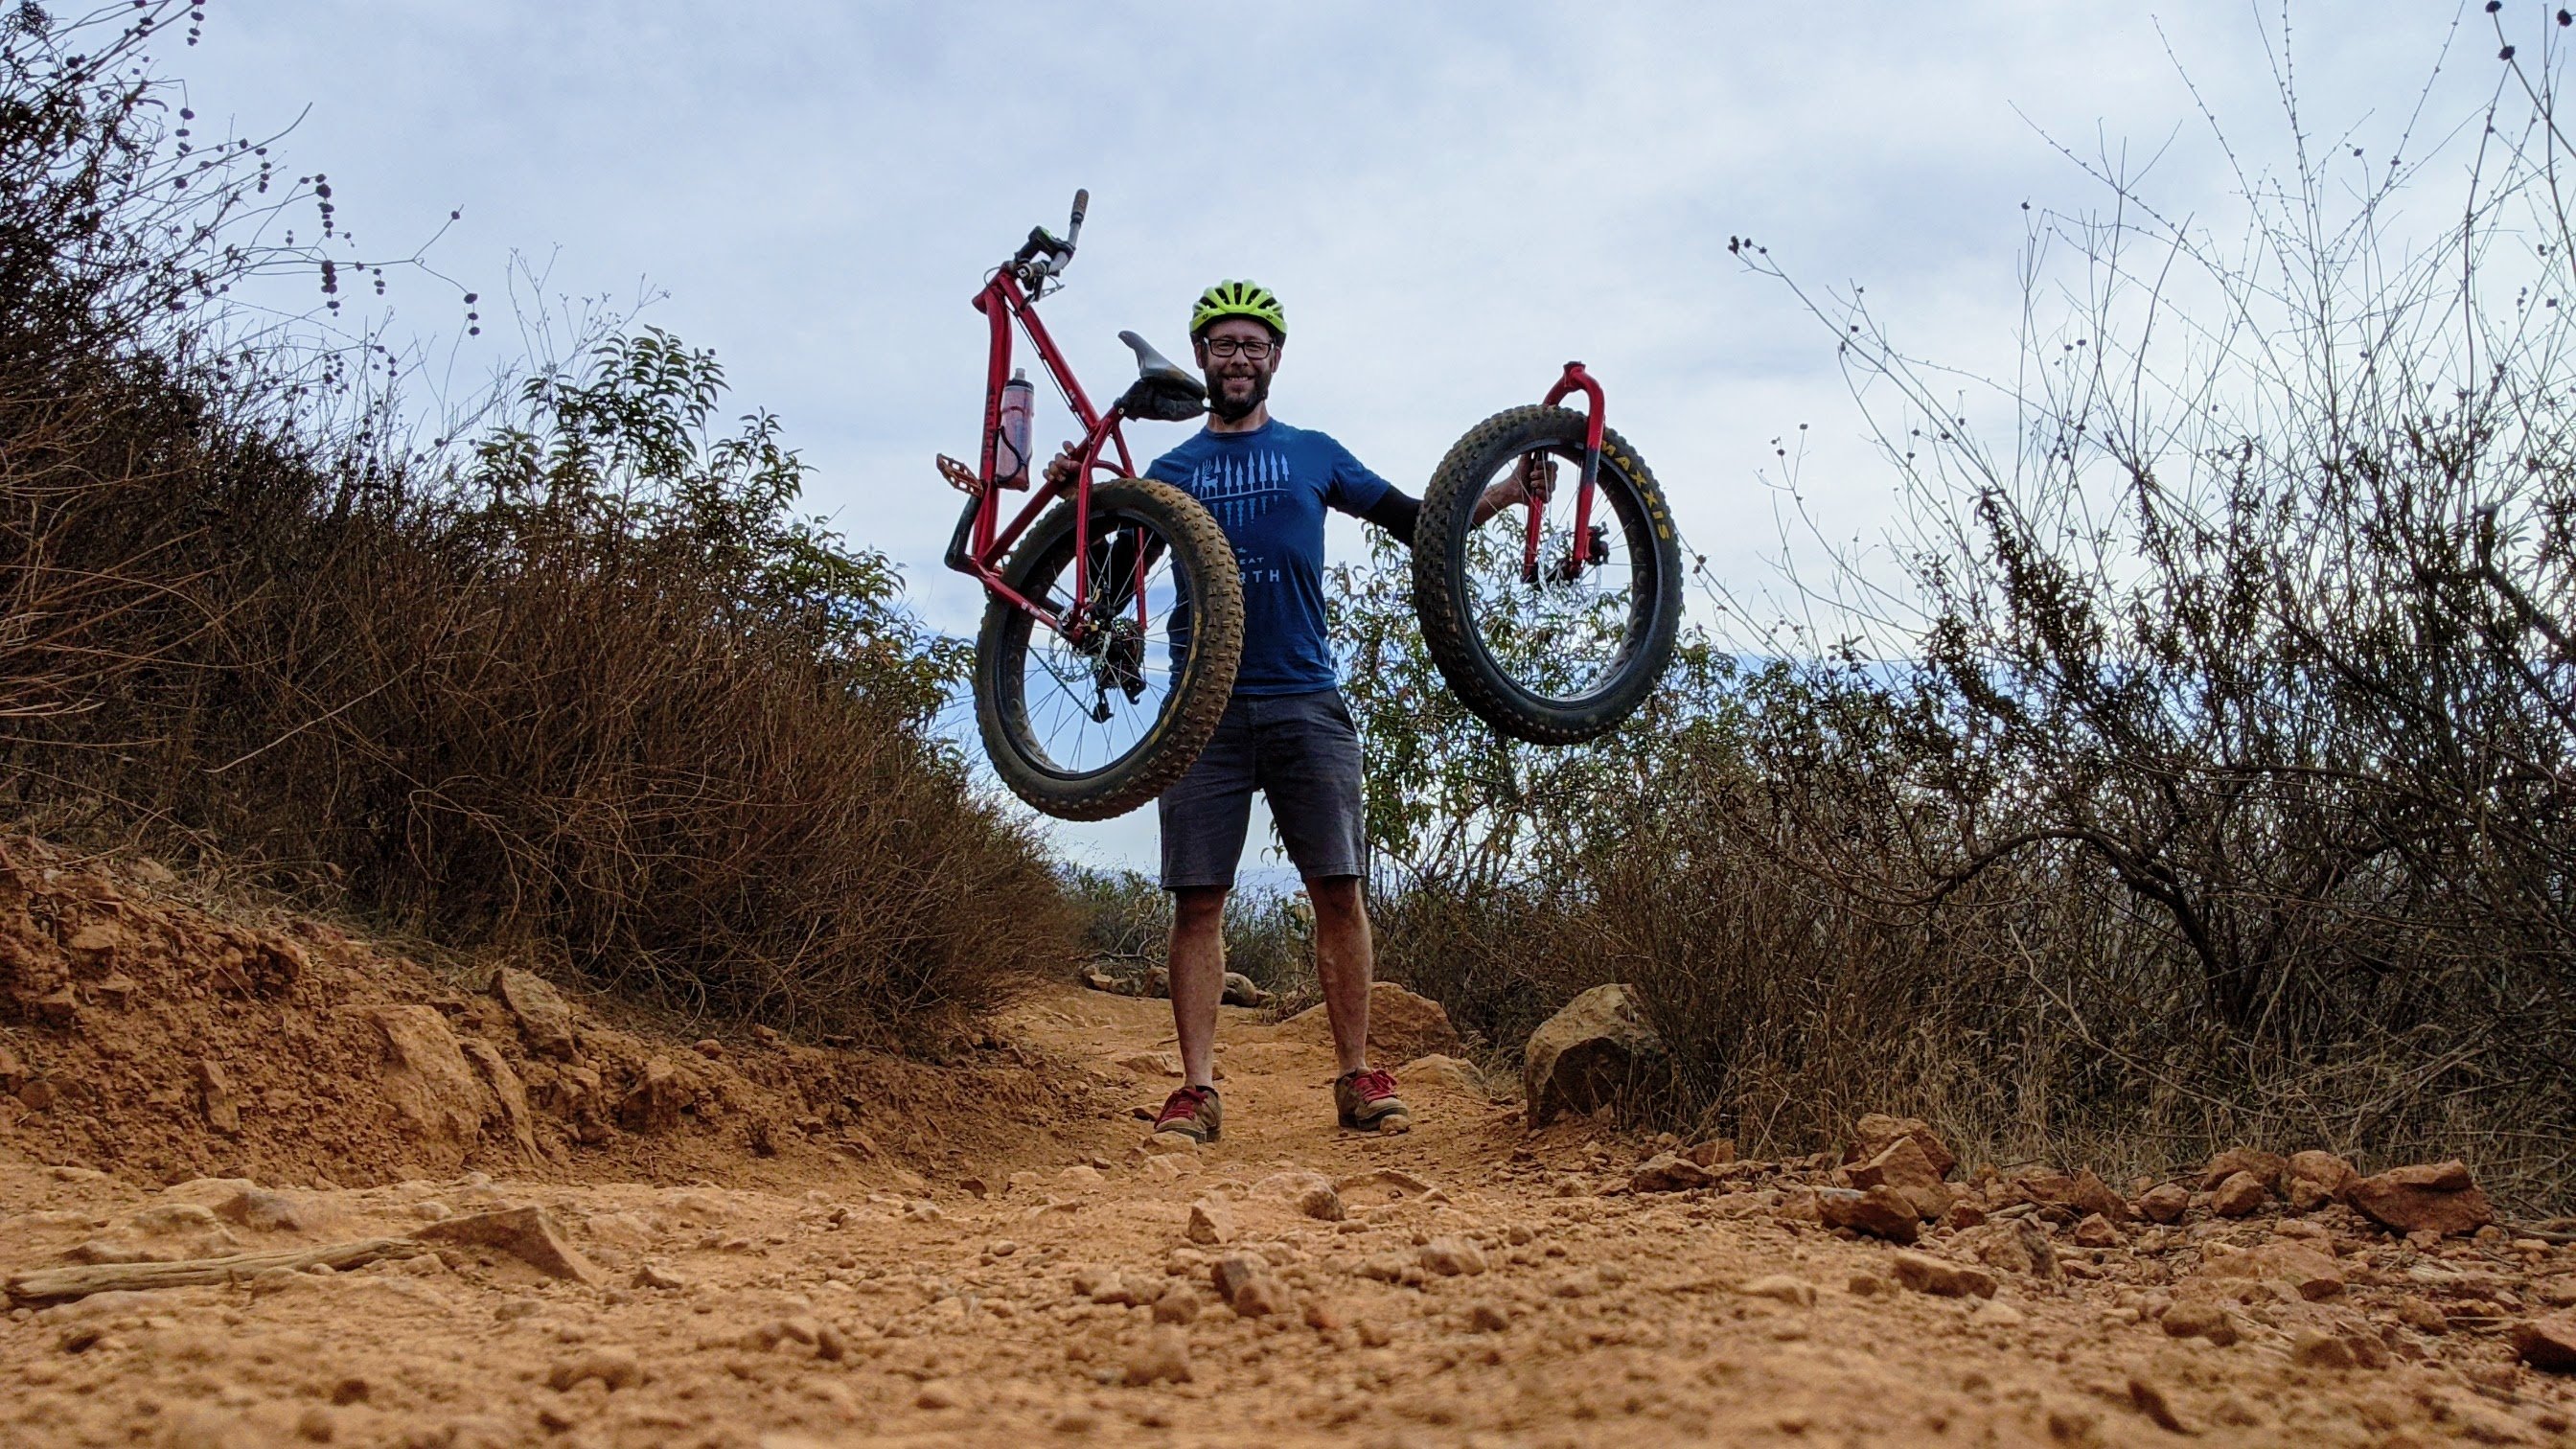
The fat bike I had been riding was no longer. Side note: I sent Framed this pic and they replied with a 20% off coupon code. I would have bugged out making sure the rider was ok but, that’s just me. Tells you what kind of company they are.

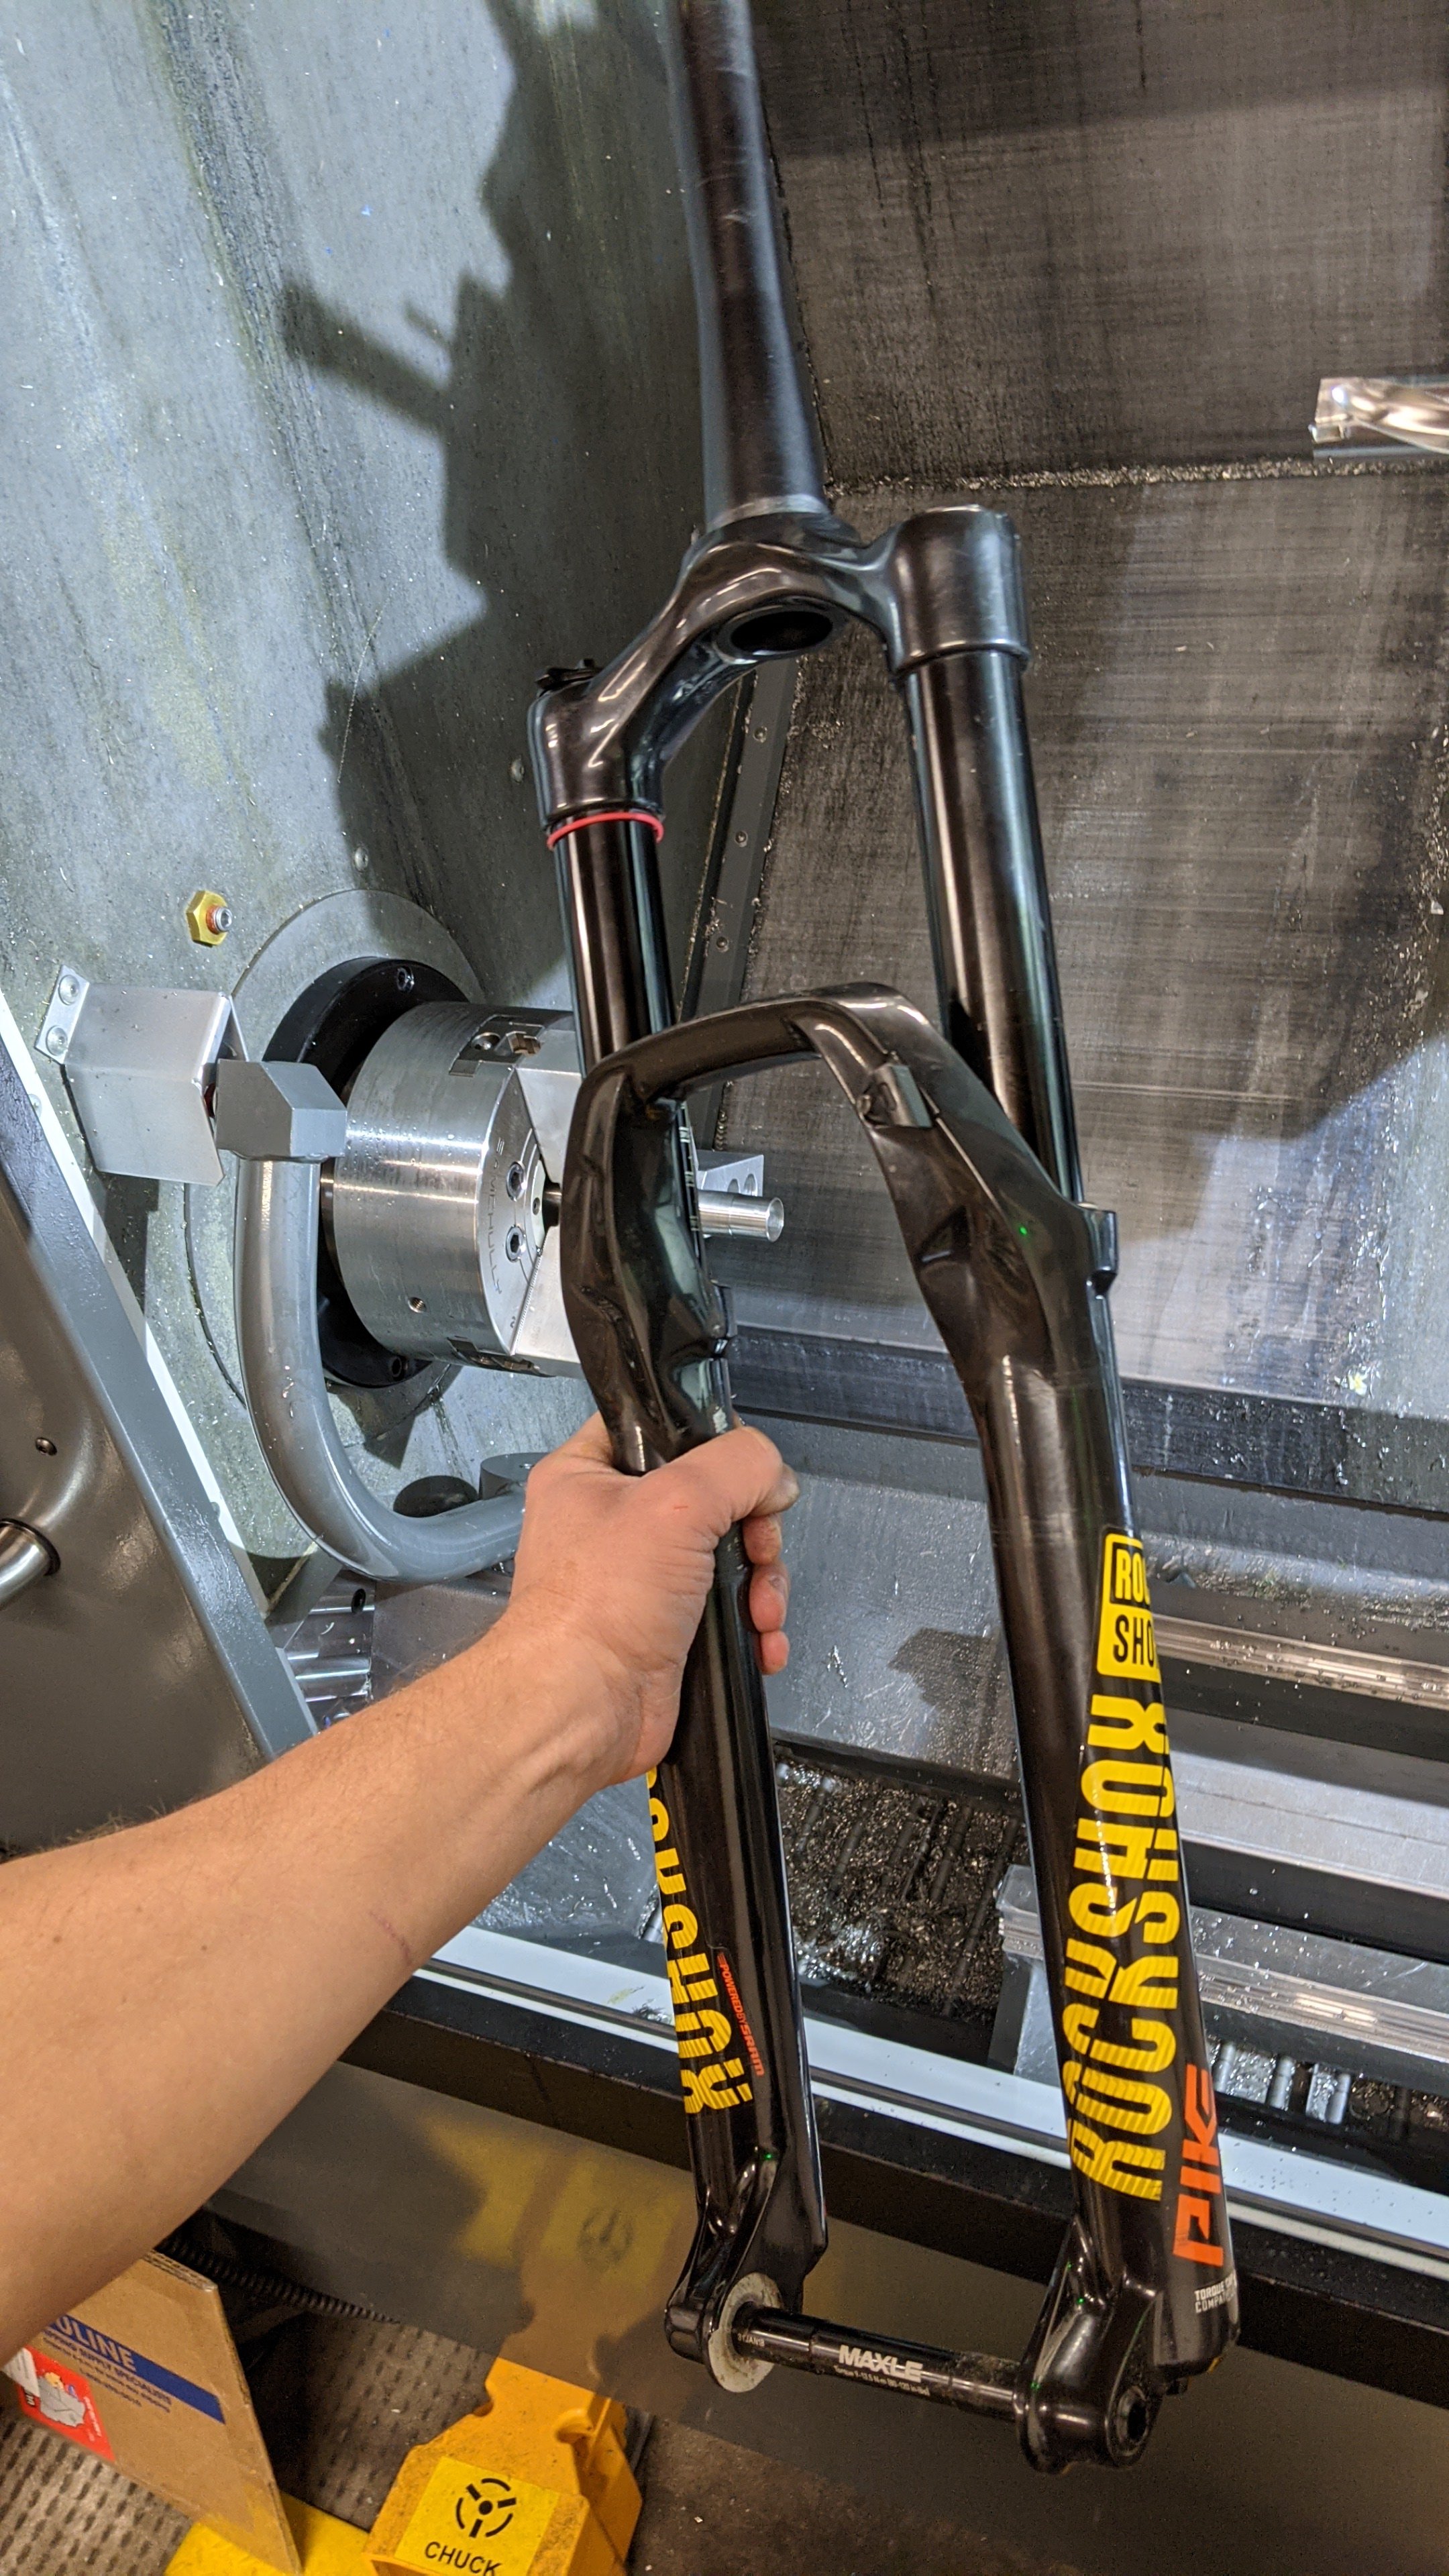
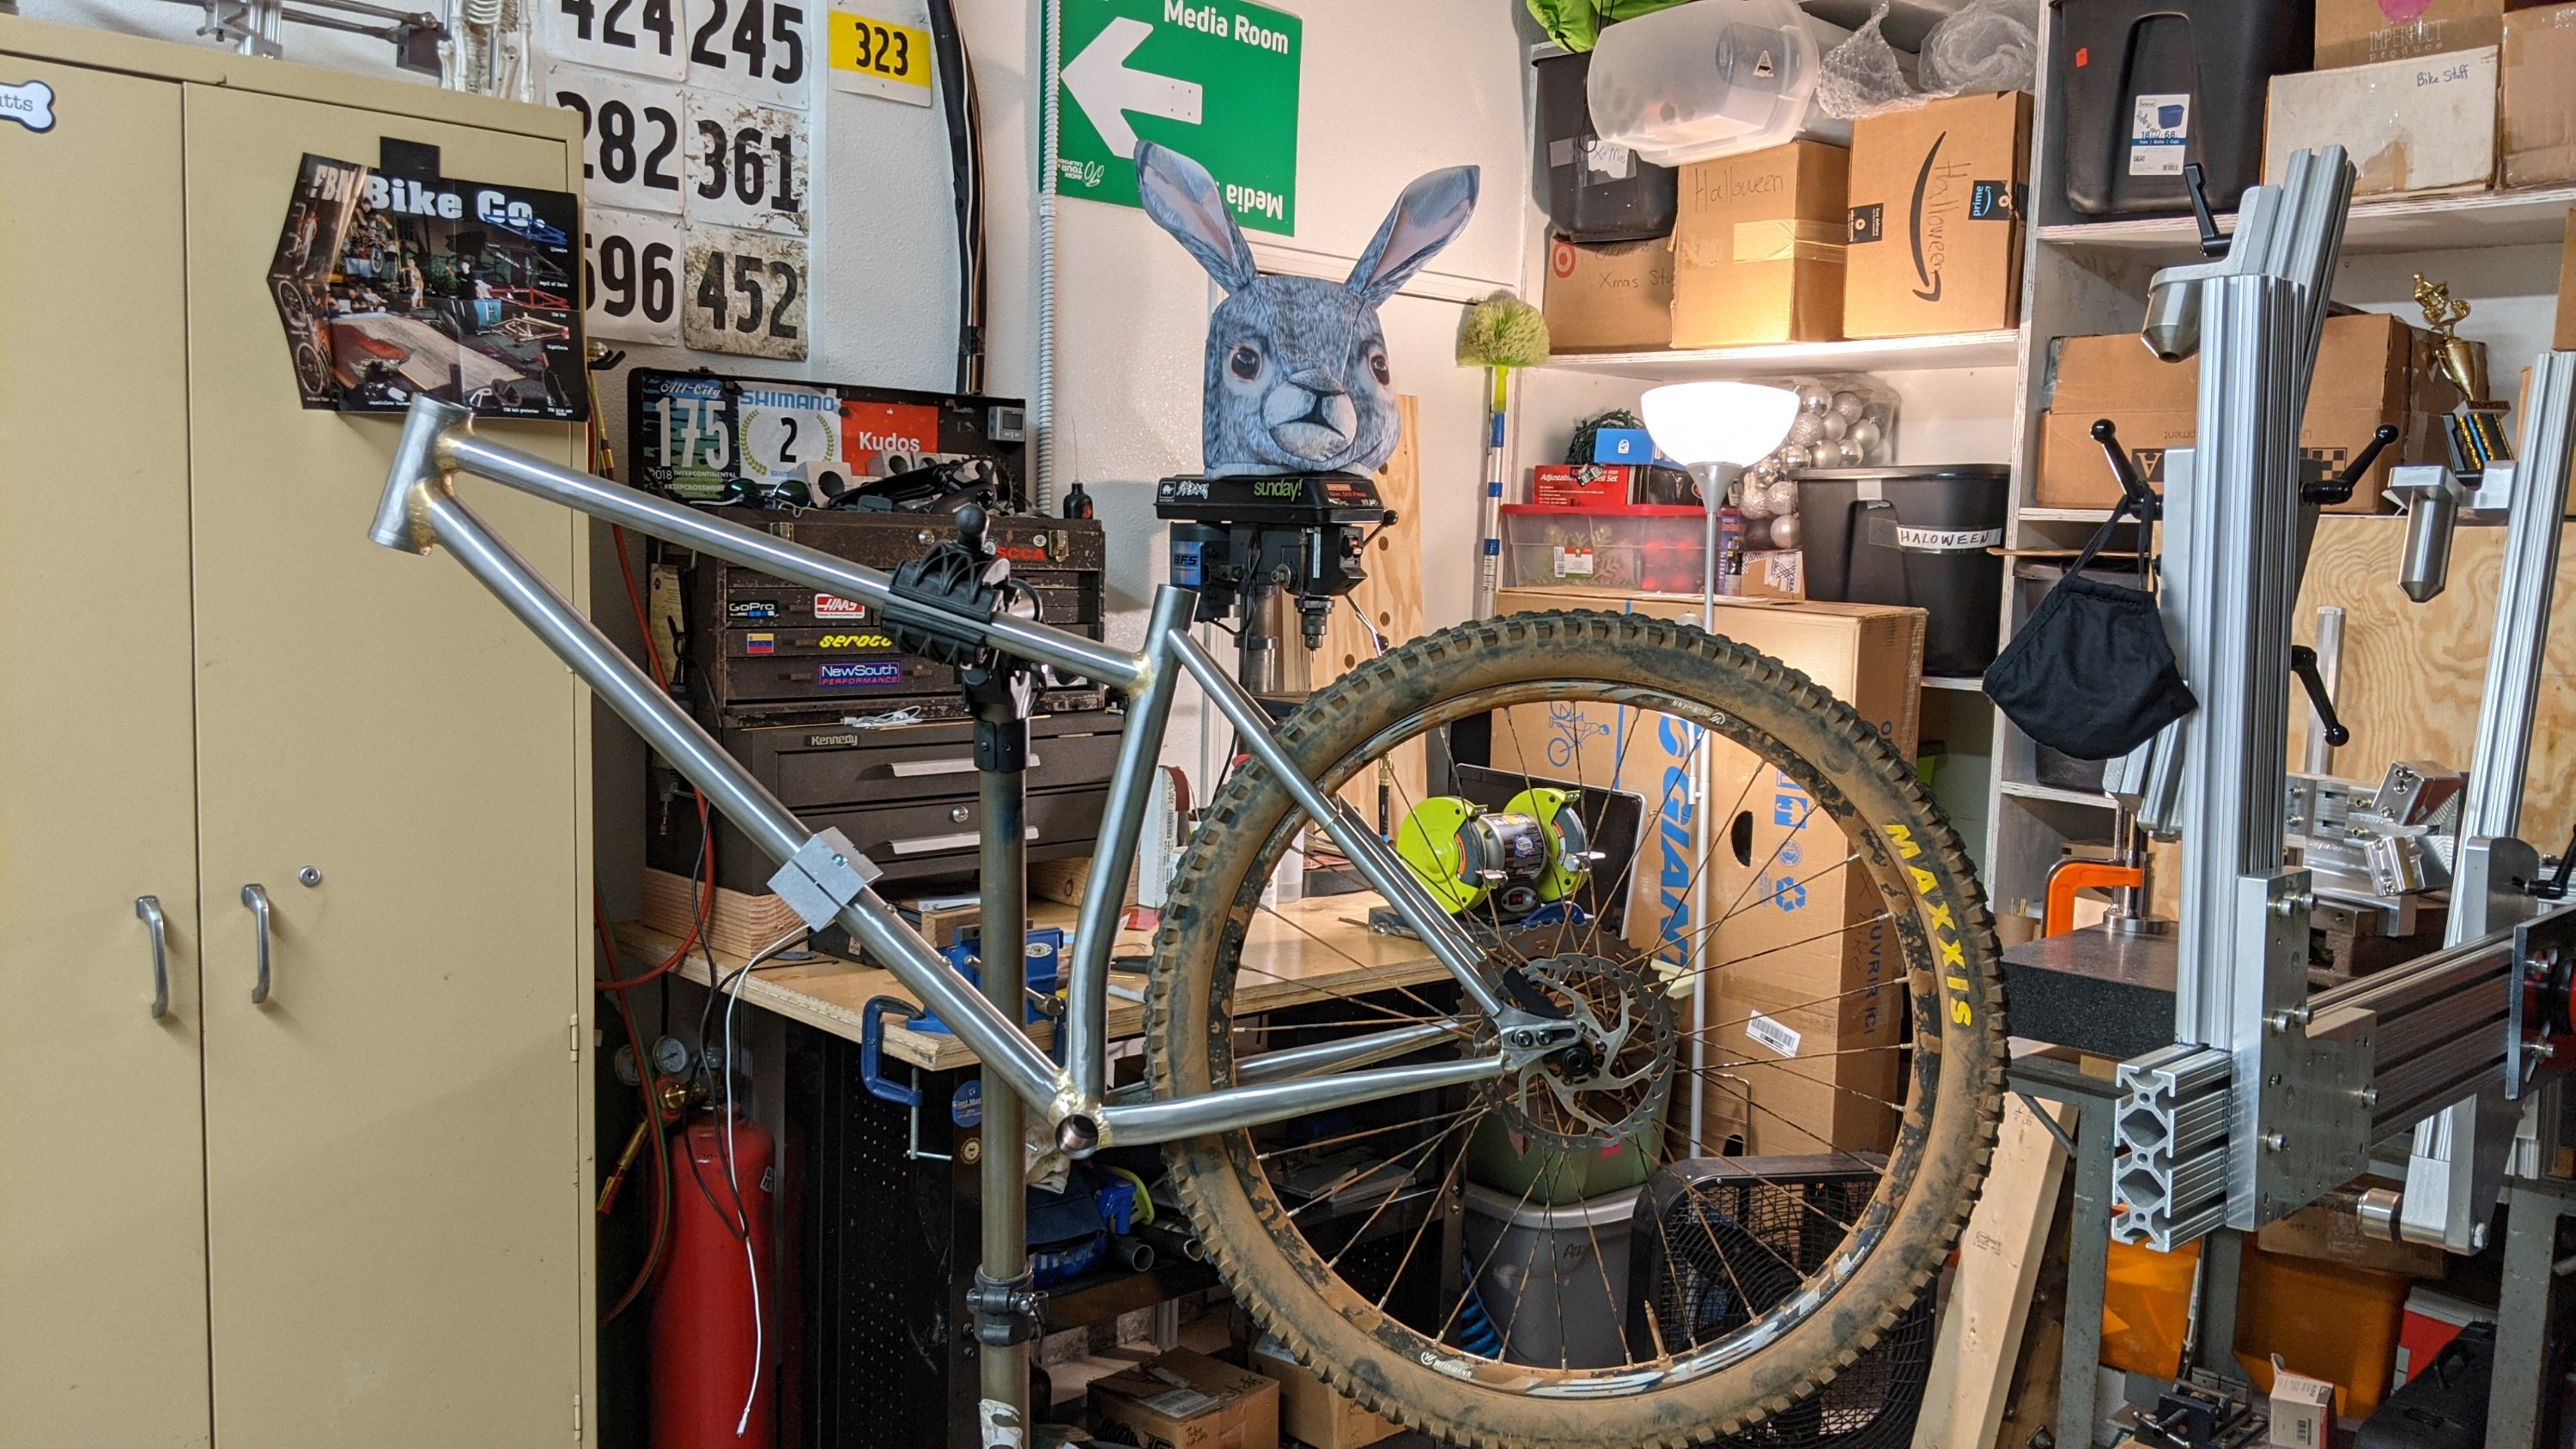
Moving along. This Pike outta fill the void quite nicely.

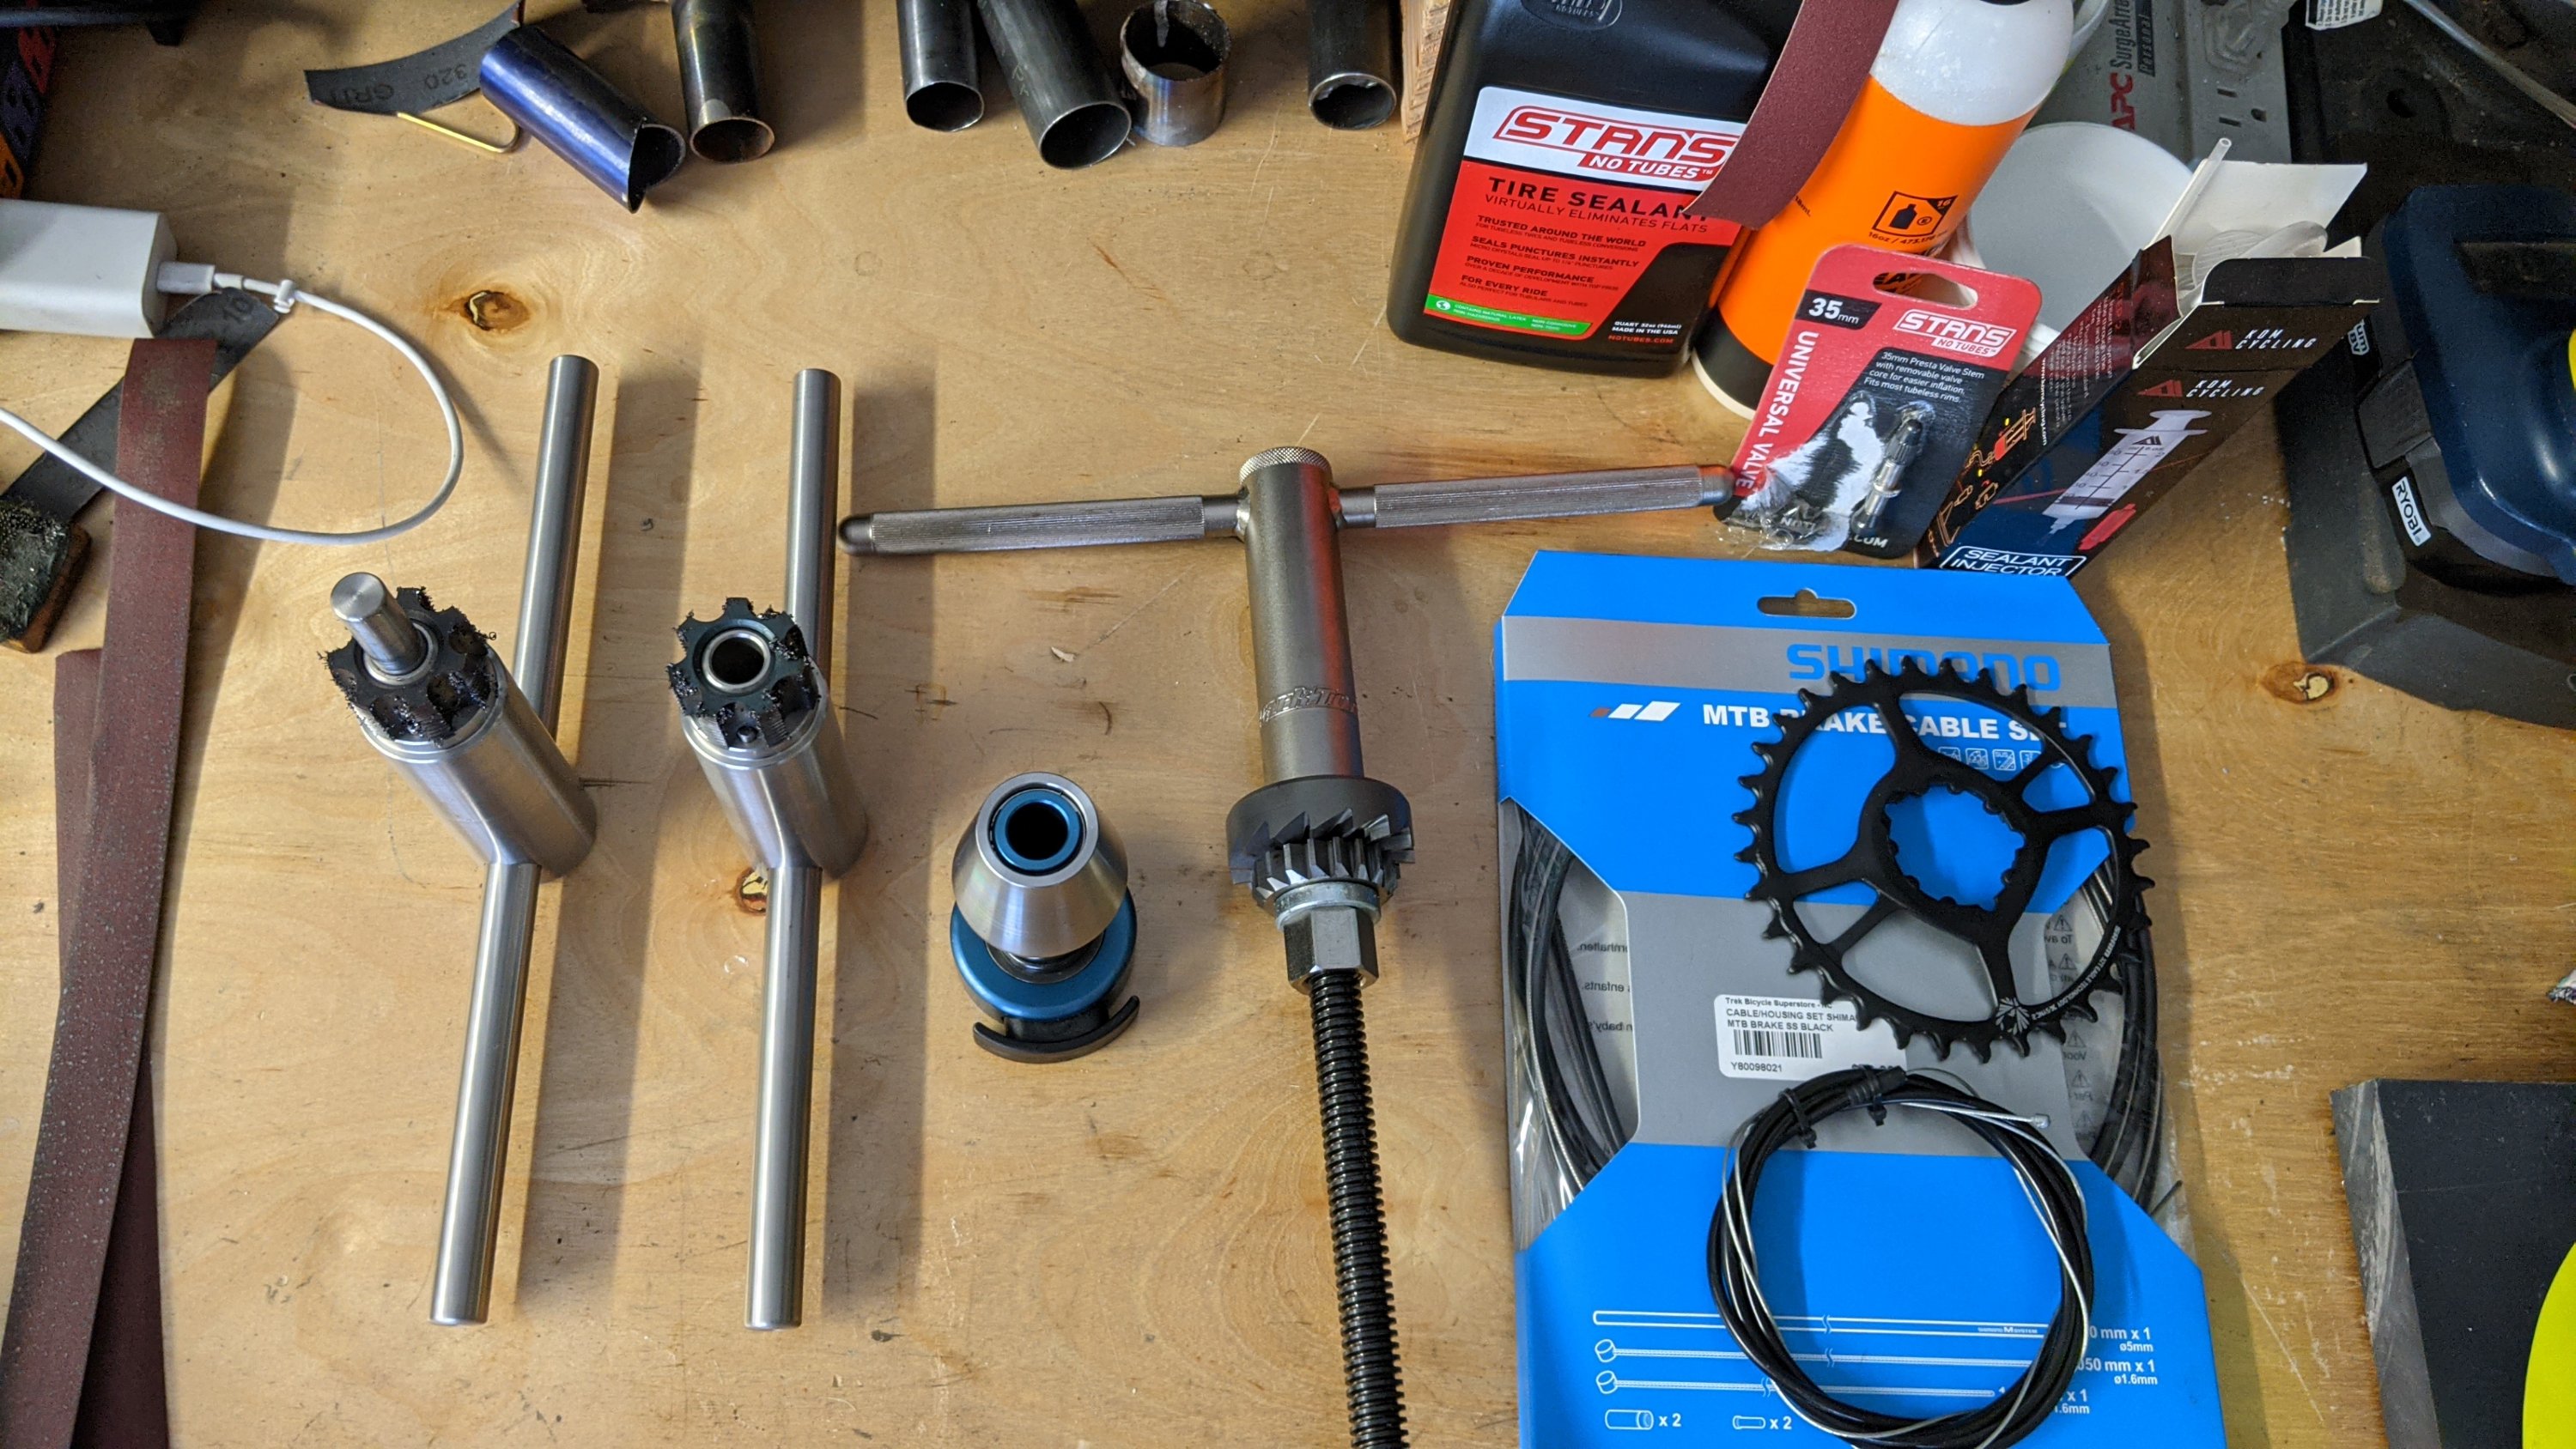
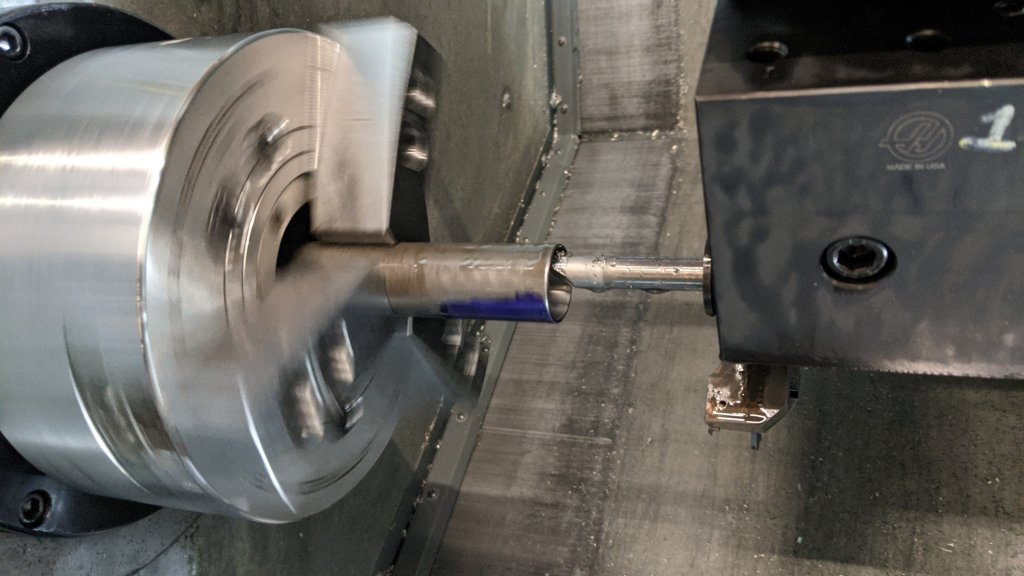
So happy to have finally made or bought what I need to chase, ream and face my frames!

A little chase / face here.

A little ream there.

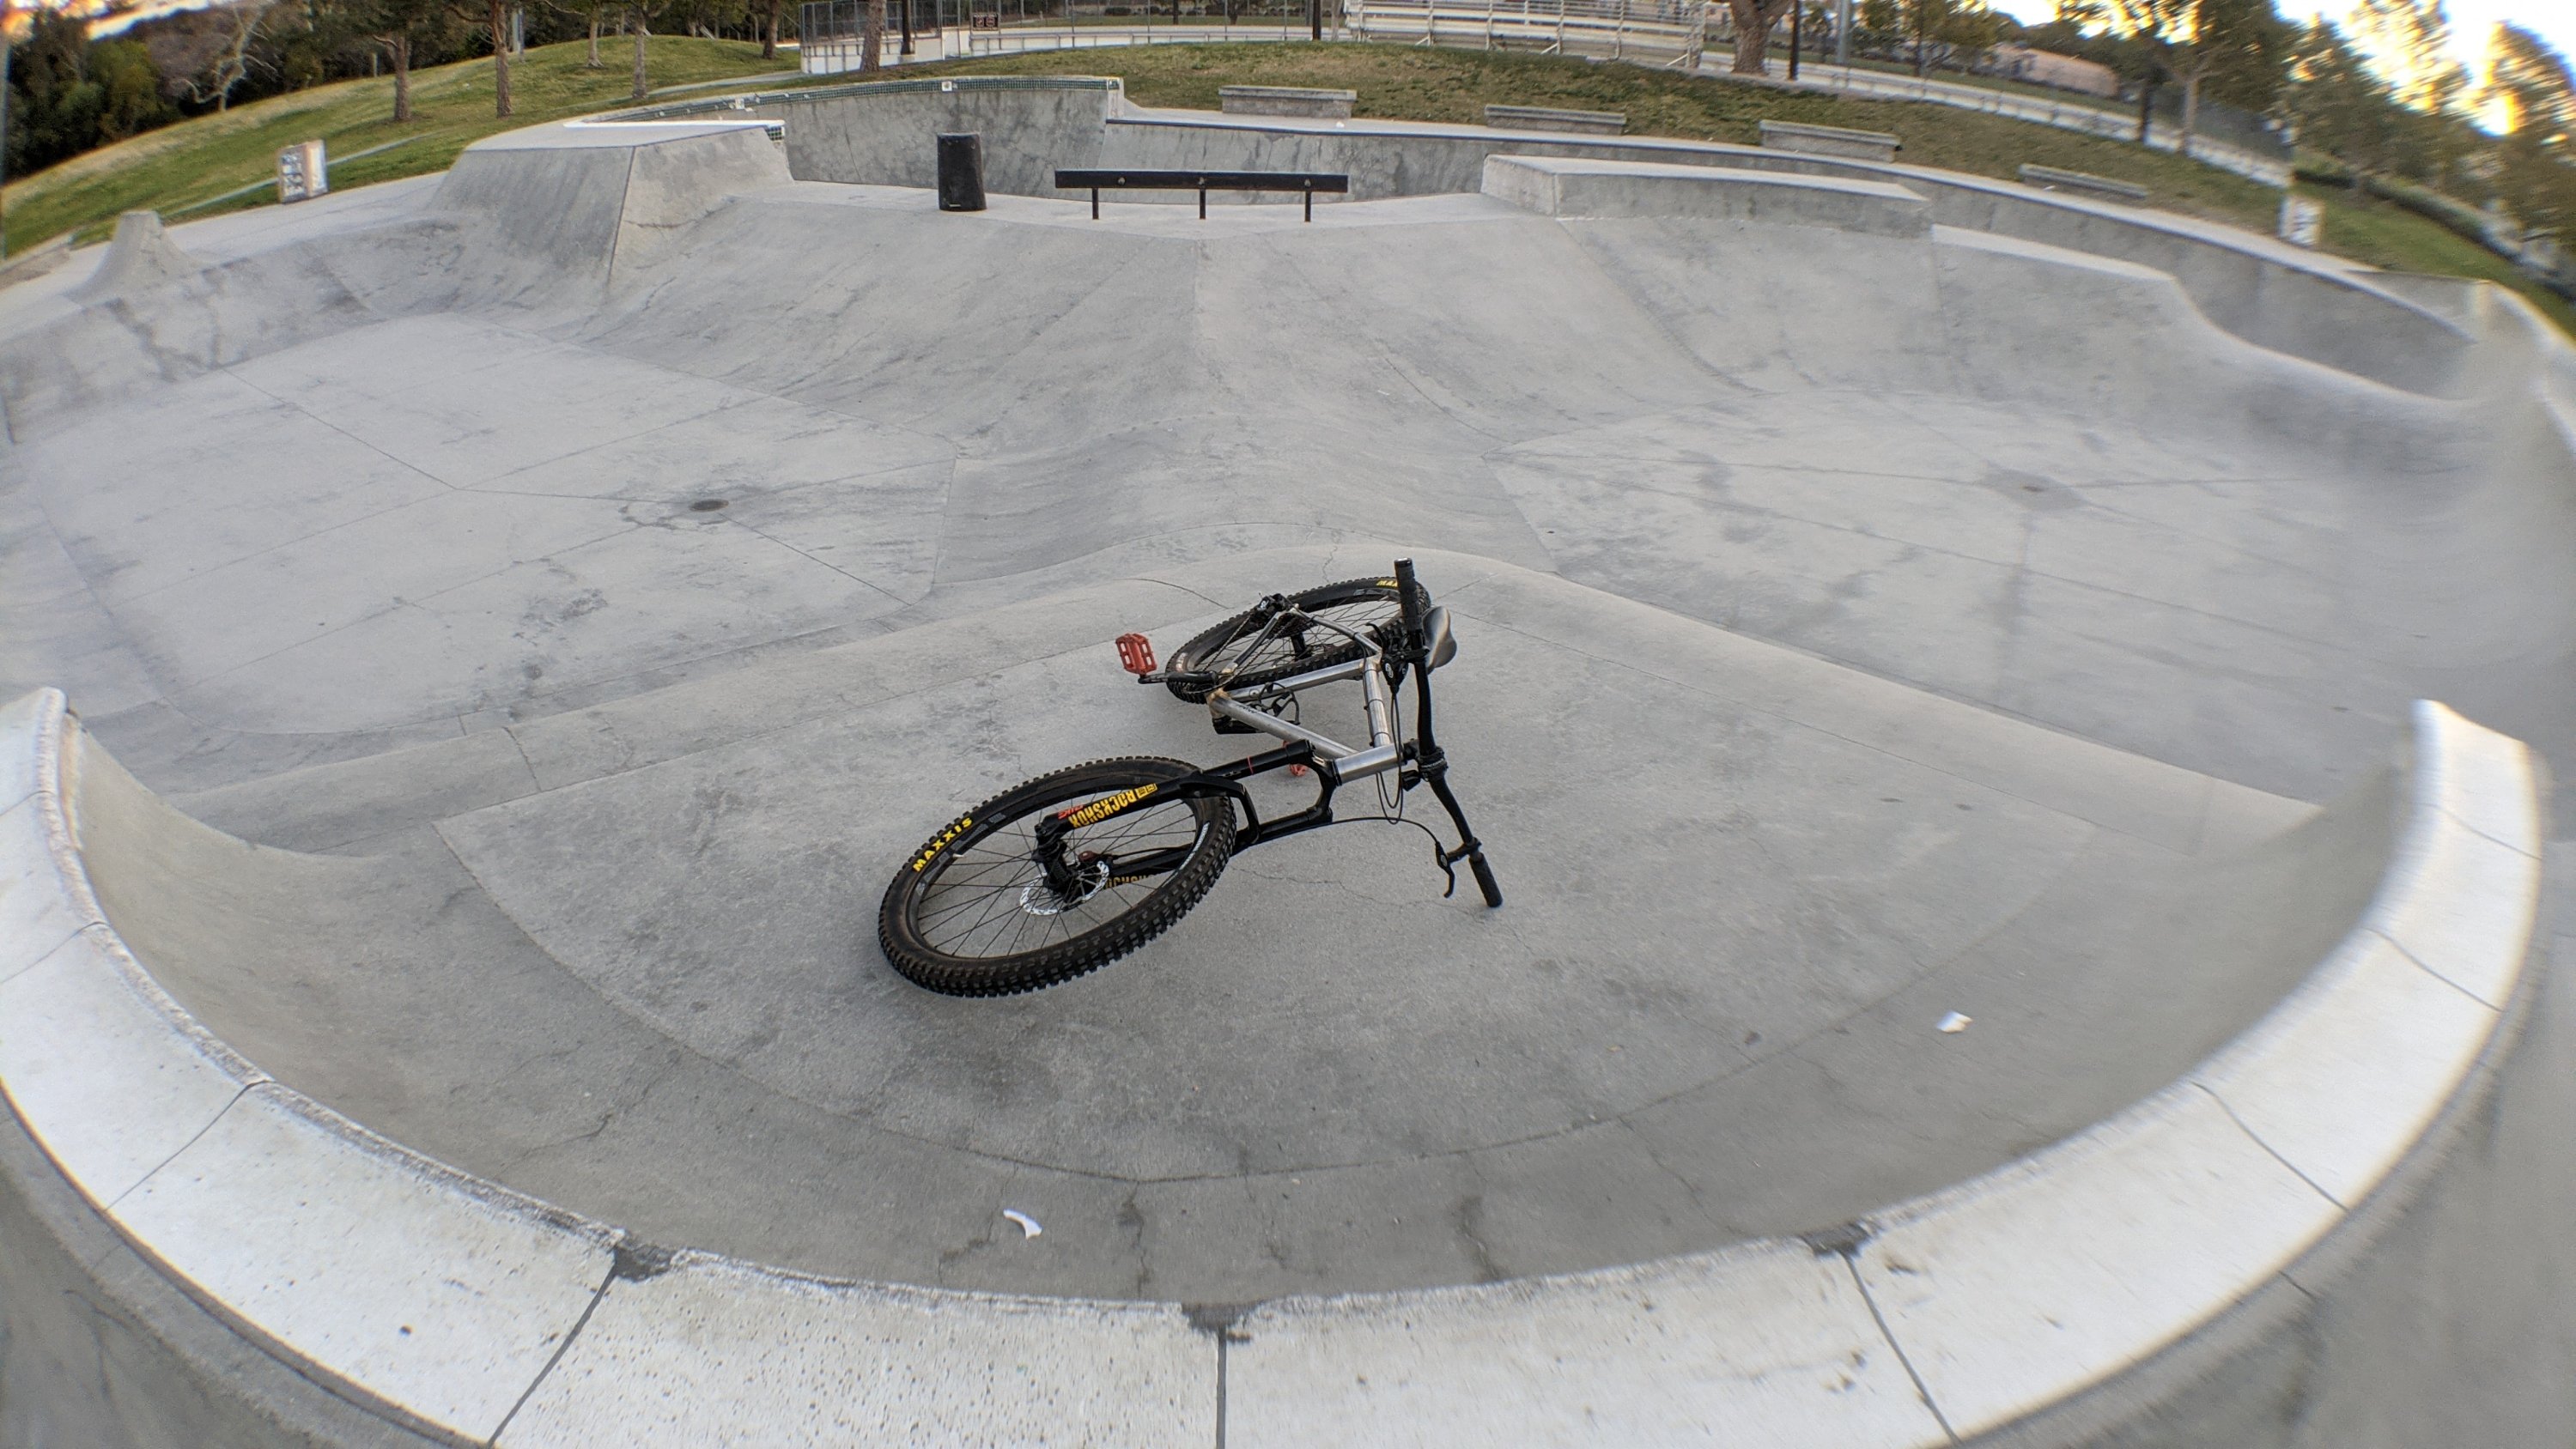
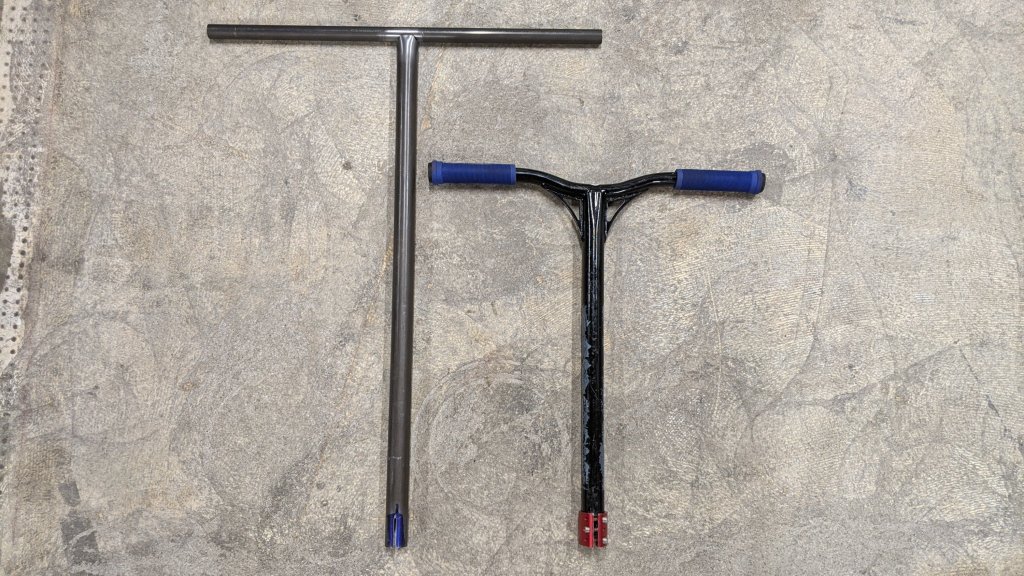
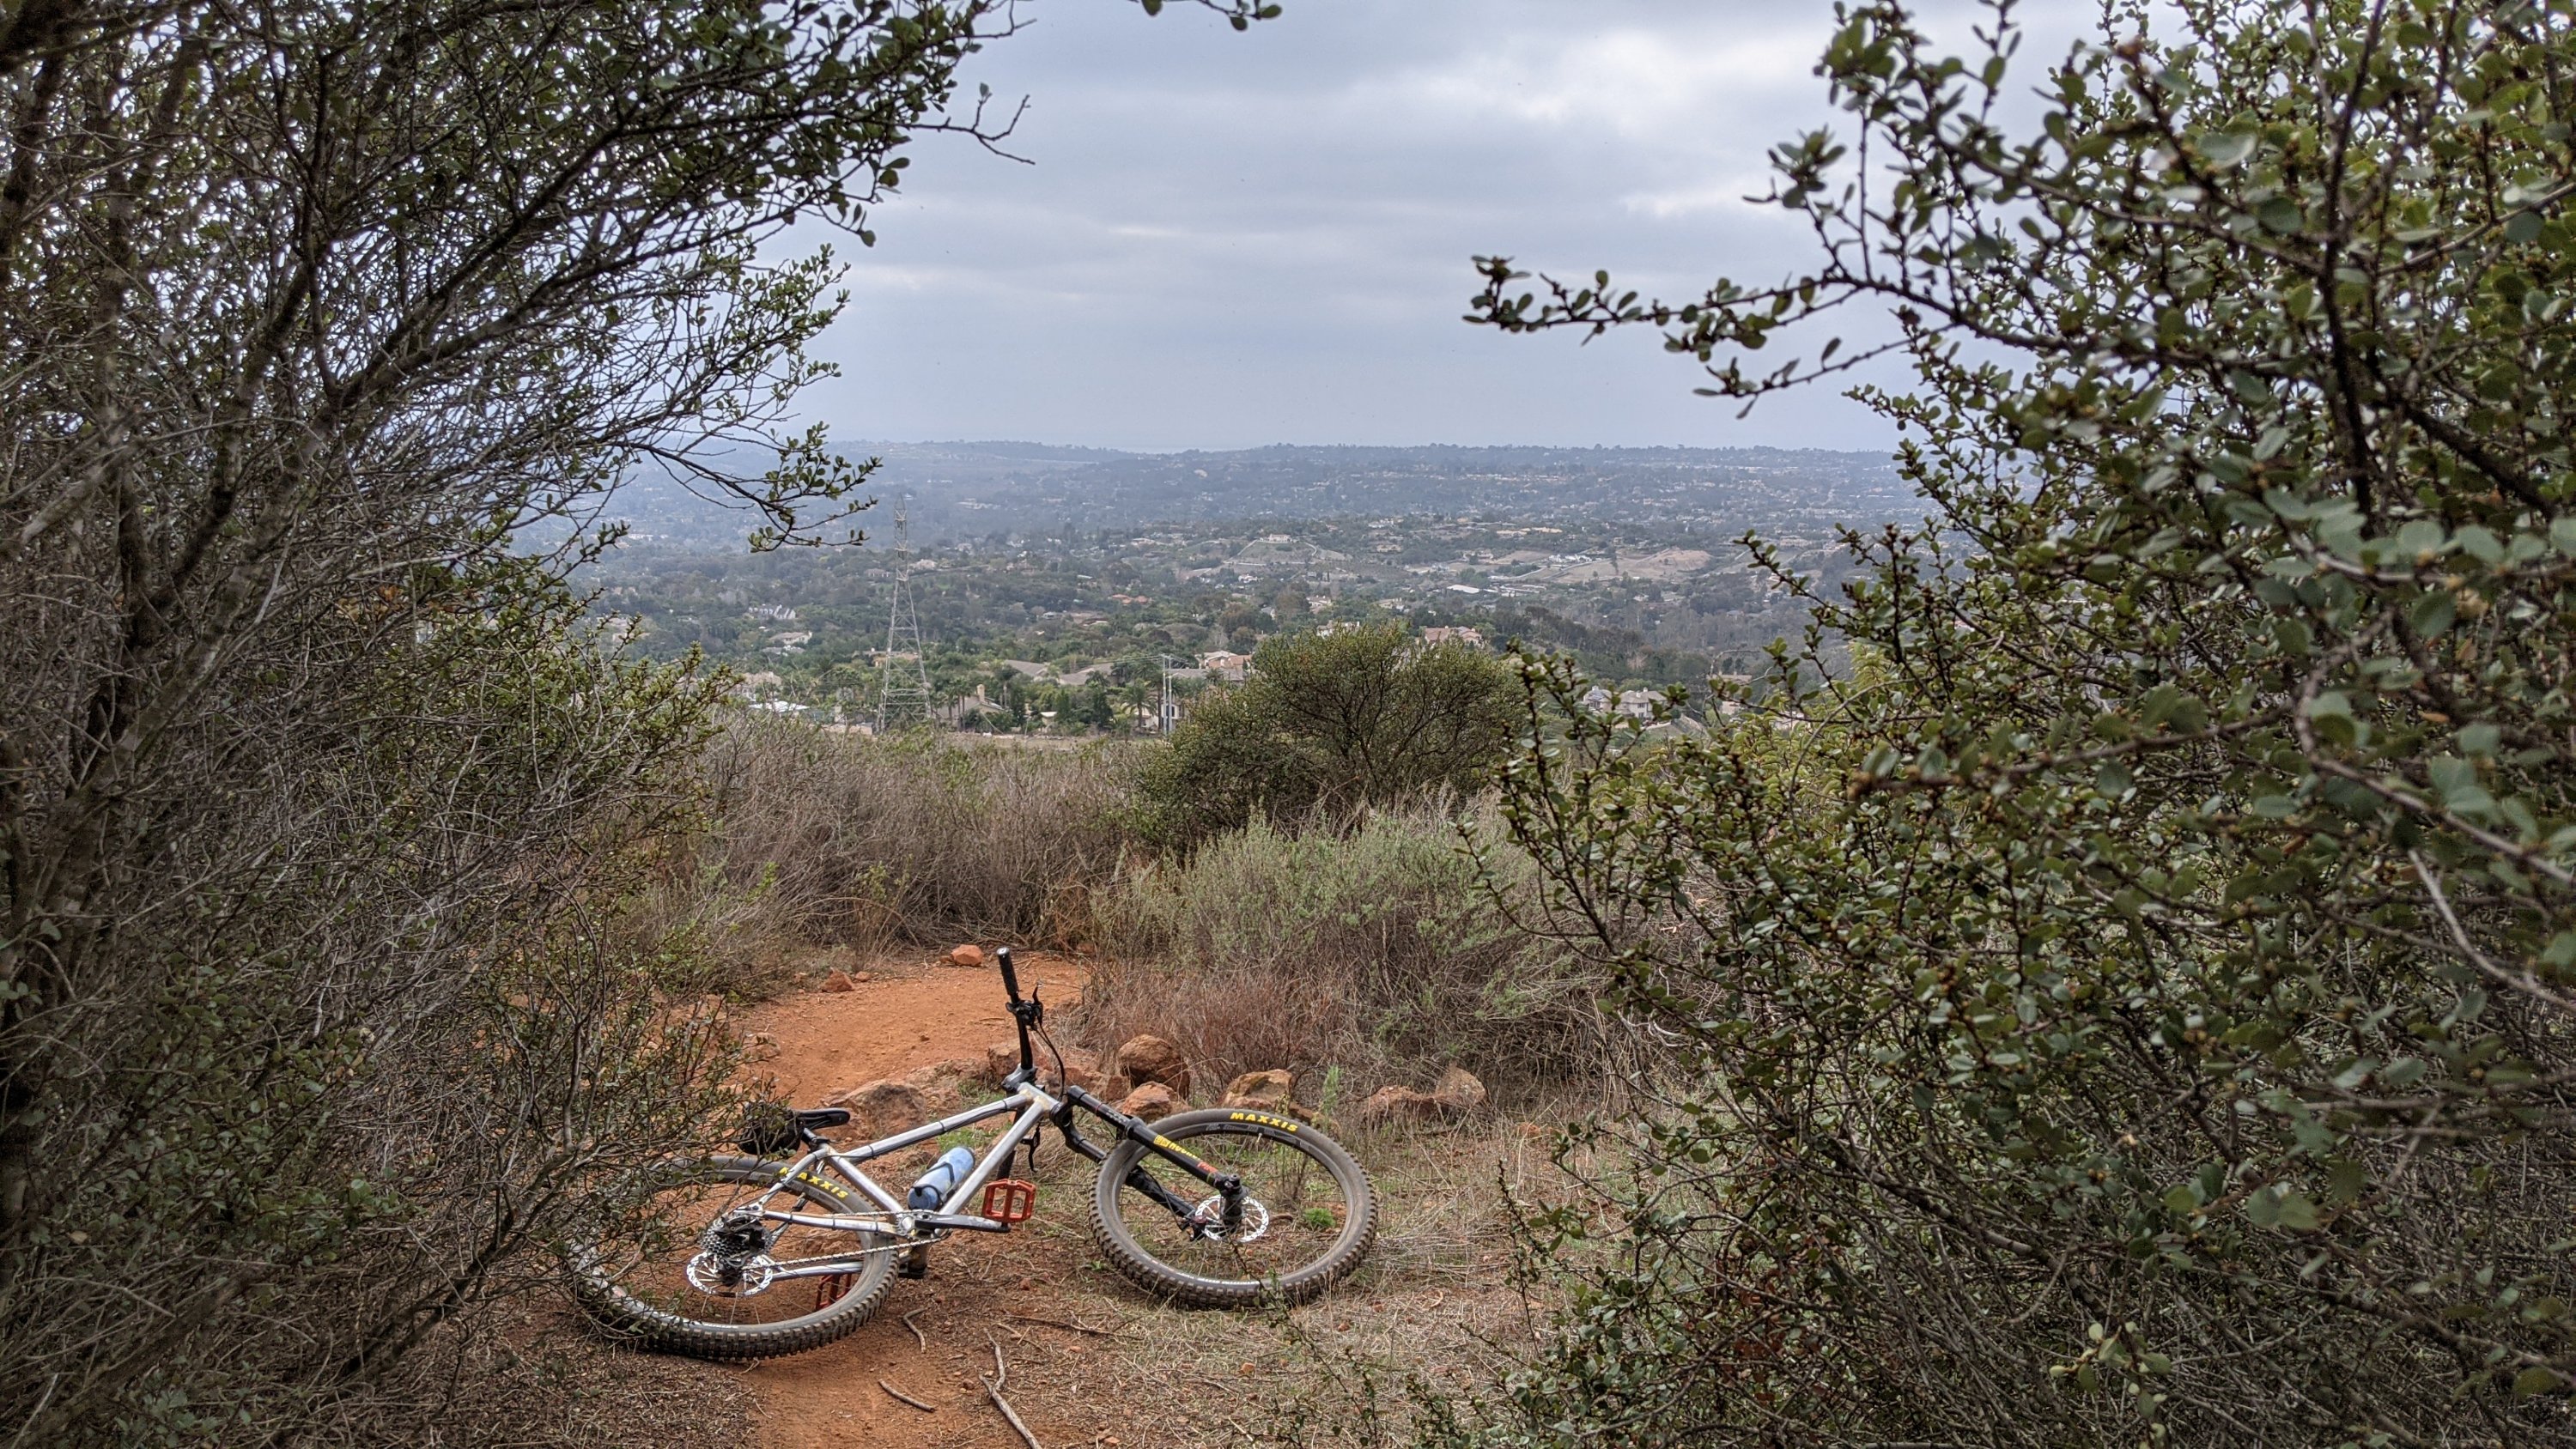
And it’s ready for the trail! Well… Sorta. I had accidentally ordered the wrong brake side slider from Paragon but I was so excited to ride it I took it out without a rear brake. HIGHLY don’t recommend it but first impressions were VERY promising!

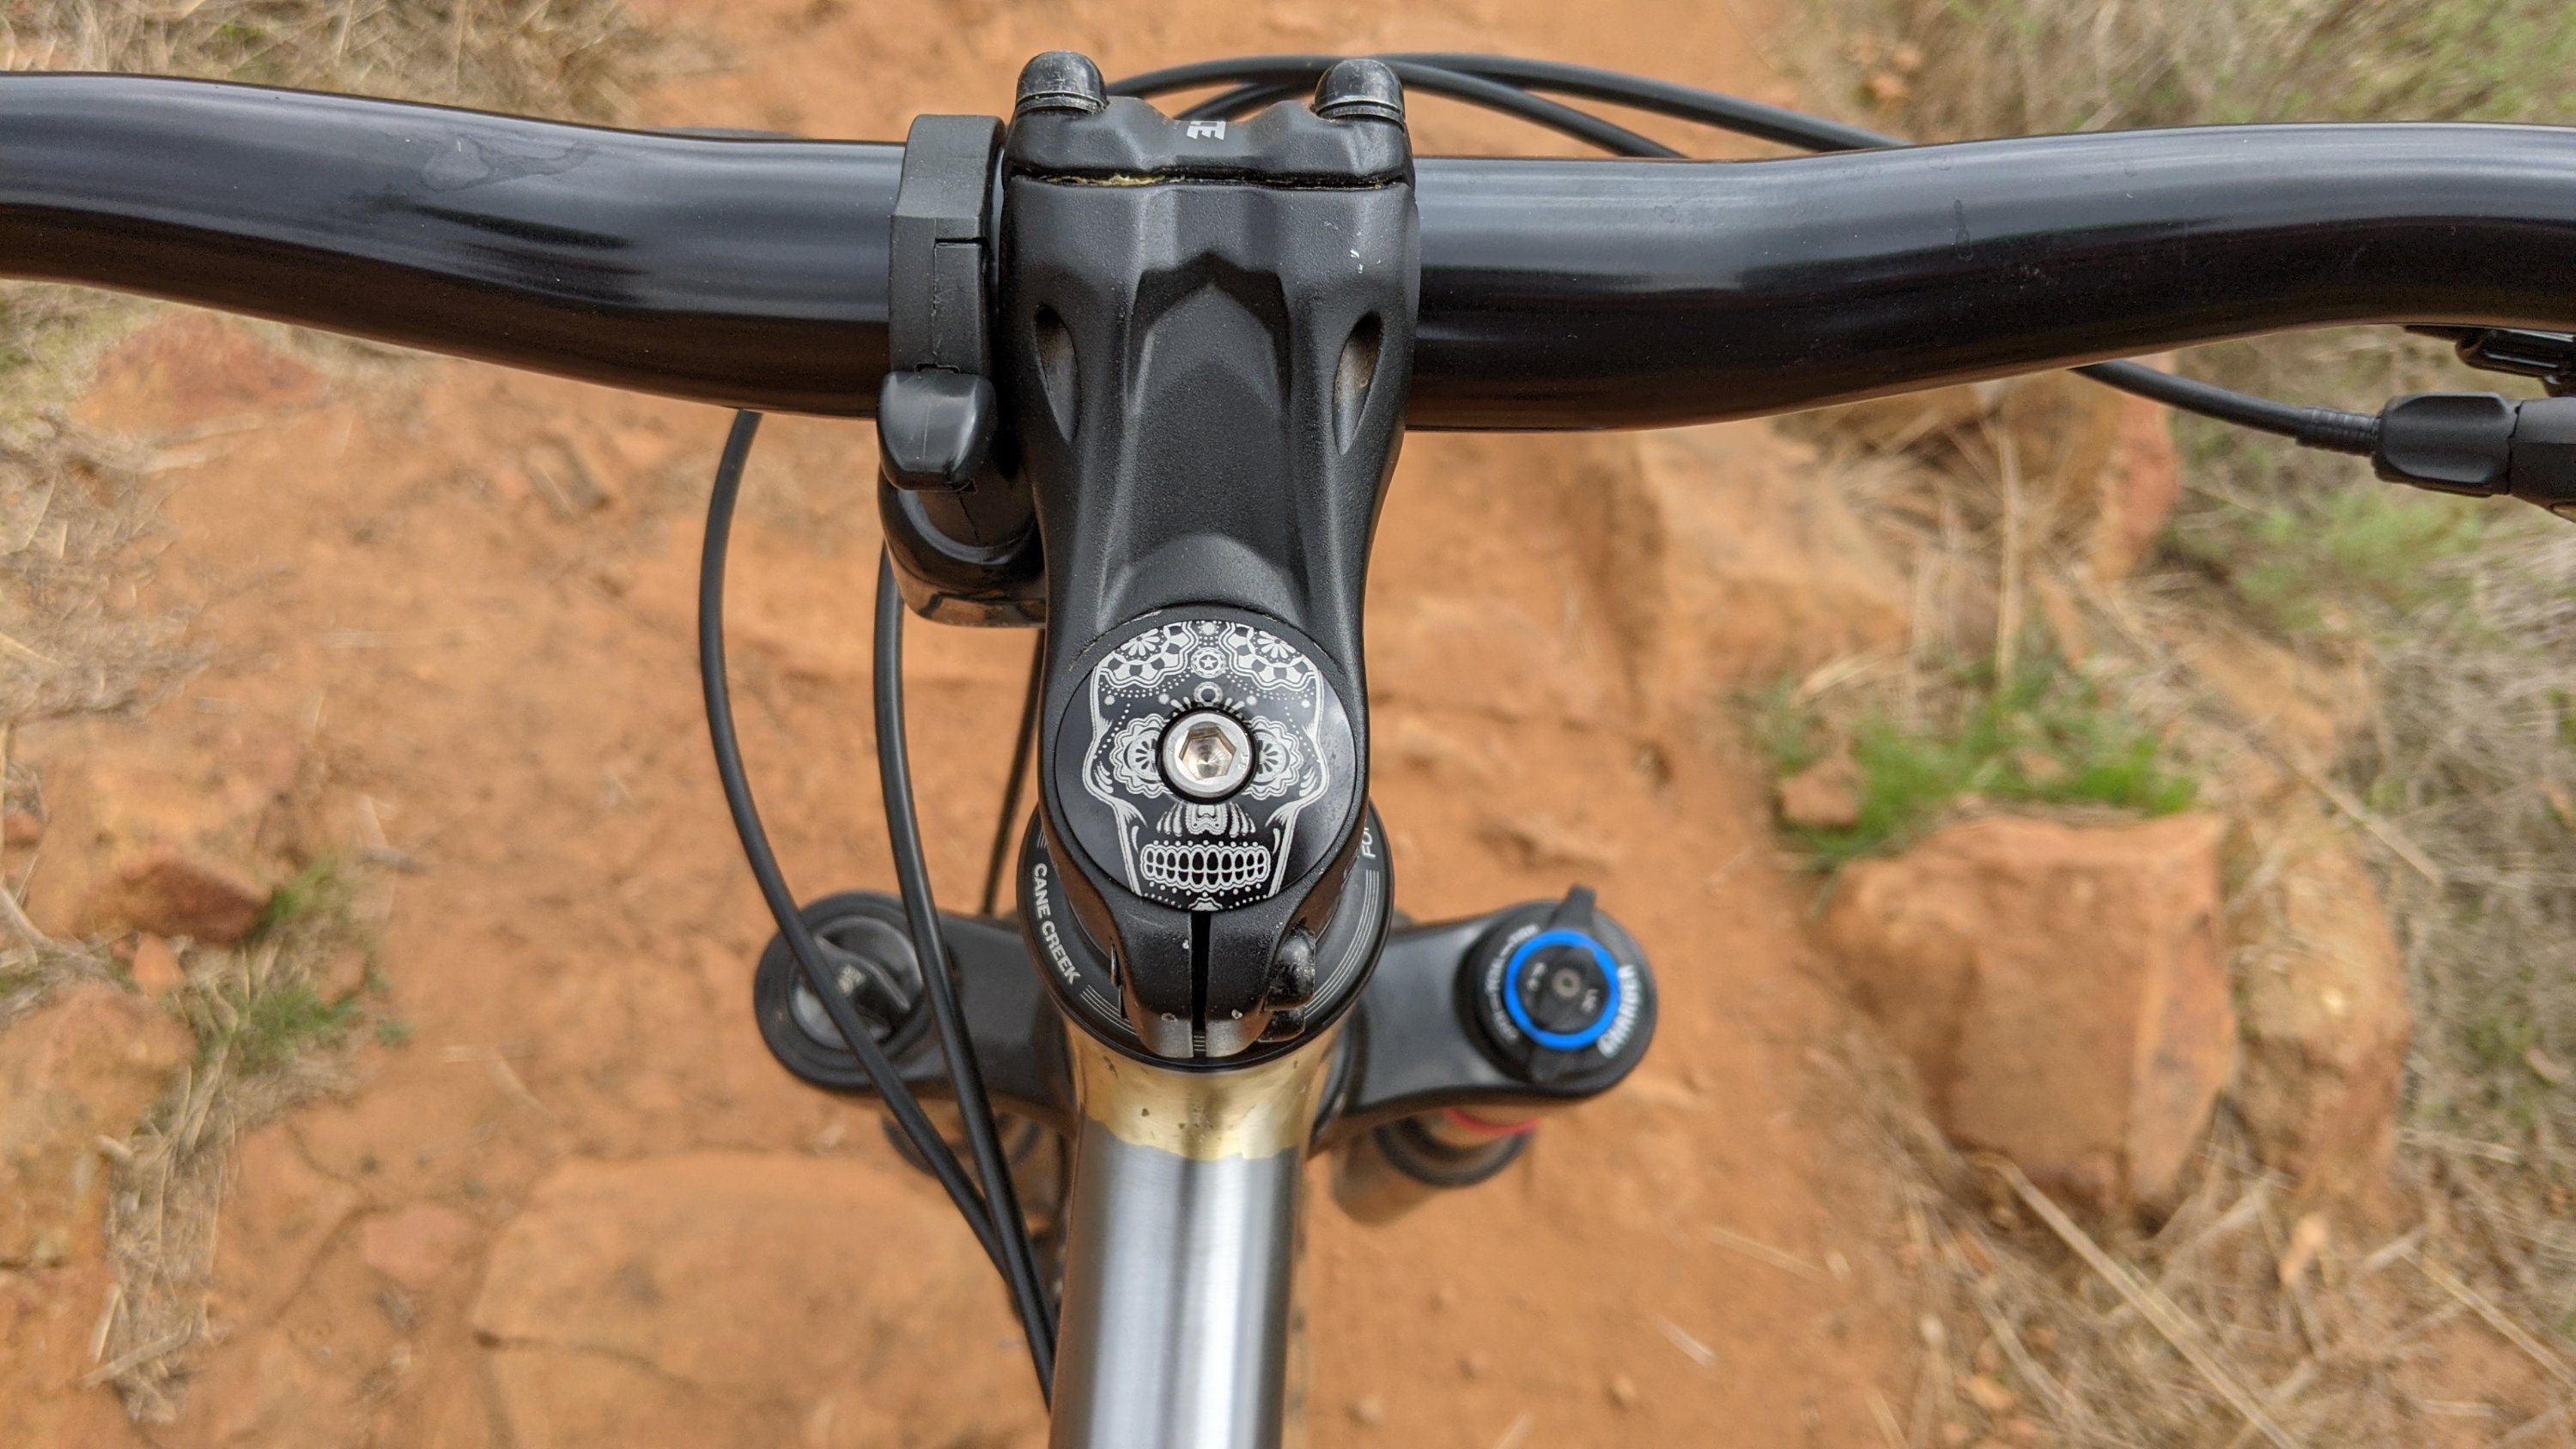
Once the slider insert came it went straight up Denk Mountain! Compared to the fat bike it’s 5-6 lbs lighter and you really feel it when climbing! The 65° head tube angle was a little funny at first but now it feels normal.

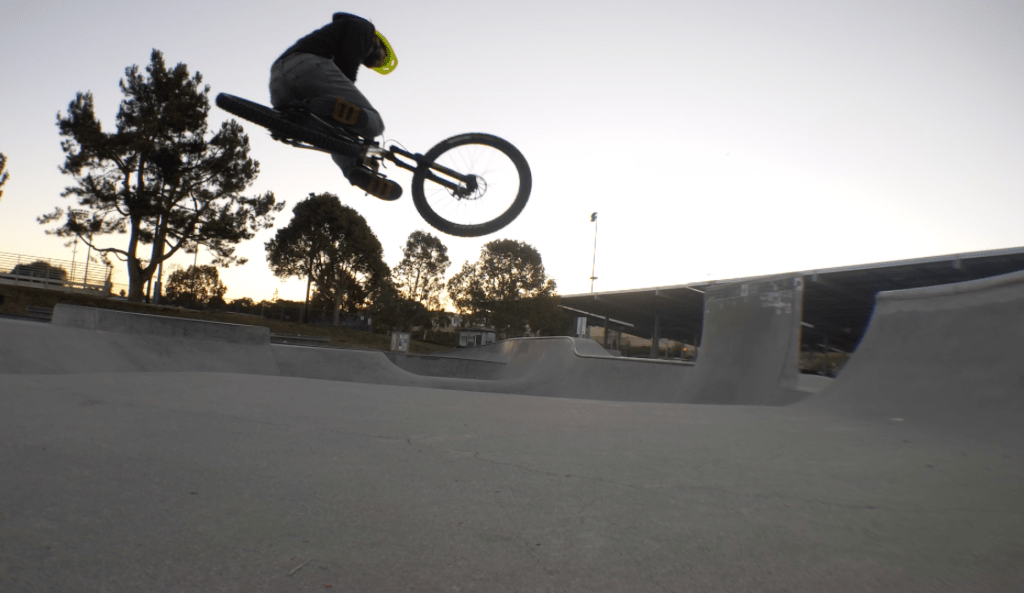
First impression: WOAH! SO fun!!! Front end is precise and light. It bunny hops quite willingly!

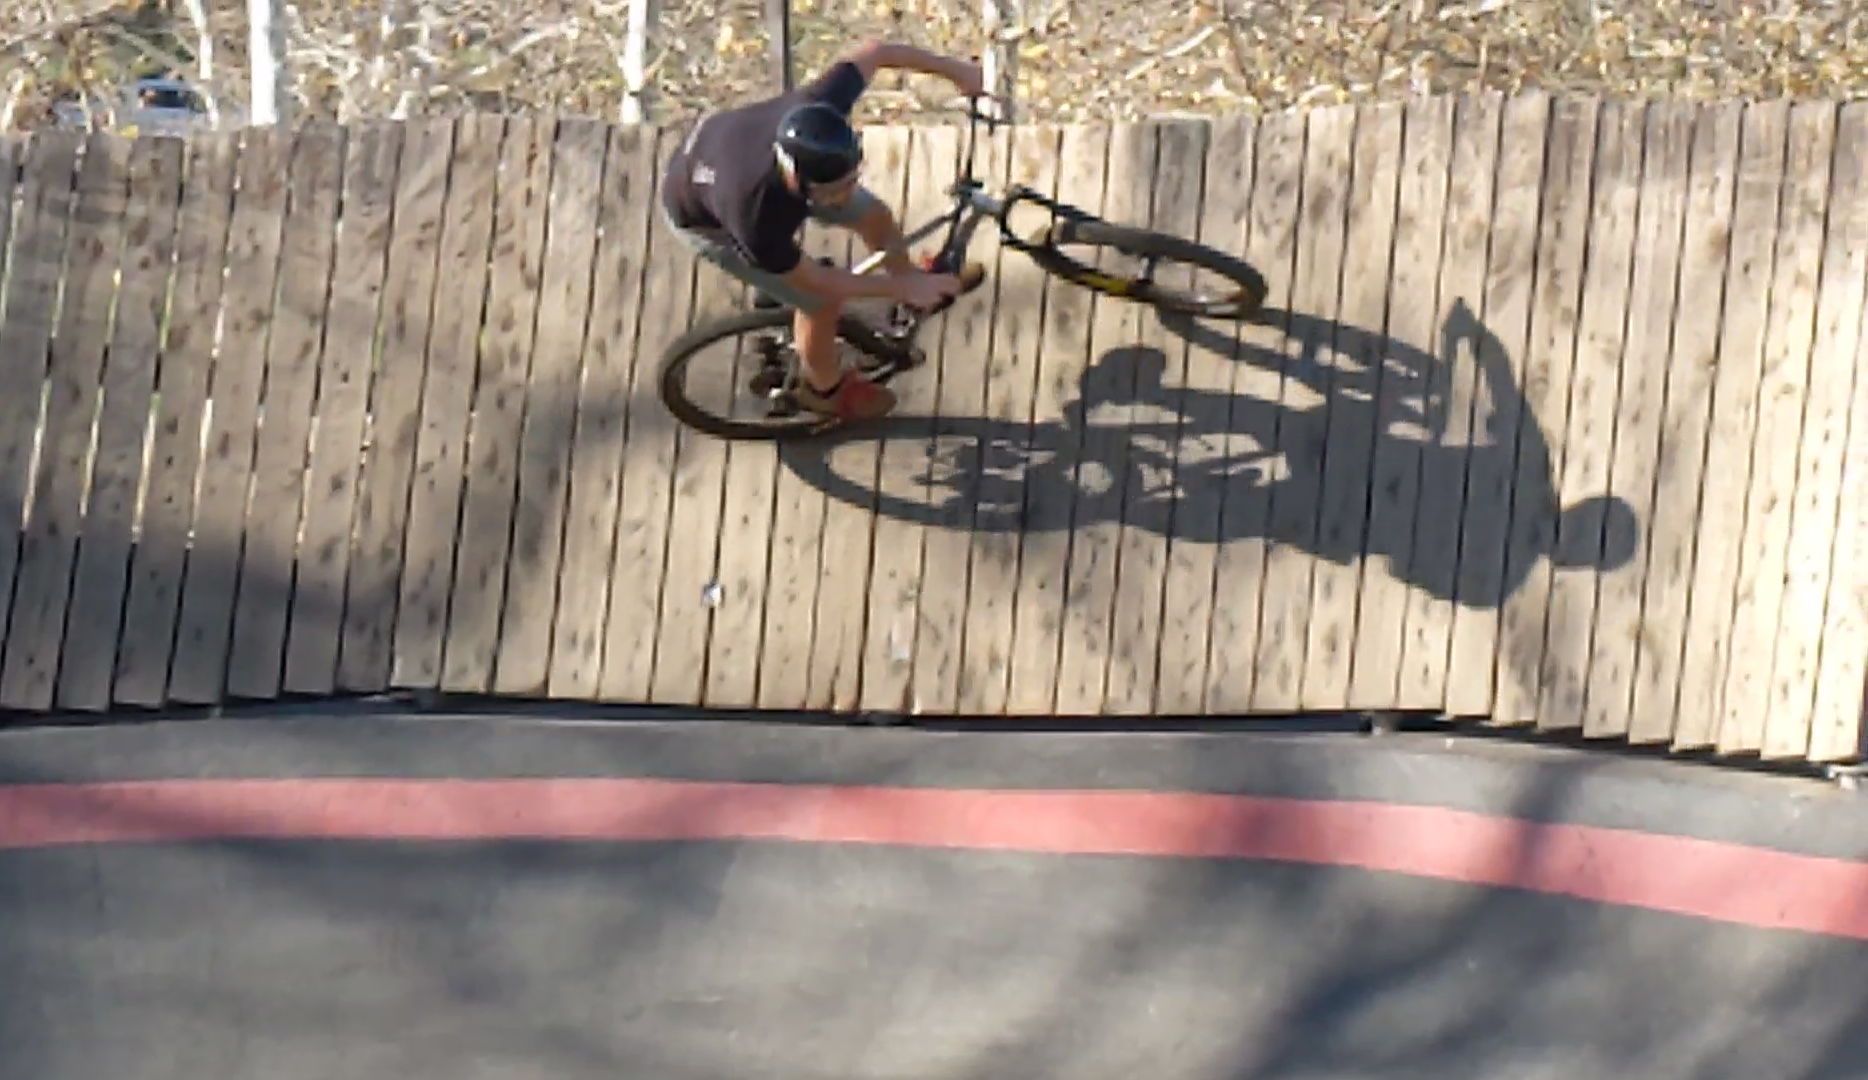
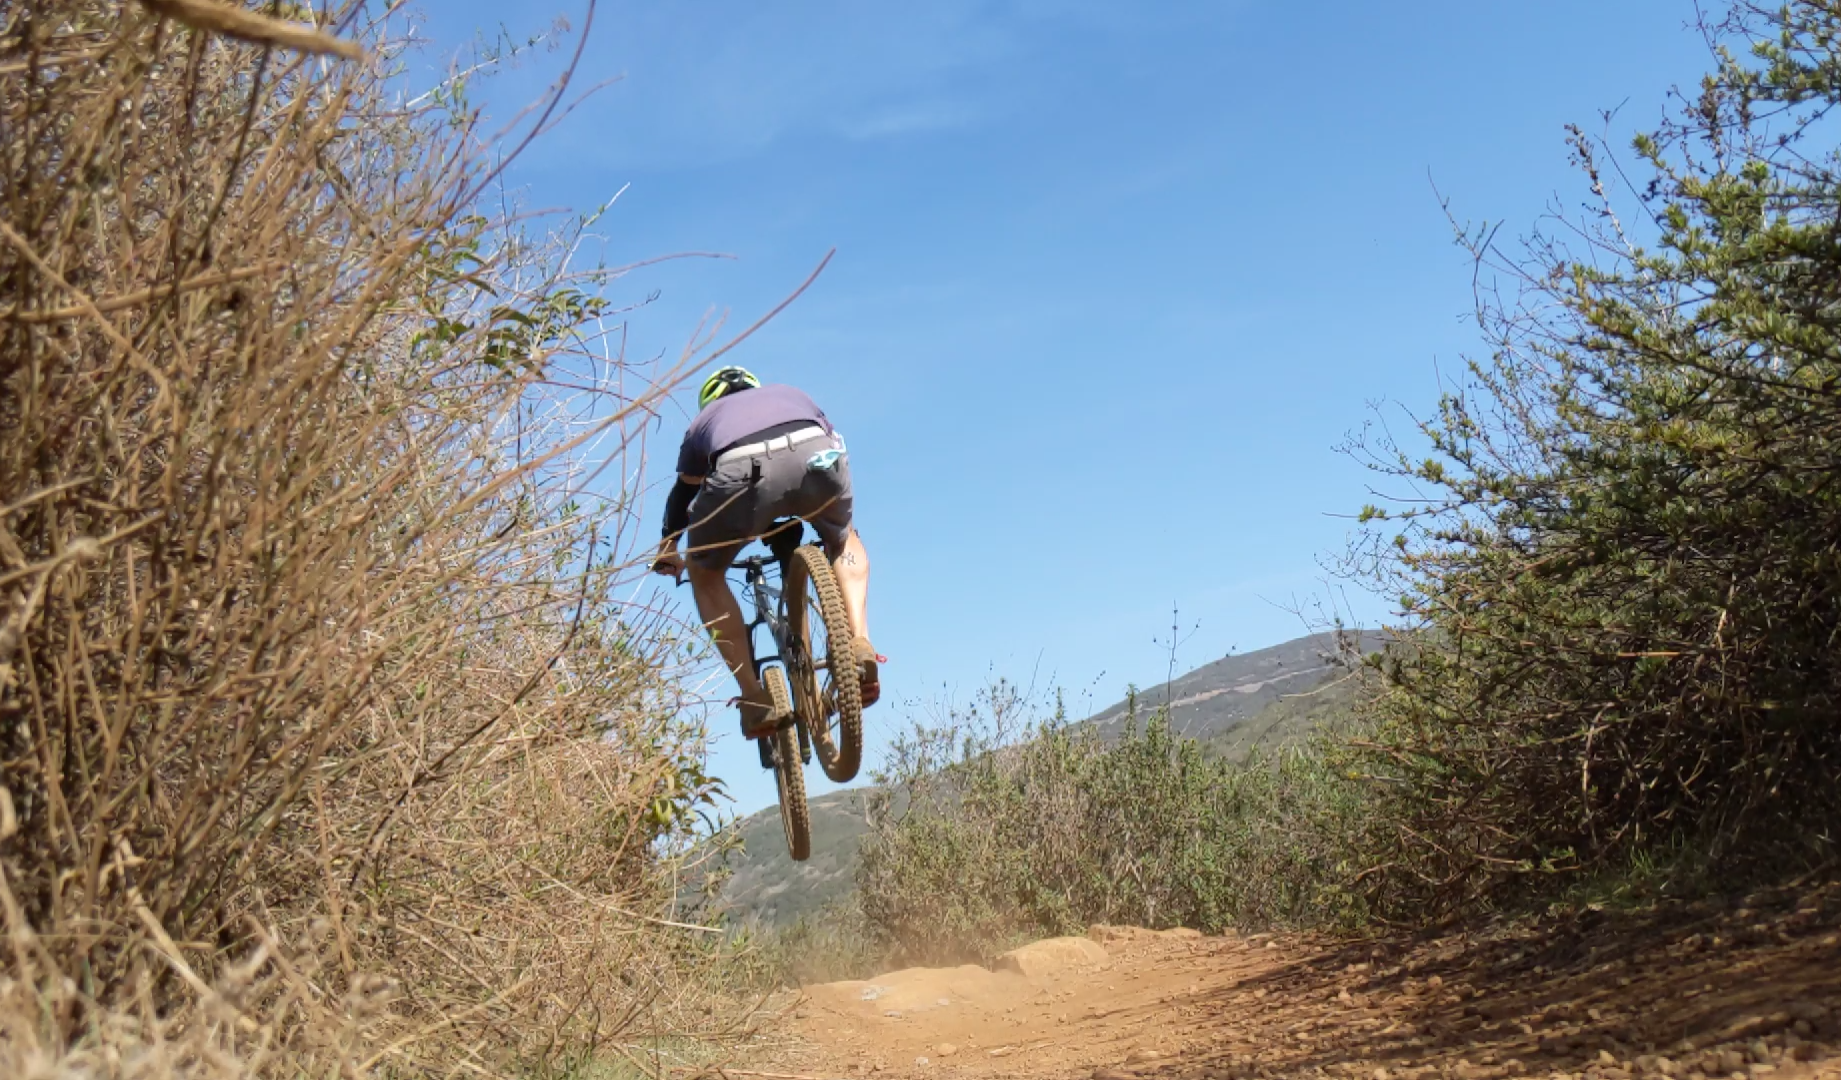
The short chainstays make this bike a DREAM on the pump track! I wish this place was in my back yard!!!!

I still need to add cable guides but once I get a dropper post I’ll figure out where they all go and get this puppy powder coated. For now I couldn’t be happier with how this bike came out!

Obviously, I’ll post pics when that happens! Till then…. HAVE FUN!

Allan

Skatepark tables!

Custom Scooter Bars?!?!?

Yeah, why not?

My son is a huge 11 year old. He’s 5’8″ and built like a linebacker. (Is that a large position? I don’t know football for shit!) My monster of a child rides scooters so naturally he outgrew his current scooter.

I did some research on scooter fit. Yes, scooter fit. Basically for different disciplines of scootering there are different bar heights and deck lengths. Basically, bars should be +/- an inch or so from the hip. Skatepark riders usually go a pinch below the hip while street riders tend to go above the hip.

This pic is from August and he’s grown in the last 4 months!

I made him design the bars with me. Measuring fork steerer diameters, OD’s, slot widths, star nut depths and even dog fur and paper thickness just for fun! Since he mostly rides at the skatepark, we went with a bar that he would grow into. He’ll be taller than me by the time I finish writing this.

ScooterCAD?
How do you miter .875″ to 1.25″? Squishy squish!
I scribed the clamp slot thinking I was going to cut it at home but then realize that the ID wasn’t going to fit the steerer tube so, off to work!
Bore…
Slot… We have a Haas ST20Y at work, perfect for boring and slotting in one chucking!
Now the fork fits!
Yeah, this is going to be quite a change!
Back home. Flux…
Fire…
Bronze…
Checking perpendicularly.
Good enough for me! 😁
Hot water…
Done!
Installed!

Now the deck is also too small so, what he doesn’t know it that there is a new deck that’s 5″ longer under the Christmas tree from Grandma and Grandpa! (Today is 12/23/20)

I’ve ridden it as is and it is SO much easier to hop up the curbs in our neighborhood! I can’t wait to see what Ethan can do at the skatepark on the new setup!

Pics to follow!

Till then, enjoy the holidays and go do something with your family!

Post Christmas Update:

Let’s see if I remember how to grip tape from the skateboarding days!
Screwdriver to mark around the outside.
Boom.
Somewhat larger. Haha!
Assembled!
😜🤪

Allan

Stepping into the world of the Fillet Braze! 

Now, I love lugs! The lug work of Curt Goodrich, David Kirk and Eric Estlund is undenyably jaw dropping but I have run into too many limitations with lugs. Tube sizes and junction angles are the ones that really get me. 

You see I’m planning a build for my Dad! Yes my Dad is the guy who got me on a bike way back in…. IDK 1983, he used to commute 12 miles to work when I was a kid but had to give it up as he aged. Knees and just lack of time made his rides more weekend geared. Both him and my mom supported my BMX racing habits all the way to the NBL Grand Nationals! My parents moved into the city of Albany in 2011 so then my Dad started riding to work again! He rode an old Trek that I had slapped together for him with some old parts. It’s a pinch too small for him and the thing rides like a brick! Aluminum frame and fork makes for a…. firm ride to say the least. He rode that thing back and forth to work every day, even through the winter! At 70 years old!!!! 

Back in July my parents visited us here in Minneapolis and I had him try my CX bike out. While too small for him he loved the700x40 tires at 35 psi! So we talked about it and decided I’d build him a comfortable bike that can go anywhere! 650b with discs, 1x and a sloping top tube! 

With the sloping top tube and tall head tube I would have had a hell of a time modifying even a sloping TT/HT lug to get the angle I was after. So I needed to step up from MAPP gas and into the world of oxy acetylene. I had been given a rather old torch with tanks and regulators a while back but was a little nervous to use it because one of the regulators was stuck. With zero experience I had to lean on my friend Shawn Peterson. Shawn builds beautiful MTB and Fat Bikes out of his garage that is LOADED with machines and jigs and fixtures. He steered me towards a mini aircraft style torch. The Uniweld 71. I hit up eBay and scored a brand new unit for $25 less than Amazon! 

I ordered up some Gasflux bronze and flux from Framebuilder Supply as well. Its kinda the industry standard so, knowing what I know about fillet brazing at this point (aka nada), I don’t ask questions and go with it.

Now if I could help one person to buy the correct hose I will be a happy camper. In gas welding there are 2 styles of threads. The A size is a 3/8-24 thread and the B size is a 9/16-18 thread. This Uniweld 71 torch and most other aircraft torches have A sized threads. Your regulators will more than likely have a 9/16-18 outlets. So you will need to find hose with A sized threads AND B sized threads. I noticed I could only find that combo with 3/16″ ID hose, which is perfect! Don’t fuck around with adaptors and shit just buy the right hose. Go to your local welding supply place to get the right stuff. 

I still need to buy flashback arrestors! From what I read it’s unlikely that you will ever have fire go back through your hose and into the tanks (boom) but arrestors will make sure that can’t happen! 

Then there is the tip. (Insert “just the tip joke”) From what I am finding, for fillet brazing you want a small, cool tip. I started with a Uniweld 17-1 tip (or most call it a #1) and then got a smaller 17-0 tip (#0). So far I like the #0 better. I think as I get more control over the torch I will switch back to the 17-1 for faster heating. Right now I don’t mind taking my time with this.  

Kirby was really excited for fillet brazing! 

Theres the hose on the torch. Almost ready!

Since the regulators I had we’re 50+ years old and shot I picked up these middle of the road regulators. They aren’t Uniweld or Victor but they’d “get me into a lot of trouble” according to the guy at the local welding supply place. 

FIRE!!!!!

For safe keeping of my tanks I cut a 2×4 to fit across 2 studs in my garage then ratchet strapped the tanks to it. That outta keep them in place! 

I was so excited to give a fillet a try, I grabbed some tube cut-offs and Brazed them together…. well, by definition I brazed the together. In reality I used WAY too much heat and all the bronze I put just sucked in-between the tubes, not building ANY type of fillet what so ever! 

Ok, I need help! Luckily Joel Greenblat of Clockwork Bikes was amazing enough to envite me to his shop so he could show me what I needed to see! His shop is like a playground! Alignment table, lathe, mill, gas fluxer, tube sets, a sanding belt mitering machine and some beautiful projects hanging on the wall. He lays down a perfect fillet in about 1 minute! 😲 Then with the torch in my hand, walks me through the process. Thankfully he’s a patient teacher because again I started dumping too much heat into the joint. But he gives me more pointers and works me through another joint. 

Back home I try another fillet. Seems like getting a really cool, quiet flame is what’s needed. I tried taking g a pic of the flame but it’s just too much light for my phone’s camera. This next fillet came out a bit better. 

Once again Nate Zukas shared some info with me on Facebook about building a “dam” fillet then using gravity and that dam to contain the current puddle of bronze. That seemed to work well with me. Sometimes you just need to hear the same thing in a different way for it to click. 

I cranked out a few more practice fillets and am definitely seeing progress. I still have a LONG ways to go as I would like to be able to leave some fillets “raw” as I feel that is the most honest way of showing ones skill. Zukas and Mars Cycles both do this really well! 

I wanted to practice a joint similar to what I would be doing on my Dad’s frame so I grabbed the 2 tube sizes and mitered them to the angle to be built to. 

Trying to keep the miters as tight as possible. 

Flux.

Tacked it.

Then took it out of the jig to lay down the fillet. 

Das Fillet!

Now I had the task of cleaning the fillet up. Man, this is TIME CONSUMING! 

Again, I still have QUITE a ways to go but hey, if we aren’t pushing ourselves then we won’t get better. 

If I haven’t bored you to death yet, check back soon for updates on my fillets and progress on my Dad’s frame! 

Have fun!

Allan