Tag Archives: cycling

Bike commuting for the WIN and a review of the Timbuk2 Tuck Pack! 

Ok, so soon, I’ll get back to building frames. I just need to finish some component designs first and machine them up! 

Meanwhile, I am really excited to be able to say that I was able to make a tank of fuel last 1 month! Yes siree, today is May 21st and the last time I filled my gas tank was April 21st! 

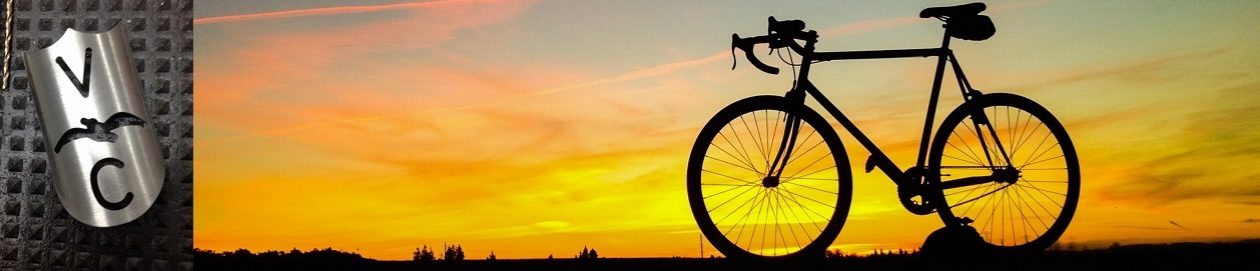
I drive a 2004 VW Passat Wagon with 160-something thousand miles on the clock. I did the timing belts at 140k and that’s about it. (engine wise) It’s been paid off for a while now so all I’ve been paying on it is fuel, oil changes, tires and brakes. My last job was 36 miles each way and I was starting to hate the accelerated wear and tear on it. 

As an added bonus, I’m going from 2 tanks/week to 1/month! At ~$3.10/gal that’s about $280/month I’m saving! 

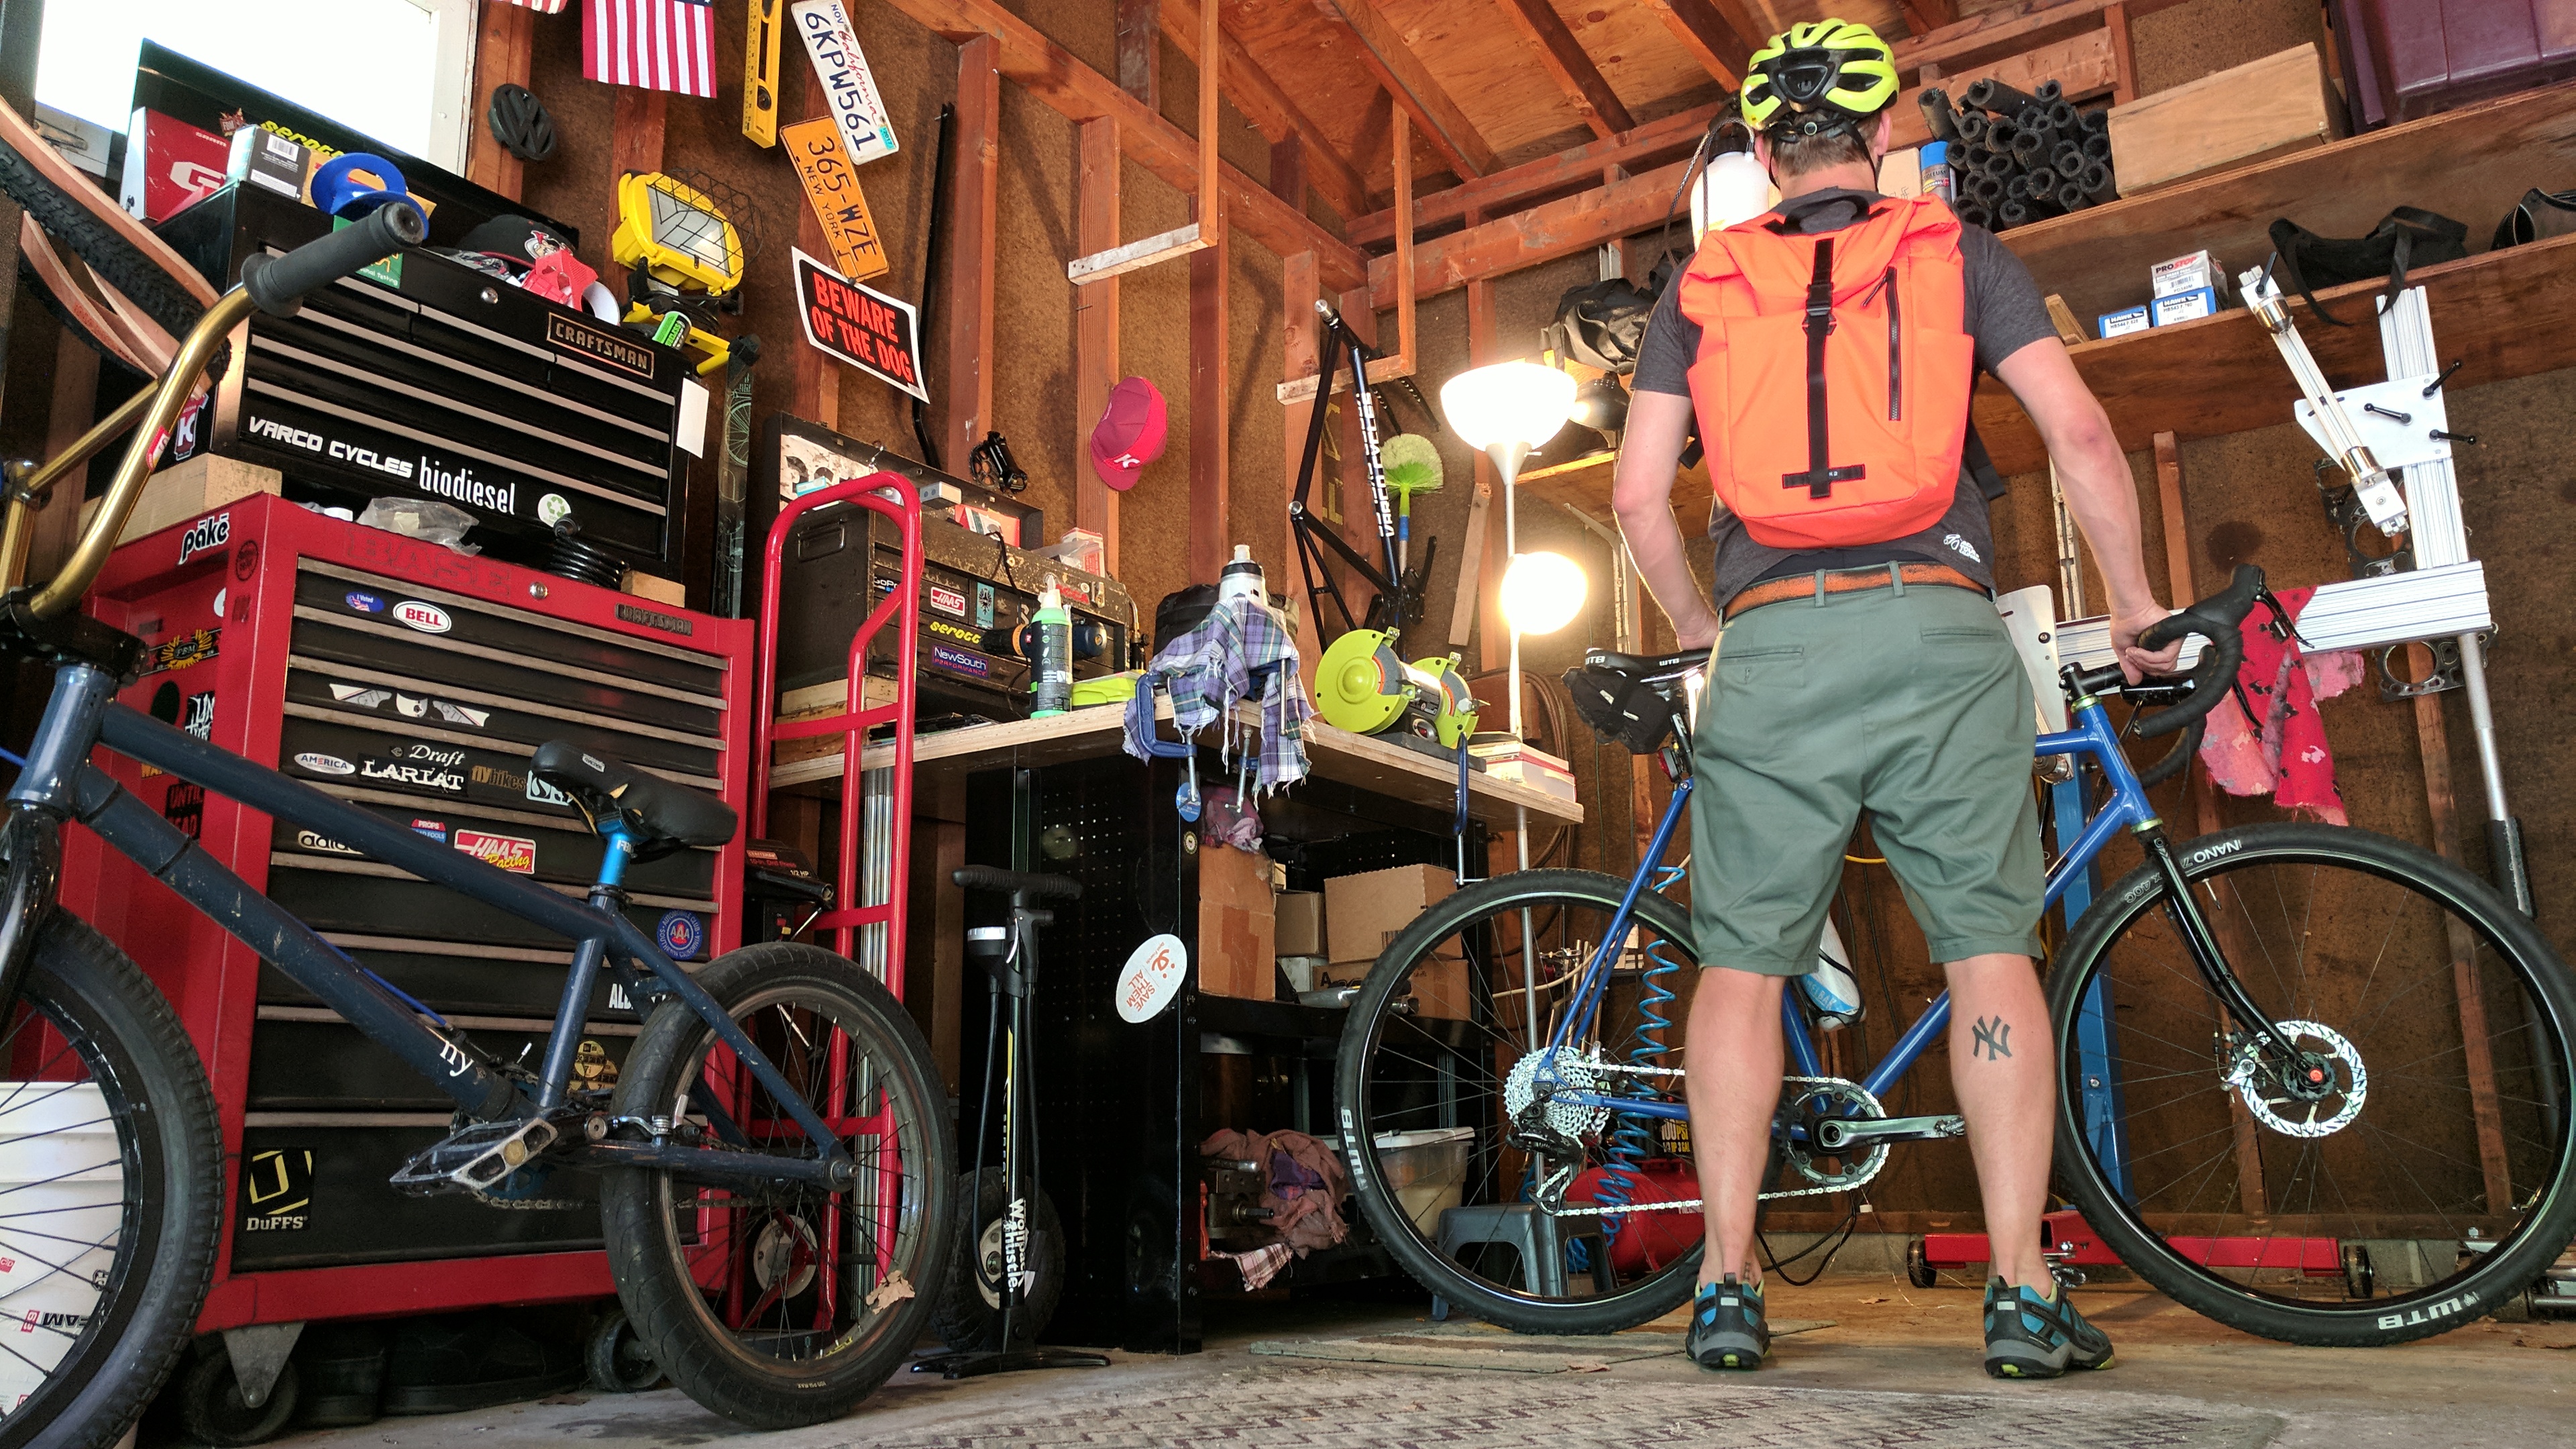
Maybe I’ll get a cheap fat bike for winter duty but for now I have the best dang blue commuter/cross racer to ever come out of my garage! 

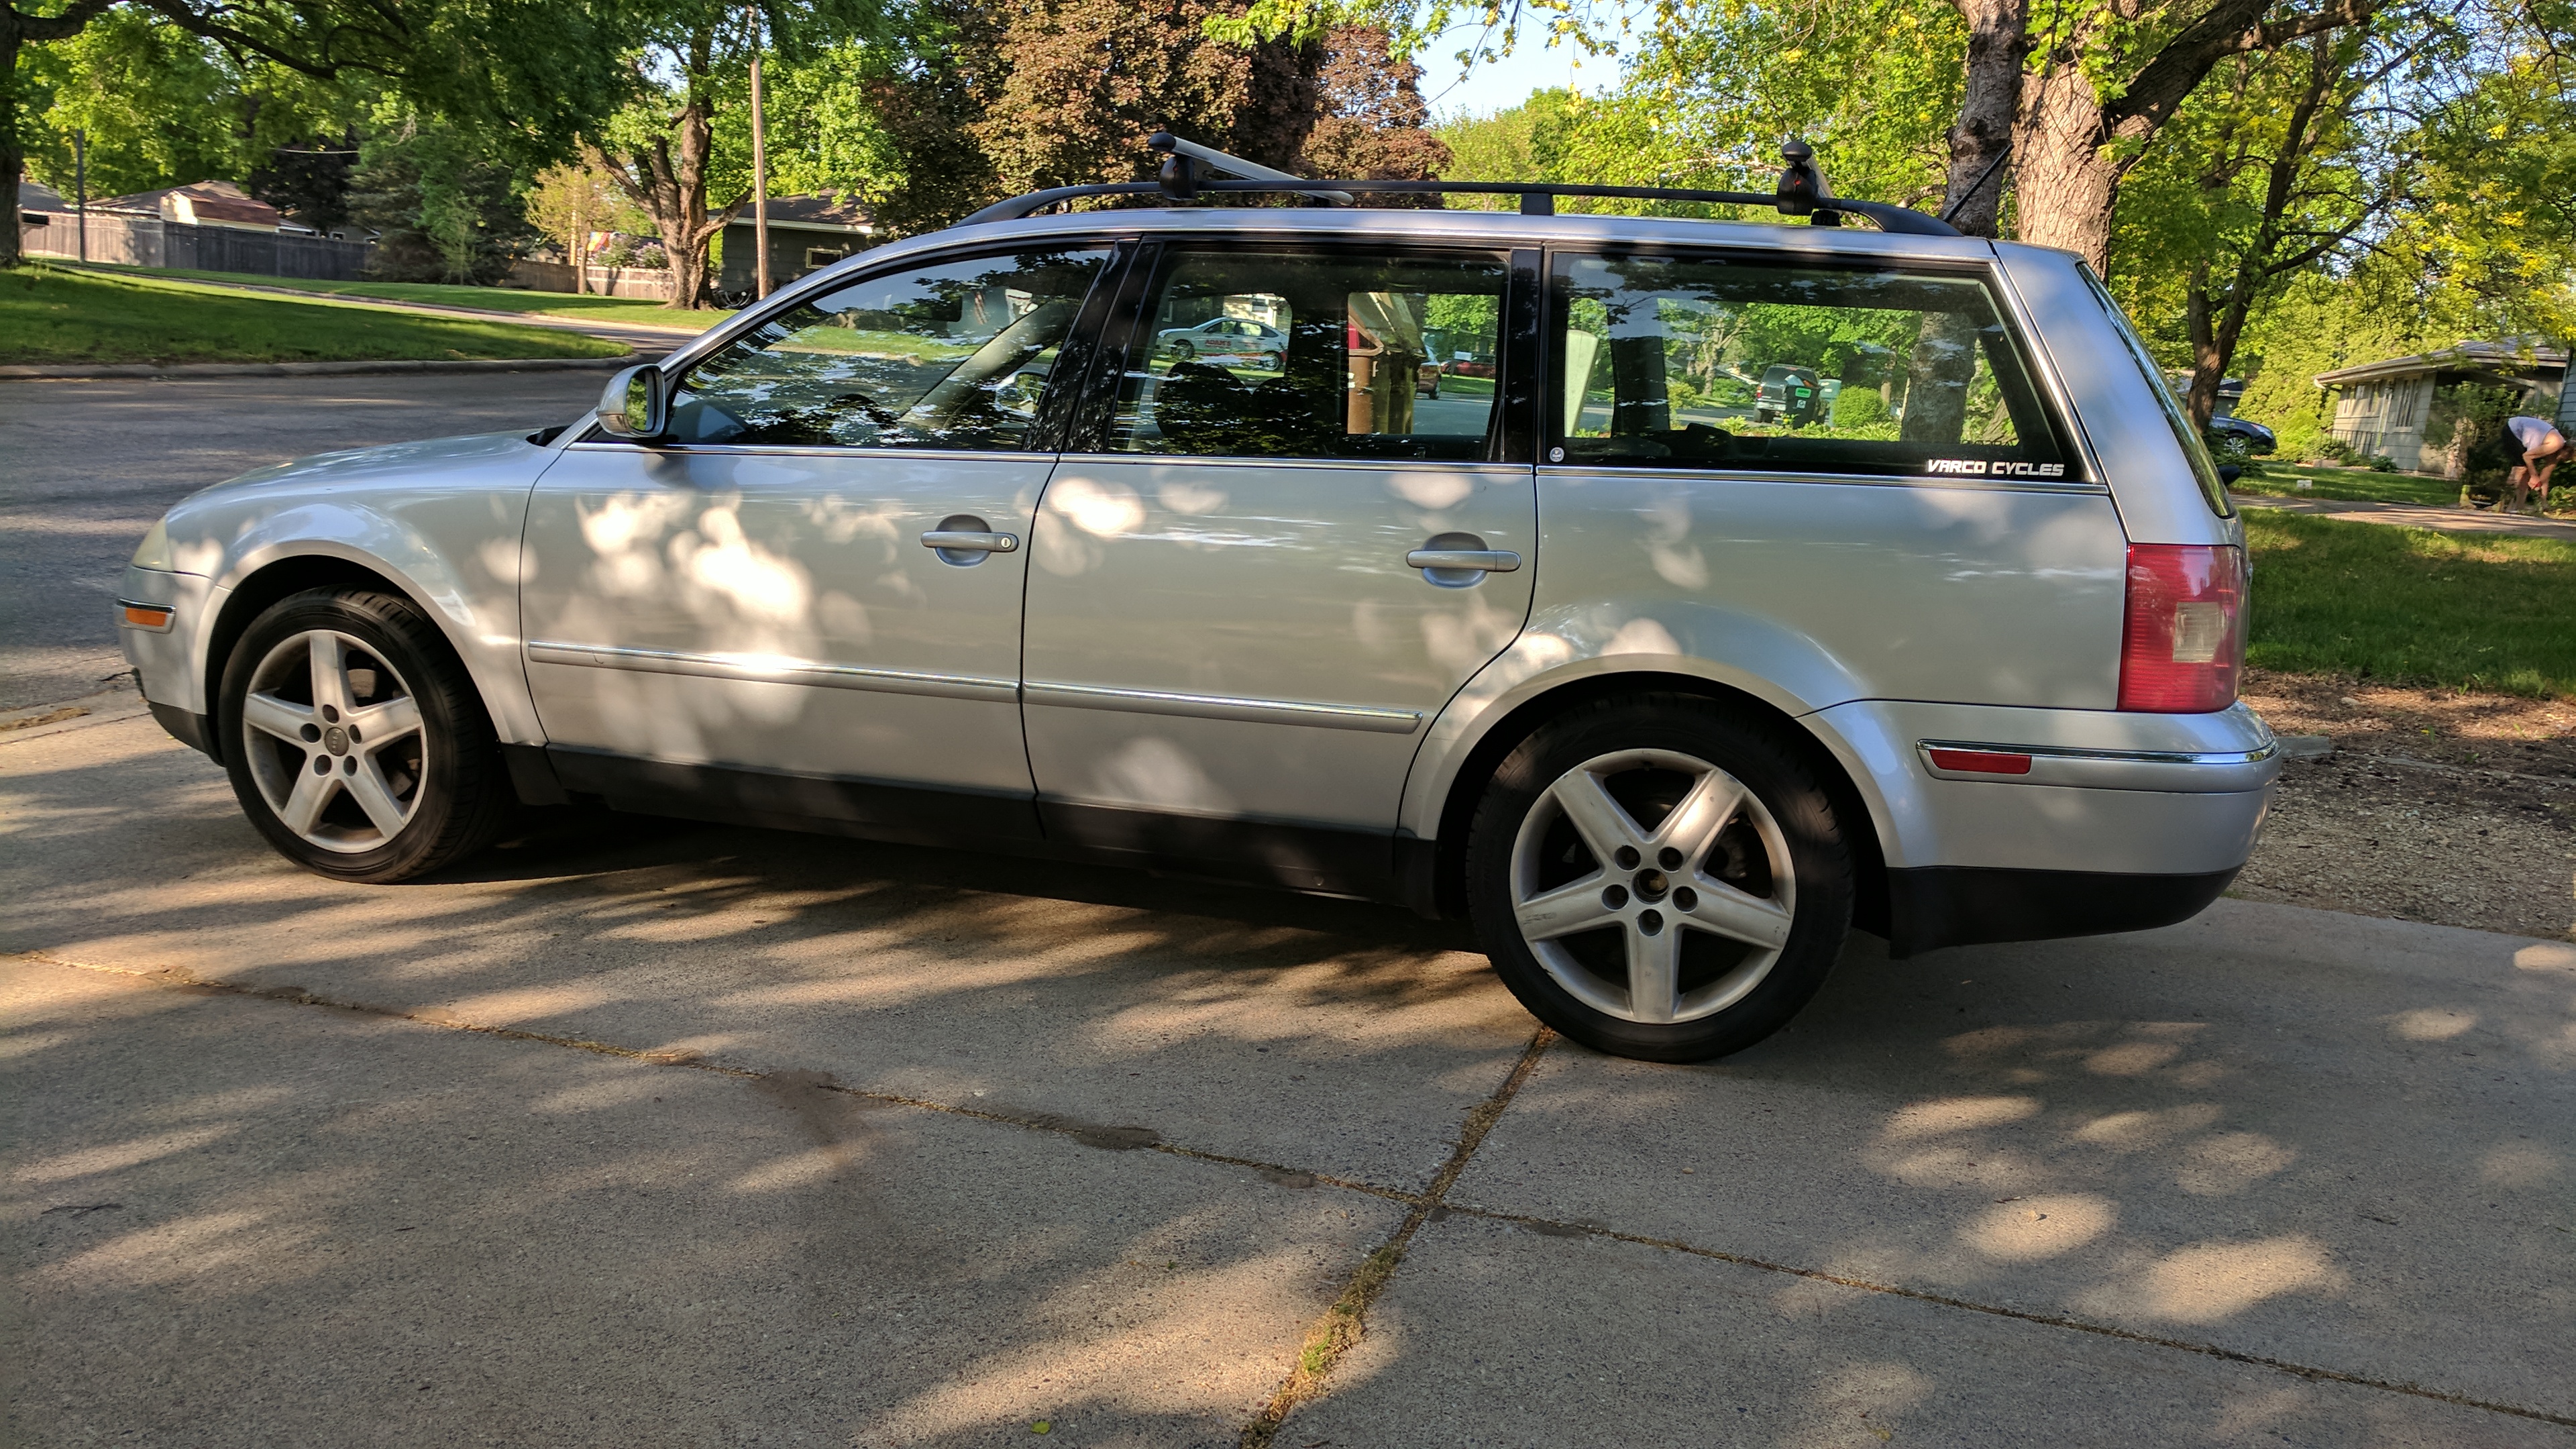
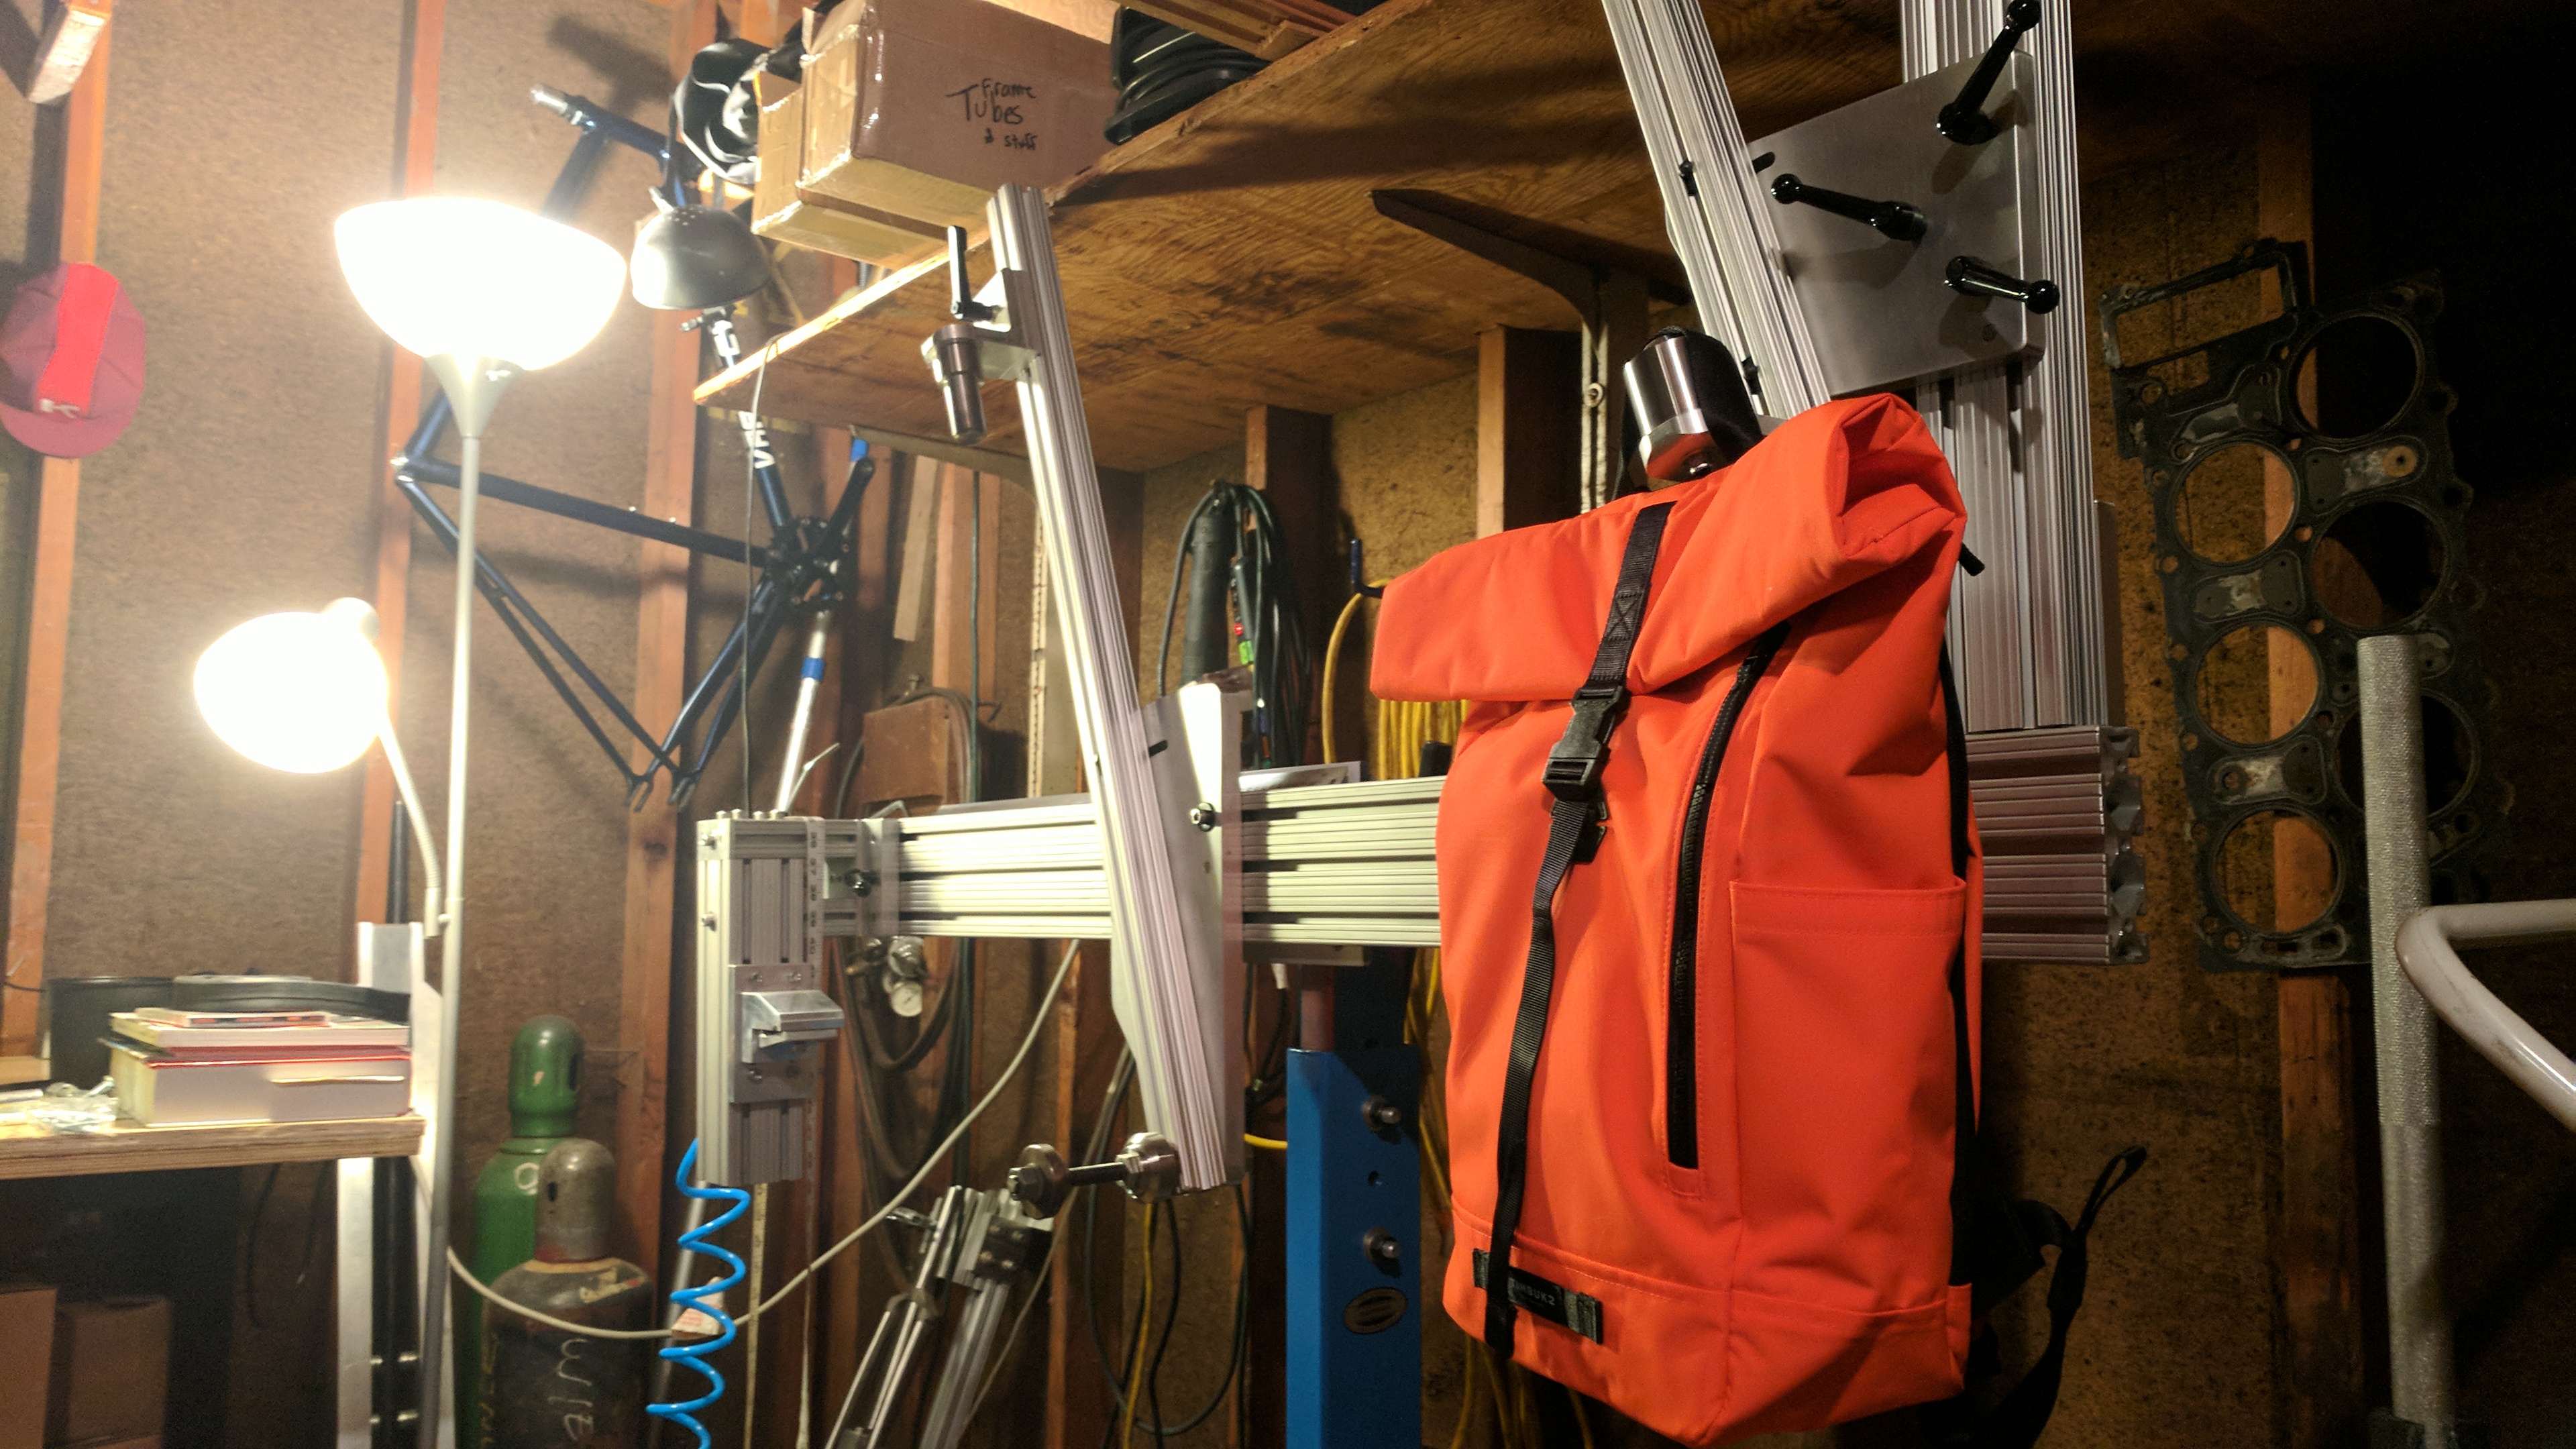
To celebrate, I just ordered a new Timbuk2 Tuck Pack roll top back pack. I absolutely LOVE my Timbuk2 Raider pack but it is really only good for carrying a few things. Since I eat a lot, I have room for my days food and that’s about it. The other day I wanted to bring a few other things and the Raider pack was TIGHT!!! 

As you can see my Raider pack is pretty full and this is just enough food to get me through a 10hr day! 

The Tuck Pack is a simple bag with a large opening on top, a side access zipper for a laptop (which I never really plan to carry) and a front pocket that opens vertically. Timbuk2 makes a lot of packs with vertical zippers so you can get to your stuff by pulling one arm out and slinging the pack around to your side. 

Probably the coolest aspect to me since I don’t like the idea of wearing grey/black when I ride (you know, the color of pavement) is that this pack is flaming bright ass, stare into the core of the sun orange!!! Also for added visibility there is a strap towards the bottom of the bag for an additional tail light. BE SEEN!!!!

And it looks great with a Yellow Lab!

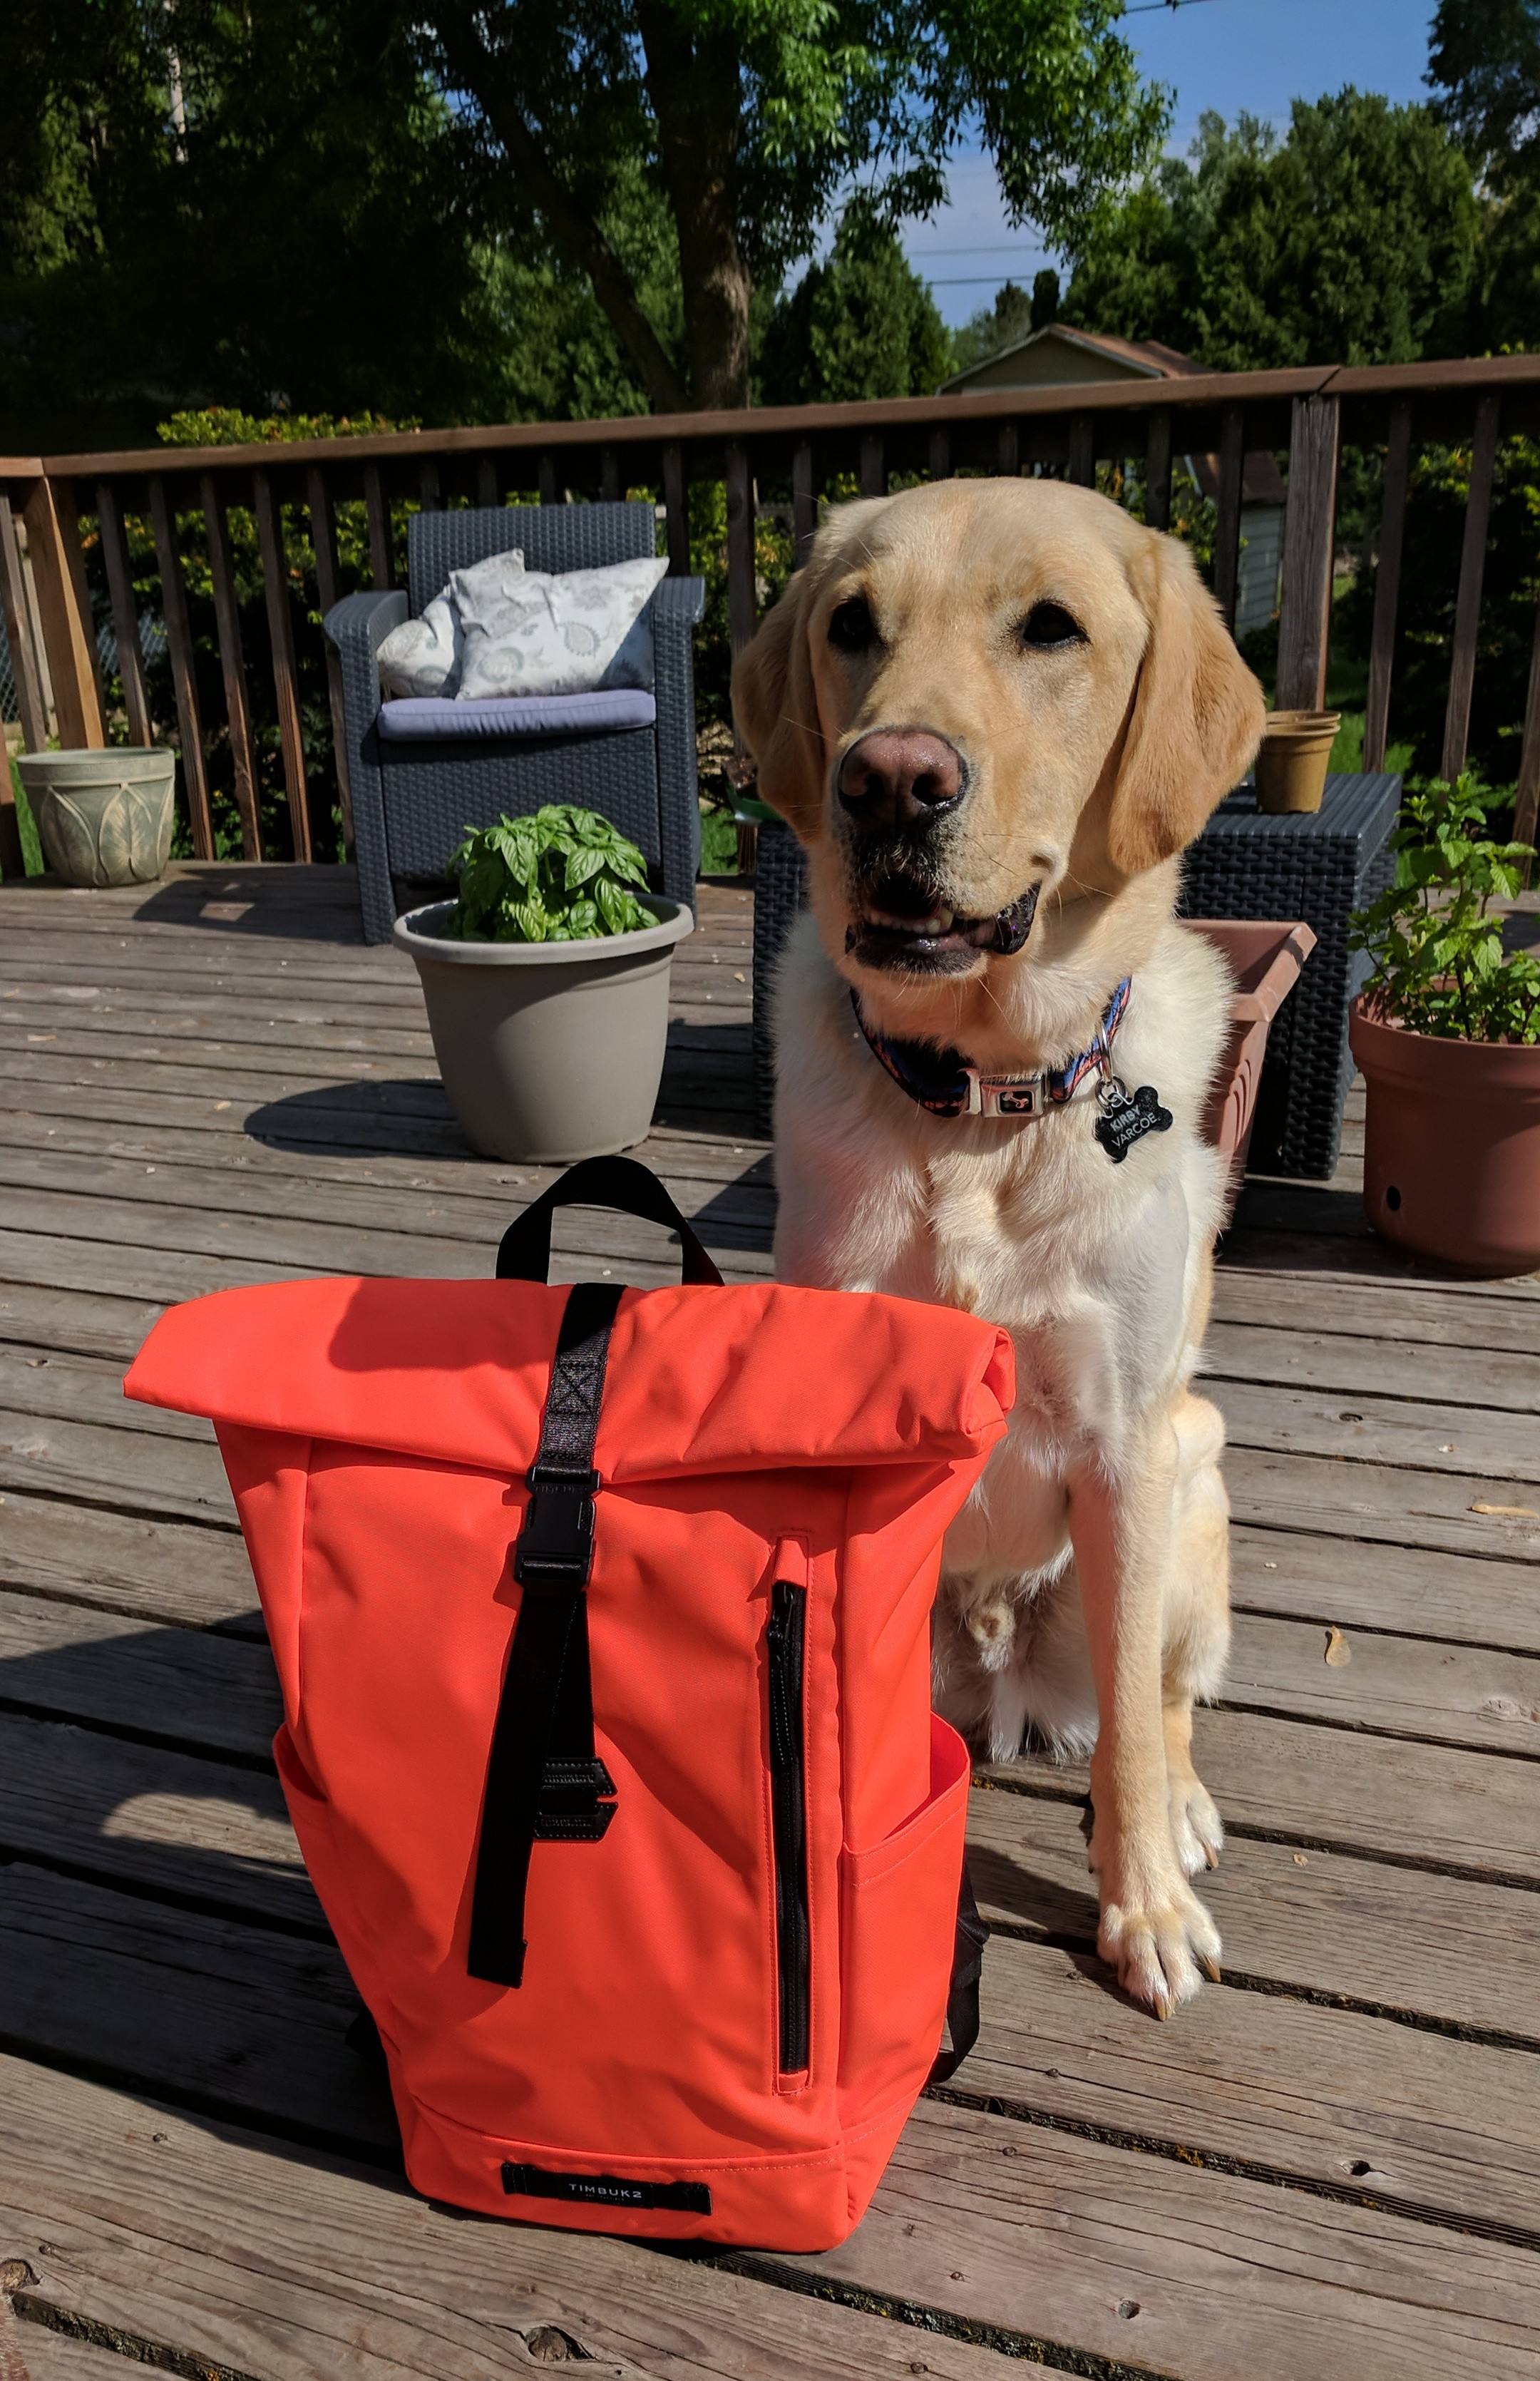
But then again, what DOESN’T look great with this handsome son of a mother. By the way, for this pic (above) I put the Raider pack INSIDE the Tuck Pack! 

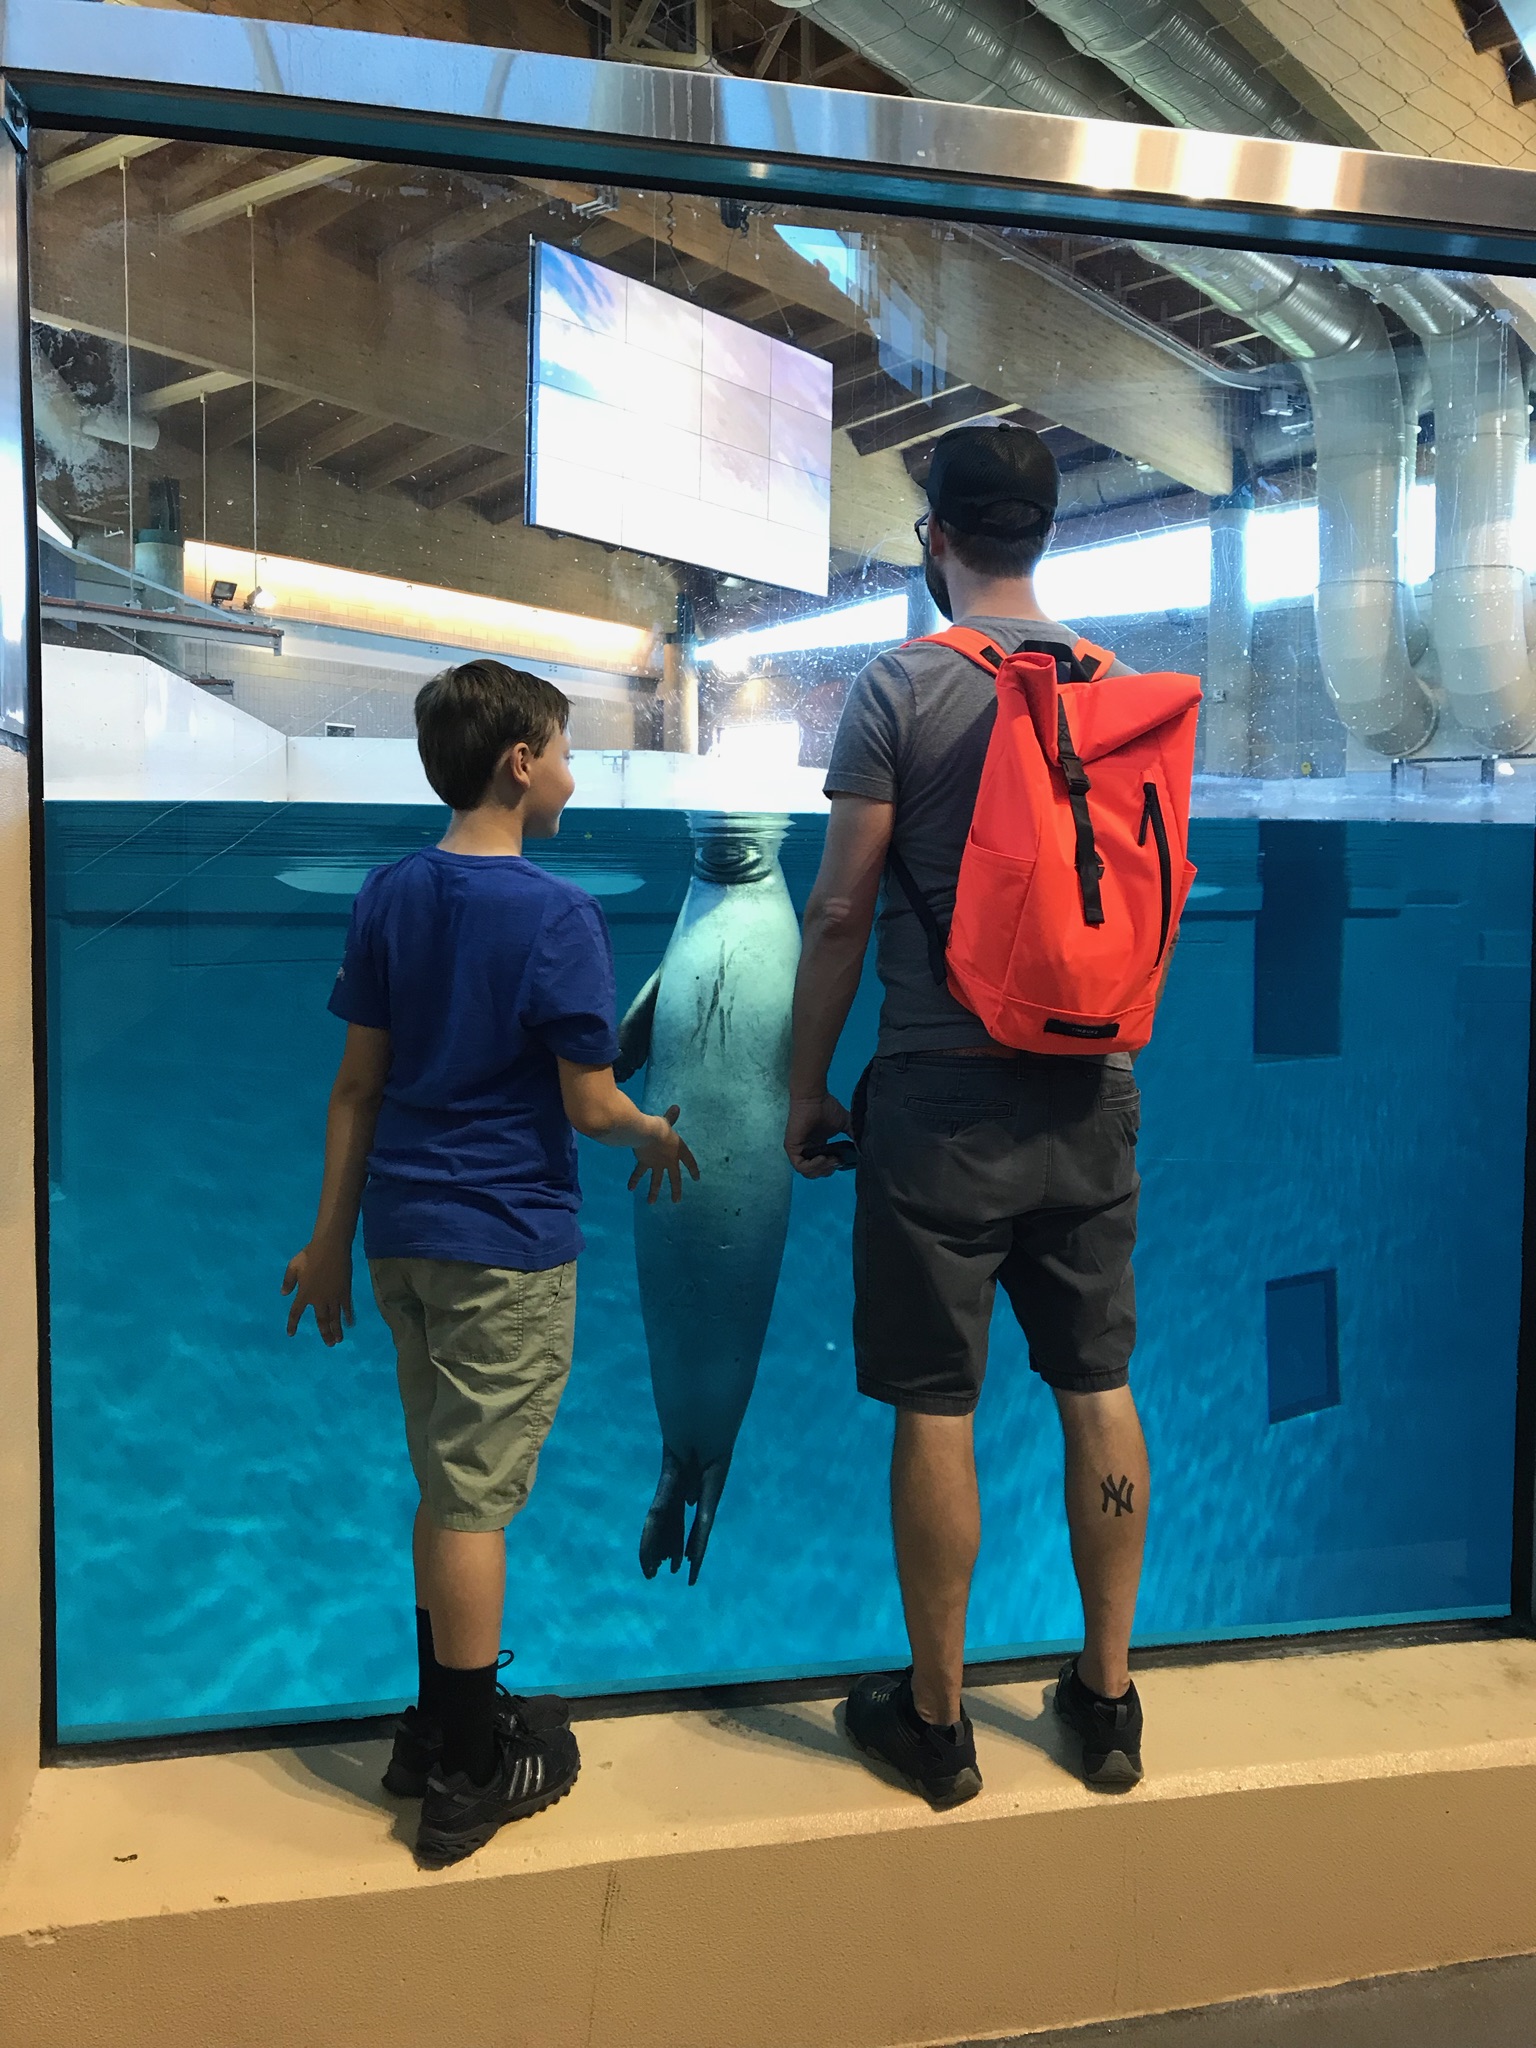
Chillin’ with a seal at the Minnesota Zoo. To give you a size reference, I’m 6’3″ and about 200lbs. 


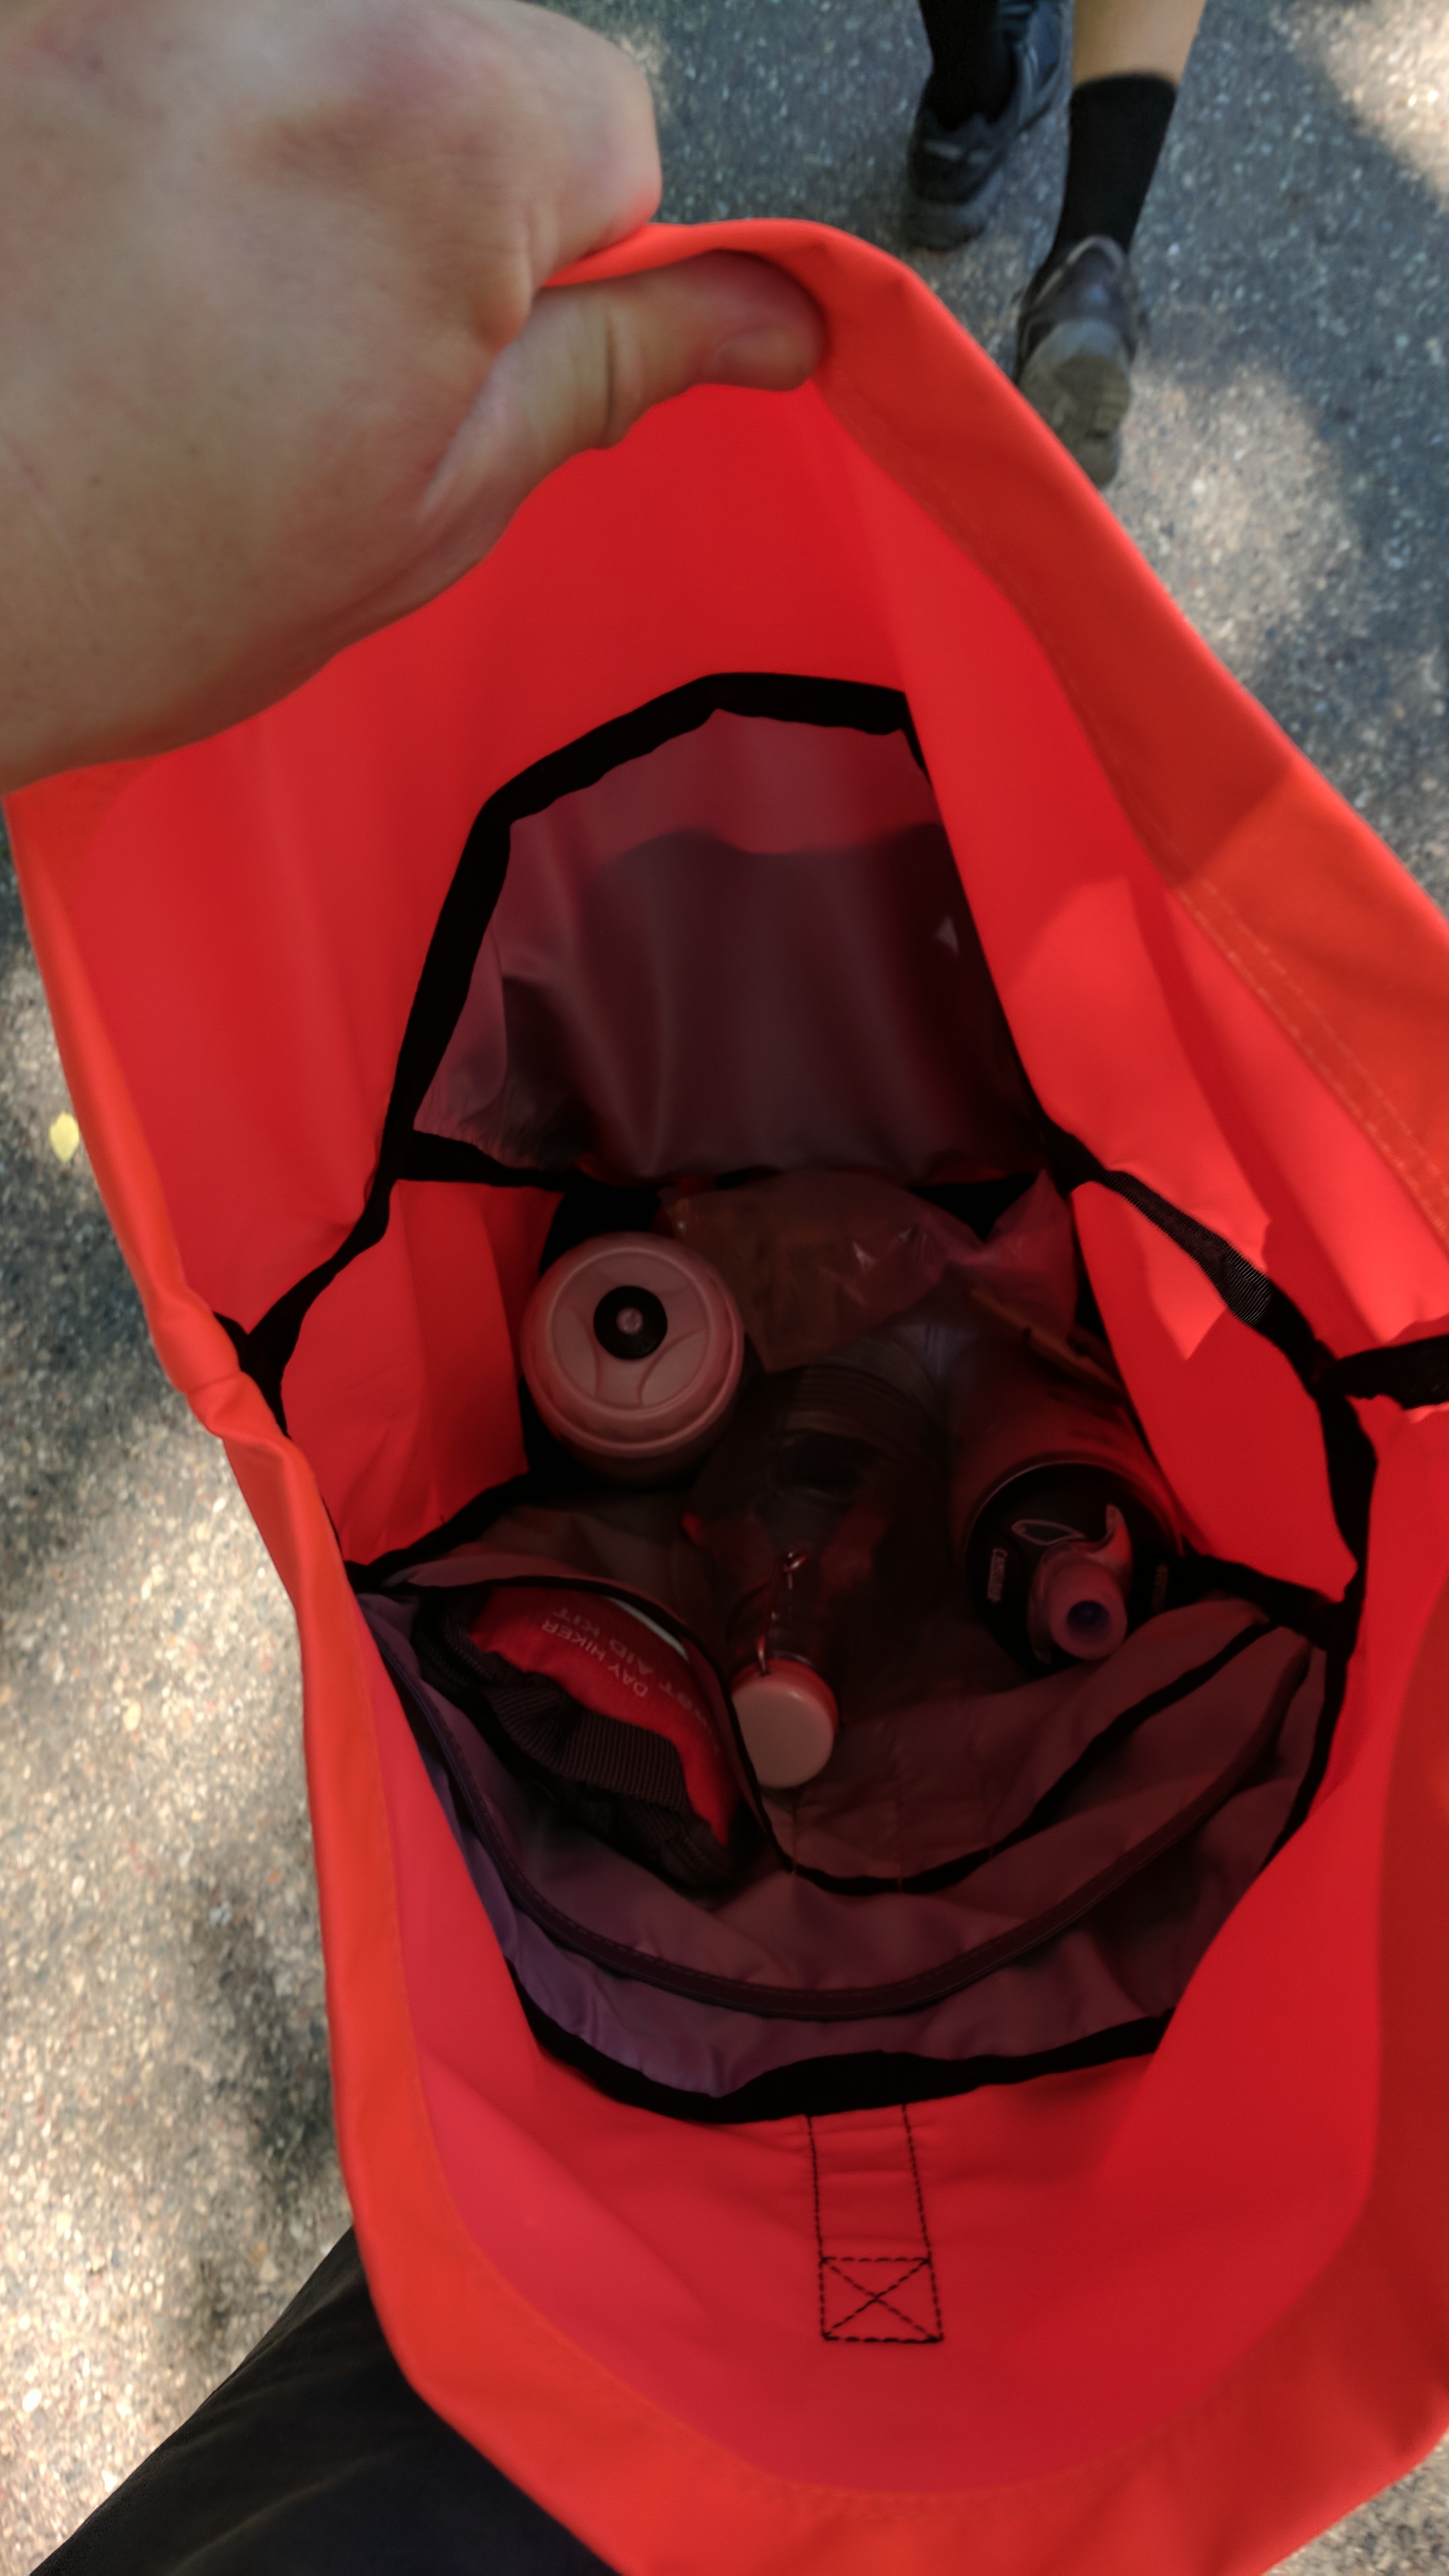
If you ever read a review and the reviewer has nothing bad to say about the product they are reviewing then they were probably paid for the review! So, onto what I don’t like about the Tuck Pack. There are very few pockets inside. True it has a laptop sleeve but there are really few places for other smaller stuff. I always keep a small first aid kit, a tube, keys, a spare shoe laces, patch kit and other random things in my bag. The first aid kit fits into one of the few pockets inside the main compartment really well but my tube is just tossed in the bottom. No biggie really. The front pocket is the same. Large with no added pockets. Now, for the FRONT pocket, that is A-OK with me but the only thing I feel is a MUST that the Tuck Pack doesn’t have is that little safety latch for your keys. You know the one that’s on a little piece of “ribbon” for lack of better terms? I really miss that! I will probably add my own soon! 

Still, I would highly recommend this bag! Bang for the buck, it’s unbeatable!

My bro-in-law, @unfunnymike on IG, introduced my wife and I to Timbuk2 about 6 or 7 years ago when he worked for them. We have sinced gotten backpacks, messenger bags and even luggage and even my wallet! We haven’t been disapointed with any of it!   

Here is a link to the Tuck Pack if you wanted more detail. 
My wallet:


Tube Butt Gauge

After building a few frames I felt the need to build myself a tube butt gauge. When building a frame the tubes have a “short butt” and a “long butt” (pause for jokes…… 🙂 ). A butt is when the tubes are thicker at the ends (near the joints) for strength. The manufacturer of the tube often paints one end to identify the short or long side. Columbus , for example paints the short butt.

Why? The short butt is the starting point. Make your first miter there then, when you trim the tube to length the long butt will leave you enough thicker wall to braze (or weld) on.

Just to make sure I have my butts in order I figured I’d make this simple gauge.

The idea is to have two posts run parallel and about an inch apart, with a dial indicator perpendicular to measure the difference.

image

This will be the base that holds the two posts apart and parallel.

image

While I braze bike frames I can still tig weld…. sorta. Ha!

image

The top hole holds the dial indicator and the bottom hole is tapped for a 10-32 screw. The screw supports the ID of the tube.

image

The final product.

image

You might not be able to read what’s written on the tubes so I’ll type it out. Where the indicator is in the above pic the tube is .038″ thick. Then the wall thickness tapers to .024″ thick.

image

Like this.^

image

Henry James / True Temper shows this very well. The butt on the left is the short butt.

Thanks for checking this out. Leave a comment if you like it. 🙂

Ride safe!

Allan Varcoe

Side Project

While on my lunch breaks and after work I have been building my own frame jig. Jigs generally sell for $2500 to $5 grand. Since I have access to CNC machines I could make a jig for penny’s on the dollar of a professional jig. Will there be better ways to go about building a jig? I’m sure there are but, I can happily say that I have designed (with a little internets help) and built my own from scratch. Will it be as easy to set-up or make slight tweaks, doubt it. However saving upwards of $4500 can allow me to be a pinch inefficient in the beginning.

My design is obviously based off of the Arctos Jig.

I started with a really rough sketch and figured out the main pieces of 80/20 extrusion needed (like Arctos). EBay is an amazing source for 80/20. They have their own direct store on eBay. 80/20inc. is the username.

Then rounded up some other stock supplies from McMaster to make the HT and ST holders.

image

These smiley face brackets allow for angular and position in X and Y.
X being the length of the frame while Y is the height.

image

So’ together is looks like this. The main beam is 45/15 (meaning 4.5″ x 1.5″) and the HT and ST uprights are 15/15. The main beam is 60″ long and may or may not get cut down in the end. A little extra length never hurt anyone right?

image

Next I found a nice picture of the BB fixture. I made it a bit more compatible with other forms of BB’s. In case I make a BMX frame one day.

image

image

image

That’s all for now!
Check in again some time and be safe out there!

Allan Varcoe

Tooling Up!

In an effort to make all my frames ride straight I needed a way to check the alignment. Not having the funds for an alignment table I decided to improvise. Making a bottom bracket post and using a milling machine table I will be able to do so.

After turning I get to use the tap handle my Grandpa gave me. I love using stuff he used when he was my age. 🙂

image

Then I took it from the CNC lathe to a good ole manual Bridgeport mill to drill mounting holes.

image

You get the picture using a BB shell.

image

It’s first use will be on Adam from Rotten Gear’s frame.

UPDATE:
I used the BB post to align Adam’s BB and ST. Turns out the frame nails held very well as the ST was only .005″ out along the whole tube! Not bad for a noob!
image
Damn I’ve gotta get myself a CNC machine for my shop! Ha!

Thanks again! Ride safe out there everybody!

Allan Varcoe

Adam from Rotten Gear’s Track Frame

As I learn about frame construction I like trying different things. With Adams frame I wanted to try a couple things. One was using nails to keep the tubes and lugs in place while brazing.

So per recommendation from Greg from Magic Cycle Werks I went to good old Home Depot and picked up a box of unplated, steel finishing nails. They are about .070″ in diameter so it’s not like I’m drilling quarter inch holes in my lugs or anything.

image

The other thing I wanted to try was better flux. I love McMaster Carr just like anything else but the flux they sell gets no such love from me.  I ordered some System 48 flux from Cycle Design USA. Since Wade is a nice guy he sent me an oz. of System 48 Silver to try also. I also got some Fillet Pro to try for later. 😉

image

Ok, so, nail it all together, check it…

image

Close enough.

Flux, heat, silver and bam!

image

I really liked how the System 48 flux didn’t flake off and stayed active the whole time! The silver flowed threw with ease and filled slight gaps better than Harris Safety Sil 56.

Now to soak, trim off the nails and done!

image

This is also the first time I build a frame from start to finish entirely in my own shop! So much firsts!

Dropouts! I think dropouts are one of the coolest parts of a frame. They can show how serious or how artsy a frame is. Classic Campy look, breezer style, low disc mount…. can change the look and feel of a frame all by themselves.

I really like these. I used them on my SS frame and they look clean and are strong as hell looking! Naturally since Adam is a big dude, strength is a concern. These Long Shin track dropouts fit the bill to a tee.

image

They are plug in style so brazing is simple!

If you don’t like the clean-cut cycling gear out there check out Rotten Gear! My buddy Adam has some obvious metal/horror/hardcore influences. If you’re into the same thing he is and you don’t see what you like there, give him time. Kits will be coming! Like his page! This guys doodles are amazing! Can’t wait to see when he gets serious!

Thanks for checking this post out. There’s plenty more to be done on this frame so expect to see another post soon!

Allan Varcoe